
Reaction distance is the distance your vehicle travels from the moment you notice a hazard until you physically start to apply the brakes. It's distinct from braking distance and forms a significant part of your total stopping distance. Mastering this concept is key to predicting vehicle behavior, maintaining safe distances, and successfully navigating real-world Austrian driving scenarios.
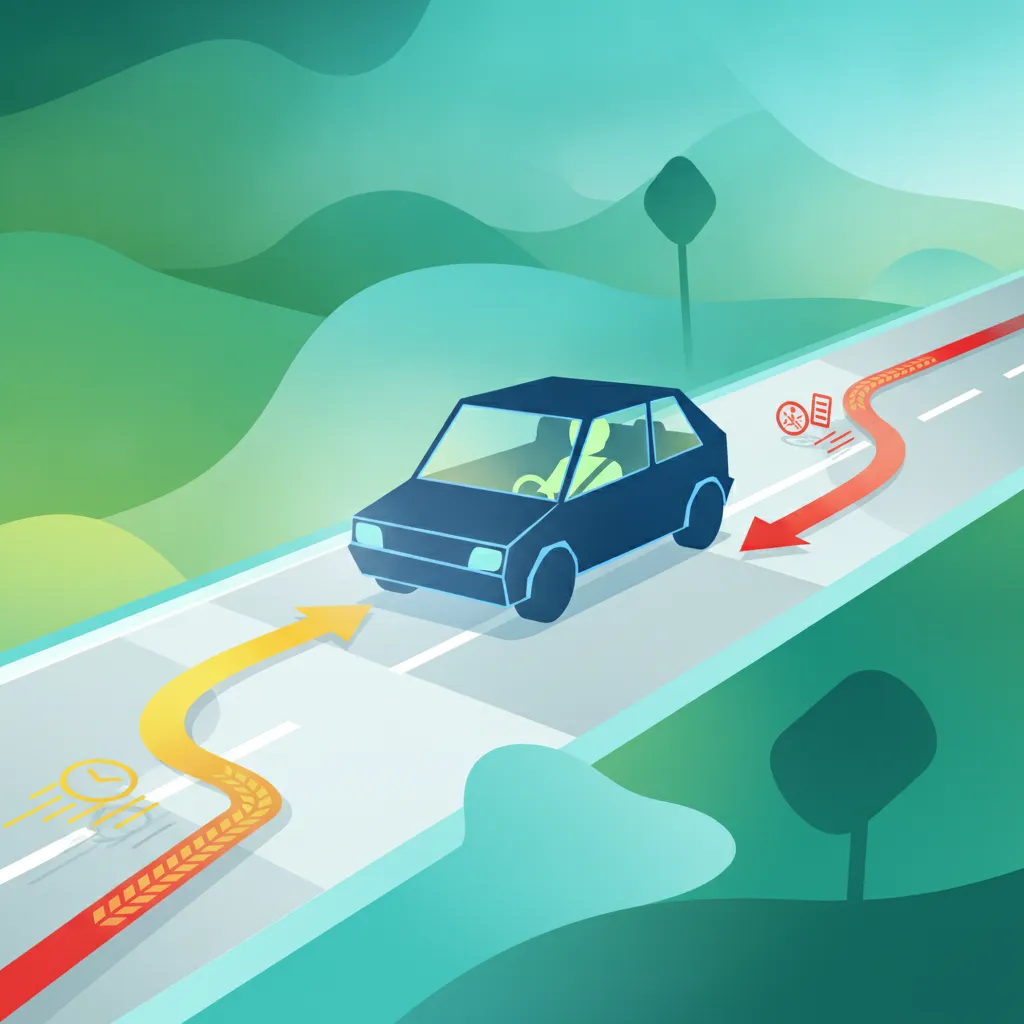
Theory topic content overview
Read the full theory topic guide for Reaction Distance Basics with structured, easy-to-scan content built for learners in Austria. This detailed section explains the exact rule, meaning, traffic context, comparison points, and exam logic behind this Austrian driving theory topic so you can study faster, understand the concept more clearly, and avoid common interpretation mistakes on the theory test.
Reaction distance, known in Austrian driving theory as Reaktionsweg, is the total distance your vehicle travels from the exact moment you perceive a hazard until your foot physically begins to press the brake pedal. It's the journey your vehicle makes while you are processing information and initiating your response, before any braking force is applied.
This period is called reaction time, and for an alert, attentive driver, it's typically estimated to be around one second. However, this is an ideal scenario; many factors can significantly lengthen this crucial time. Understanding reaction distance is fundamental to safe driving, especially on Austrian roads with their varied conditions and speeds.
Understanding reaction distance is not just an academic exercise for your Austrian driving theory exam; it's a matter of real-world safety.
Autobahn and Schnellstraße, even a split-second delay in reaction time translates into many meters traveled. This significantly increases the risk of a collision if traffic ahead suddenly slows or stops.Reaktionsweg is frequently tested. Questions often involve comparing reaction distances at different speeds, identifying factors that lengthen it, or distinguishing it from braking distance.Gefahrenwahrnehmung (hazard perception) skills, allowing you to anticipate potential dangers and adjust your driving proactively.Sicherheitsabstand) from the vehicle in front, which is crucial for preventing rear-end collisions.Your reaction time, which determines your reaction distance, can be broken down into three rapid but distinct phases:
Even if these phases occur in a fraction of a second, your vehicle is continuously covering ground during this entire process.
One of the most critical aspects of reaction distance is its direct proportionality to speed. The faster you drive, the longer your reaction distance will be, assuming your reaction time remains constant.
This doubling of distance highlights why high speeds on the Autobahn demand exceptional vigilance and greater following distances. A slight delay at speed can mean the difference between avoiding and being involved in an accident.
While one second is an ideal reaction time, various internal and external factors can significantly lengthen it, thereby increasing your reaction distance:
It's vital for your Austrian driving exam and for safe driving to understand the distinct components of your total stopping distance:
Reaktionsweg): The distance traveled from perceiving a hazard to starting to brake.Bremsweg): The distance traveled from the moment you apply the brakes until the vehicle comes to a complete stop. This is influenced by speed, vehicle condition, road surface, and brake effectiveness.Anhalteweg): The total distance required to bring your vehicle to a complete stop. It is the sum of reaction distance and braking distance.Stopping Distance = Reaction Distance + Braking Distance
A common mistake is assuming braking starts instantly. In reality, your Reaktionsweg is the initial, often substantial, portion of your Anhalteweg.
Consider these examples on Austrian roads:
Autobahn near Salzburg at 130 km/h. Suddenly, you see brake lights far ahead indicating a sudden slowdown. Even with quick perception, your vehicle travels over 36 meters during your one-second reaction time before you begin to apply your own brakes.Bundesstraße through the Alps, you encounter an unexpected rockfall after a blind bend. The limited visibility and potential for a longer reaction time mean your Reaktionsweg could be longer, emphasizing the need for reduced speed in such conditions.Learners often make these mistakes regarding reaction distance:
Reaktionsweg for Bremsweg or Anhalteweg in exam questions. Remember: reaction comes before braking.doppelten Reaktionsweg) as a general safe following distance, which correlates to the "2-second interval." On narrow, winding roads where you anticipate oncoming traffic, however, a driver might have to reduce their speed and adjust the distance, but the underlying principle of reacting safely remains. Some practical advice might even suggest using den halben Reaktionsweg (half reaction distance) in very specific, low-speed, highly controlled situations for judging distance not safe following distance, though this phrasing can be confusing and emphasis is almost always on increasing safe distance. For general safety, the doppelten Reaktionsweg is the key takeaway.To ensure safety on Austrian roads and excel in your driving theory exam, internalize this: Your reaction distance is your first line of defense against hazards.
Always:
doppelten Reaktionsweg (double reaction distance) to the vehicle in front, especially on high-speed roads like the Autobahn. This buffer provides the critical time and space needed for your Reaktionsweg and subsequent braking.By understanding and actively managing your reaction distance, you significantly reduce the risk of accidents and contribute to safer traffic for everyone in Austria.
Reaction distance (Reaktionsweg) measures how far your vehicle travels during the approximately one second it takes to perceive a hazard, decide on a response, and physically start braking. This distance is directly proportional to your speed, making it roughly 14 meters at 50 km/h, 28 meters at 100 km/h, and over 36 meters at 130 km/h on the Autobahn. Understanding the distinction between reaction distance, braking distance, and stopping distance is essential for the Austrian theory exam and for maintaining safe following distances. Both internal factors like fatigue, distraction, and alcohol and external factors like poor visibility and road conditions can significantly extend your reaction time beyond the ideal one second, increasing your reaction distance and accident risk. The doppelten Reaktionsweg (double reaction distance) is the key safety principle for maintaining adequate following distance on Austrian roads.
A short set of high-value points that capture the most important ideas from this theory explanation.
Reaction distance (Reaktionsweg) is the distance traveled from perceiving a hazard to physically starting to brake, separate from braking distance
Reaction time consists of three phases: perception, decision, and action occurring before any braking force is applied
Reaction distance grows directly and proportionally with speed, roughly doubling when speed doubles
Maintaining at least the doppelten Reaktionsweg (double reaction distance) as a following distance provides critical safety buffer on high-speed roads
Both internal factors (fatigue, distraction, alcohol) and external conditions (poor visibility, road surface) can significantly extend reaction time beyond the ideal one second
Perception → Decision → Action: these three phases happen before brakes engage
Stopping distance equals reaction distance plus braking distance (Reaktionsweg + Bremsweg = Anhalteweg)
At 50 km/h, reaction distance is approximately 14 meters in one second; at 100 km/h it doubles to approximately 28 meters
The doppelten Reaktionsweg (double reaction distance) is the recommended safe following distance in Austrian driving theory
Reaction distance only counts until your foot touches the brake pedal—braking distance is everything after that
Confusing Reaktionsweg with Bremsweg or Anhalteweg in exam questions—reaction always comes before braking
Underestimating how dramatically reaction distance increases with speed; many learners think it's a small linear effect
Assuming their reaction time is always one second when fatigued, distracted, stressed, or under poor visibility conditions
Misinterpreting the 2-second rule as a fixed rule rather than understanding it relates to the concept of double reaction distance
Believing braking begins instantly; in reality, your Reaktionsweg is often a substantial portion of your total stopping distance
Start with a short, direct summary of Reaction Distance Basics before reading the full explanation below.
Reaction distance is the distance a vehicle covers during the time it takes for a driver to perceive a hazard, process it, and physically initiate braking. This period, known as reaction time, is typically around one second for an attentive driver. The faster you drive, the longer this distance becomes before your brakes even engage, making speed a critical factor for safety.
Review the most important terms, rule signals, and traffic concepts linked to Reaction Distance Basics.
Explore related theory topic pages connected to Reaction Distance Basics and continue with the next useful rule explanation.
See the common search queries learners use when trying to understand Reaction Distance Basics in Austria.

Ready to delve deeper into specific theory topics? Continue exploring detailed explanations of Austrian road signs, traffic rules, and critical driving situations. Solidify your knowledge, clarify any doubts, and ensure you're fully prepared for every aspect of your official driving licence theory exam.
Austrian Driving Theory TopicsTheory topic content overview
A short set of high-value points that capture the most important ideas from this theory explanation.
Reaction distance (Reaktionsweg) is the distance traveled from perceiving a hazard to physically starting to brake, separate from braking distance
Reaction time consists of three phases: perception, decision, and action occurring before any braking force is applied
Reaction distance grows directly and proportionally with speed, roughly doubling when speed doubles
Maintaining at least the doppelten Reaktionsweg (double reaction distance) as a following distance provides critical safety buffer on high-speed roads
Both internal factors (fatigue, distraction, alcohol) and external conditions (poor visibility, road surface) can significantly extend reaction time beyond the ideal one second
Perception → Decision → Action: these three phases happen before brakes engage
Stopping distance equals reaction distance plus braking distance (Reaktionsweg + Bremsweg = Anhalteweg)
At 50 km/h, reaction distance is approximately 14 meters in one second; at 100 km/h it doubles to approximately 28 meters
The doppelten Reaktionsweg (double reaction distance) is the recommended safe following distance in Austrian driving theory
Reaction distance only counts until your foot touches the brake pedal—braking distance is everything after that
Confusing Reaktionsweg with Bremsweg or Anhalteweg in exam questions—reaction always comes before braking
Underestimating how dramatically reaction distance increases with speed; many learners think it's a small linear effect
Assuming their reaction time is always one second when fatigued, distracted, stressed, or under poor visibility conditions
Misinterpreting the 2-second rule as a fixed rule rather than understanding it relates to the concept of double reaction distance
Believing braking begins instantly; in reality, your Reaktionsweg is often a substantial portion of your total stopping distance
Start with a short, direct summary of Reaction Distance Basics before reading the full explanation below.
Reaction distance is the distance a vehicle covers during the time it takes for a driver to perceive a hazard, process it, and physically initiate braking. This period, known as reaction time, is typically around one second for an attentive driver. The faster you drive, the longer this distance becomes before your brakes even engage, making speed a critical factor for safety.
Review the most important terms, rule signals, and traffic concepts linked to Reaction Distance Basics.
Explore related theory topic pages connected to Reaction Distance Basics and continue with the next useful rule explanation.
See the common search queries learners use when trying to understand Reaction Distance Basics in Austria.
Ready to delve deeper into specific theory topics? Continue exploring detailed explanations of Austrian road signs, traffic rules, and critical driving situations. Solidify your knowledge, clarify any doubts, and ensure you're fully prepared for every aspect of your official driving licence theory exam.
Austrian Driving Theory TopicsUse this exam-focused revision tip to understand how Reaction Distance Basics is likely to appear in theory questions for learners in Austria. This section helps you identify the most testable part of the rule, avoid common traps, and remember the concept more effectively during Austrian driving theory exam preparation.
A common mistake in the Austrian driving theory exam is confusing reaction distance with braking distance, or underestimating how much reaction distance increases with speed. Remember that even a slight increase in speed significantly extends the distance your vehicle travels before you even begin to brake. Always consider external factors like weather and internal factors like fatigue when judging your safe following distance.
Read direct answers to the most common learner questions about Reaction Distance Basics in Austria. This FAQ focuses on rule confusion, practical meaning, comparison with similar concepts, and the exact uncertainties that appear most often in Austrian driving theory revision and exam preparation.
Reaction distance is the path your vehicle travels from when you first spot a hazard until you physically press the brake pedal. It's the 'thinking and moving' distance before the 'slowing down' distance.
Reaction distance increases directly with your speed. If you double your speed, your reaction distance also doubles, because your vehicle covers more ground in the same amount of reaction time.
Reaction distance is the distance covered before you start braking. Braking distance is the distance covered from the moment your brakes engage until the vehicle stops. Together, they make up the total stopping distance.
Many factors can increase reaction time, including fatigue, distraction (e.g., phone use), alcohol or drugs, stress, and poor visibility. Even an attentive driver needs about one second.
The Austrian driving test frequently features questions that assess your understanding of reaction distance, its relationship to speed, and the factors that influence it. It's a key concept for safe driving and passing the theory exam.
While experienced drivers may perceive hazards faster, the physical reaction time (moving the foot to the brake) remains relatively constant. Overall alertness and anticipation can indirectly help, but the fundamental physical time still applies.
You cannot shorten the fundamental physical reaction time, but you can improve your overall safety by reducing distractions, avoiding driving while fatigued or under the influence, and maintaining a safe following distance that accounts for your reaction time and speed.
Refine your study plan by searching for specific Austrian driving theory practice sets. Pinpoint questions related to particular road rules, signs, or challenge levels, and begin practicing immediately to reinforce your knowledge and excel in your official exam with confidence. Get started with focused revision today.