
This lesson details the legal requirements and practical operation of exterior vehicle lights for Category B drivers in Great Britain. You will learn to identify the correct lighting for varying visibility conditions, ensuring you meet both safety standards and official DVSA theory test requirements.
Lesson content overview
Vehicle lighting is far more than just illumination; it's a critical safety system that allows drivers to see the road, anticipate hazards, and communicate their presence and intentions to other road users. Mastering the correct use of your vehicle's lights is fundamental for safe driving, particularly during nighttime, adverse weather, or any condition that reduces visibility. This lesson provides a comprehensive guide to all exterior vehicle lighting requirements, aligning with the Great Britain Category B driving theory test curriculum and the Highway Code rules.
All aspects of vehicle lighting in the UK are governed by strict regulations, primarily the Road Vehicles Lighting Regulations 1989 (RVLR 1989) and the Highway Code. These legal instruments specify the types of lights vehicles must have, their technical specifications, and, crucially, when and how they must be used. Adherence to these rules is not merely about avoiding fines and penalty points; it's about ensuring collective road safety by maintaining consistent standards for visibility and communication on our roads.
Understanding and applying the correct lighting at all times ensures your vehicle is both seen by others and that you have adequate vision of the road ahead, significantly reducing the risk of collisions.
Every light on your vehicle serves a specific purpose, designed to function optimally in particular conditions. Knowing the definition and correct application of each is vital for responsible driving.
Dipped beam headlights, often referred to as low beam, are your primary lights for standard night driving and whenever visibility is reduced. They are designed to illuminate the road ahead sufficiently without causing excessive glare to oncoming drivers or those you are following.
Low-intensity headlights that provide illumination for driving at night and in low visibility conditions, angled to minimise glare for other road users.
When to Use Dipped Beam Headlights:
Failing to use dipped beam in these situations can obscure your vision, make your vehicle less visible, or dazzle other drivers, all increasing the risk of an accident.
Main beam headlights, also known as high beam, provide a much longer and wider illumination pattern than dipped beam. They are designed to give you maximum visibility of the road ahead, allowing you to spot hazards further away and react sooner.
High-intensity headlights that provide a long and wide illumination pattern, used to maximise visibility on unlit roads when there is no risk of dazzling other road users.
When to Use Main Beam Headlights:
When to Dim (Switch to Dipped Beam):
Using main beam incorrectly is a common mistake and can lead to dangerous situations due to glare. Always be mindful of other road users and dim your lights promptly.
Daytime Running Lights (DRLs) are low-power lights on the front of a vehicle that illuminate automatically during daylight hours. Their purpose is not to illuminate the road but to make your vehicle more conspicuous to other road users, especially at dawn, dusk, or on overcast days.
Lights automatically illuminated on the front of a vehicle during daylight hours to increase its visibility to other road users, not for road illumination.
Front fog lights are specifically designed to improve visibility in conditions of severely reduced visibility such as fog, heavy rain, or snow. They are mounted low on the vehicle and emit a broad, low-cut beam of light. This low positioning helps to illuminate the road surface directly ahead, preventing the light from reflecting off water droplets in the air (backscatter) which can actually worsen visibility.
Low-mounted, wide-beam lights designed to illuminate the road surface directly ahead in conditions of severely reduced visibility like fog, heavy rain, or snow, reducing backscatter.
When to Use Front Fog Lights:
Rear fog lights are high-intensity red lights located at the back of the vehicle, designed to make your vehicle more visible to following traffic in conditions of severely reduced visibility. They are significantly brighter than standard tail lights.
High-intensity red lights located at the rear of a vehicle, used to make the vehicle more visible to following drivers in conditions of severely reduced visibility.
When to Use Rear Fog Lights:
Common Misuse of Rear Fog Lights:
Position lights, commonly known as side lights, are a set of constant lights at the front (white) and rear (red) of the vehicle. Their primary function is to show the presence, length, and width of your vehicle to other road users. They are not intended to illuminate the road.
Constant lights at the front and rear of a vehicle that indicate its presence, width, and length, particularly at dusk, dawn, or when parked in low light.
Hazard warning lights, or hazard flashers, are activated when all indicator lights on the vehicle flash simultaneously. They are used to signal to other road users that your vehicle is temporarily posing an unusual hazard or obstruction.
The simultaneous flashing of all indicator lights, used to warn other road users that the vehicle is stationary and causing an obstruction, or moving very slowly due to a hazard.
When to Use Hazard Warning Lights:
When NOT to Use Hazard Warning Lights:
Indicator lights, or turn signals, are amber lights at the front, rear, and often the sides of your vehicle. They flash to clearly communicate your intention to turn left or right, change lanes, or pull over.
Flashing amber lights on the front, rear, and sides of a vehicle used to signal the driver's intention to turn, change lanes, or manoeuvre.
Brake lights are red lights located at the rear of your vehicle that illuminate whenever you apply the brakes. Their crucial role is to signal to following drivers that your vehicle is decelerating, allowing them to react and adjust their speed accordingly.
Rear-mounted red lights that illuminate when the driver applies the brake pedal, signalling deceleration to following traffic.
Auxiliary lights, such as driving lights or spotlights, are additional lighting units that some vehicles may have. These are designed to supplement your main headlights, often providing a very powerful, focused beam for specific conditions, such as off-road driving or rally use.
Additional lighting units (e.g., driving lights, spotlights) fitted to a vehicle to supplement main headlights, typically for off-road or specific non-public road conditions.
The following summary outlines the mandatory rules for vehicle lighting usage for Great Britain Category B learner drivers.
Safe driving requires continuous assessment of conditions and adapting your lighting usage accordingly.
Always be extra cautious with your lighting around pedestrians, cyclists, and motorcyclists.
Using vehicle lighting incorrectly carries both legal penalties and significant safety risks.
Regularly check all your vehicle's lights to ensure they are clean and in good working order.
Mastering vehicle lighting is a cornerstone of safe driving.
By consistently applying these principles, you will contribute significantly to your own safety and the safety of everyone else on the road, preparing you thoroughly for the Great Britain Category B driving theory test.
This lesson covers the legal and practical requirements for all exterior vehicle lights under Great Britain law, governed by the Road Vehicles Lighting Regulations 1989 and the Highway Code. It explains that dipped beam headlights are mandatory from sunset to sunrise and whenever visibility falls below 100 metres, while main beam headlights provide maximum range on unlit roads but must be dimmed for oncoming traffic within 200 metres and following vehicles within 150 metres. Fog lights are strictly limited to severely reduced visibility below 100 metres for both front and rear units. Hazard warning lights are reserved exclusively for stationary obstructions and must never be used while driving normally. Understanding these specific rules and the conditions attached to each light type is essential for both passing the DVSA theory test and driving safely on Great Britain's roads.
A short set of high-value points that capture the most important learning from this lesson.
Your vehicle lights serve two core purposes: helping you see the road ahead and making your vehicle visible to other road users.
Dipped beam headlights are the standard setting for night driving, reduced visibility, tunnels, and when following or approaching other vehicles.
Main beam provides maximum illumination but must be dimmed promptly when oncoming traffic is within 200 metres or when following another vehicle within 150 metres.
Fog lights (front and rear) are restricted to severely reduced visibility below 100 metres and must be switched off as soon as conditions improve.
Hazard warning lights should only be used when stationary and causing an obstruction, never while driving in normal traffic.
Explore all units and lessons included in this driving theory course.
Visibility below 100 metres (approximately the length of a football pitch) is the threshold for activating dipped headlights and fog lights.
Dim your main beam for oncoming traffic at 200 metres and for vehicles you are following at 150 metres to avoid dazzling other drivers.
Activate indicators at least 30 metres before turning or changing lanes, keeping them flashing until the manoeuvre is complete.
Rear fog lights can dazzle following drivers even in moderate visibility; switch them off when visibility improves beyond 100 metres or when traffic is close behind.
Hazard warning lights signal that your vehicle is stationary or moving very slowly due to a hazard; using them in normal driving misleads other road users.
Using main beam headlights in urban areas, built-up zones, or heavy traffic where the glare can dazzle drivers, cyclists, and pedestrians.
Leaving fog lights on when visibility has improved beyond 100 metres, which can dazzle other drivers and is an offence.
Using hazard warning lights while driving in rain or heavy traffic because it suggests the vehicle is stationary or broken down.
Relying on Daytime Running Lights (DRLs) at night or in poor visibility; DRLs do not illuminate the road and are not a substitute for dipped beam.
Failing to cancel indicators after completing a turn or lane change, confusing other road users about your intended next action.
Lesson content overview
A short set of high-value points that capture the most important learning from this lesson.
Your vehicle lights serve two core purposes: helping you see the road ahead and making your vehicle visible to other road users.
Dipped beam headlights are the standard setting for night driving, reduced visibility, tunnels, and when following or approaching other vehicles.
Main beam provides maximum illumination but must be dimmed promptly when oncoming traffic is within 200 metres or when following another vehicle within 150 metres.
Fog lights (front and rear) are restricted to severely reduced visibility below 100 metres and must be switched off as soon as conditions improve.
Hazard warning lights should only be used when stationary and causing an obstruction, never while driving in normal traffic.
Explore all units and lessons included in this driving theory course.
Visibility below 100 metres (approximately the length of a football pitch) is the threshold for activating dipped headlights and fog lights.
Dim your main beam for oncoming traffic at 200 metres and for vehicles you are following at 150 metres to avoid dazzling other drivers.
Activate indicators at least 30 metres before turning or changing lanes, keeping them flashing until the manoeuvre is complete.
Rear fog lights can dazzle following drivers even in moderate visibility; switch them off when visibility improves beyond 100 metres or when traffic is close behind.
Hazard warning lights signal that your vehicle is stationary or moving very slowly due to a hazard; using them in normal driving misleads other road users.
Using main beam headlights in urban areas, built-up zones, or heavy traffic where the glare can dazzle drivers, cyclists, and pedestrians.
Leaving fog lights on when visibility has improved beyond 100 metres, which can dazzle other drivers and is an offence.
Using hazard warning lights while driving in rain or heavy traffic because it suggests the vehicle is stationary or broken down.
Relying on Daytime Running Lights (DRLs) at night or in poor visibility; DRLs do not illuminate the road and are not a substitute for dipped beam.
Failing to cancel indicators after completing a turn or lane change, confusing other road users about your intended next action.
Explore search topics learners often look for when studying Vehicle Lighting Requirements (Day, Night, Adverse Conditions). These topics reflect common questions about road rules, driving situations, safety guidance, and lesson level theory preparation for learners in Great Britain.
Browse additional driving theory lessons that cover connected traffic rules, road signs, and common driving situations related to this topic. Improve your understanding of how different rules interact across everyday traffic scenarios.
Understand the legal requirements for using dipped beam, front fog, and rear fog lights in Great Britain when visibility is reduced due to fog, heavy rain, or snow. Essential for safe driving and the theory test.
This lesson provides essential advice for driving when weather conditions are poor. It explains how rain can cause aquaplaning and why you must double your following distance. You will also learn techniques for driving in icy conditions, including gentle use of controls to avoid skidding, and the correct use of lights in fog.

Fog dramatically reduces how far you can see and be seen. This lesson explains why you must reduce your speed and increase your following distance in foggy conditions. It also covers the legal requirements and best practices for using your headlights and fog lights to maximize your visibility to others without dazzling them.
This lesson focuses on the challenges of riding when you can't see or be seen clearly. It covers the correct use of lights in fog, rain, and at night to maximize both your vision and your visibility to others. You will learn why reducing speed is critical, how to use reflective clothing effectively, and strategies for dealing with the glare from other vehicles' headlights to ensure you can navigate safely in all lighting conditions.
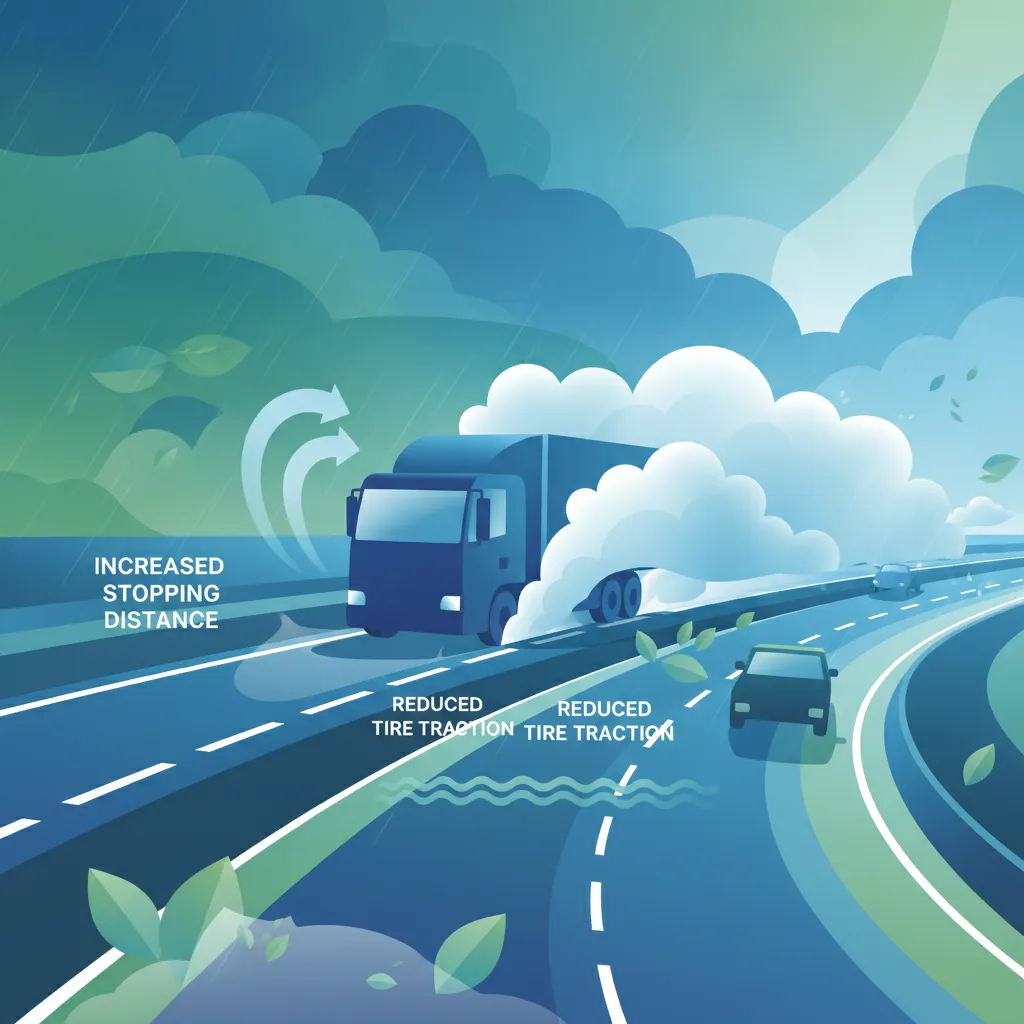
This lesson details how different adverse weather conditions uniquely affect the handling and stability of a heavy goods vehicle. It covers the increased stopping distances in rain, reduced visibility in fog, severe traction loss on ice, and the dangerous effect of strong crosswinds on high-sided vehicles. You will learn specific techniques for adjusting speed, increasing following distances, and using vehicle controls smoothly to maintain safety in challenging weather.

This lesson provides essential techniques for safe riding during nighttime and in poor visibility conditions like dawn or dusk. It covers the correct use of your headlamp's main and dipped beams, strategies for reducing glare from oncoming traffic, and the critical role of reflective clothing. You will also learn how to identify common nighttime hazards and manage fatigue, ensuring you can navigate British roads safely after dark while complying with all relevant road rules.
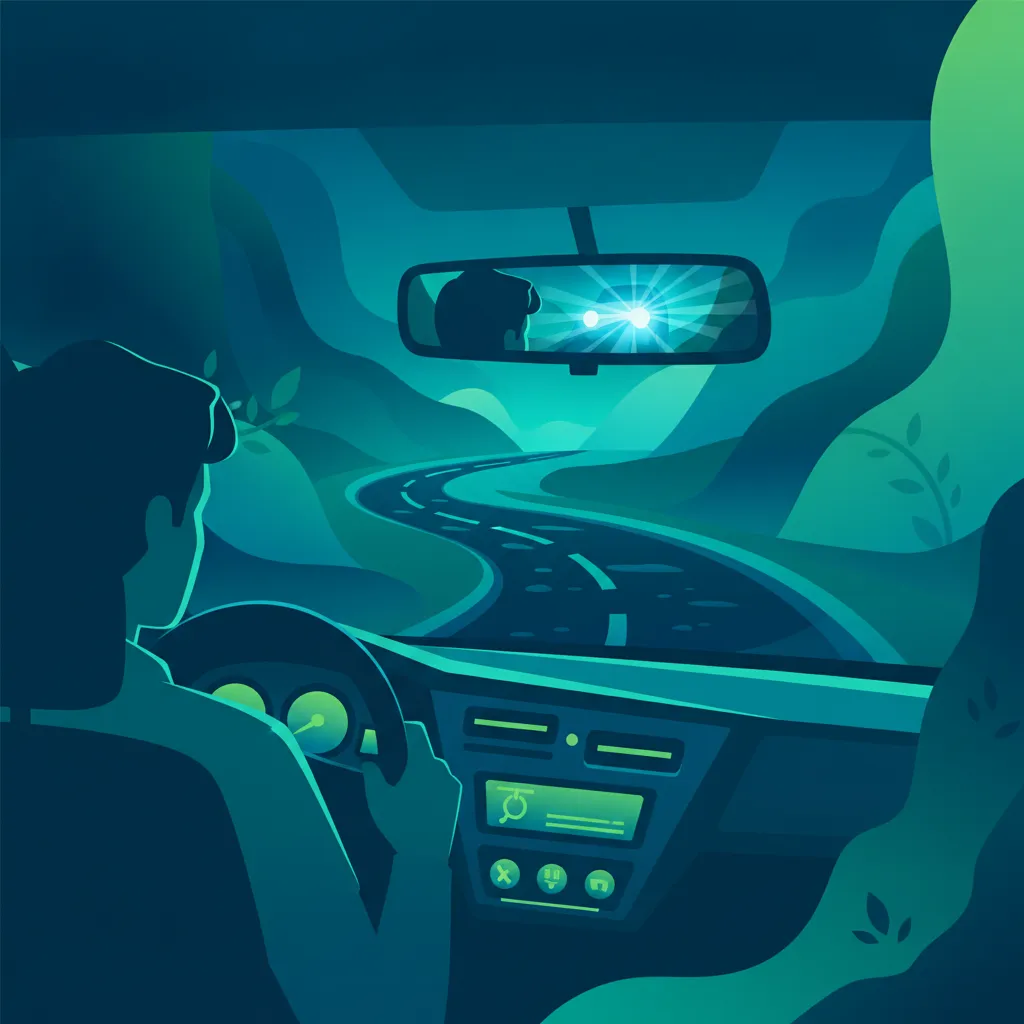
This lesson addresses the increased risks associated with driving after dark. It explains when to switch between dipped and main beam headlights to maximise your own vision without dazzling other drivers. Techniques for reducing glare and spotting hazards like cyclists or pedestrians with poor visibility are also covered.
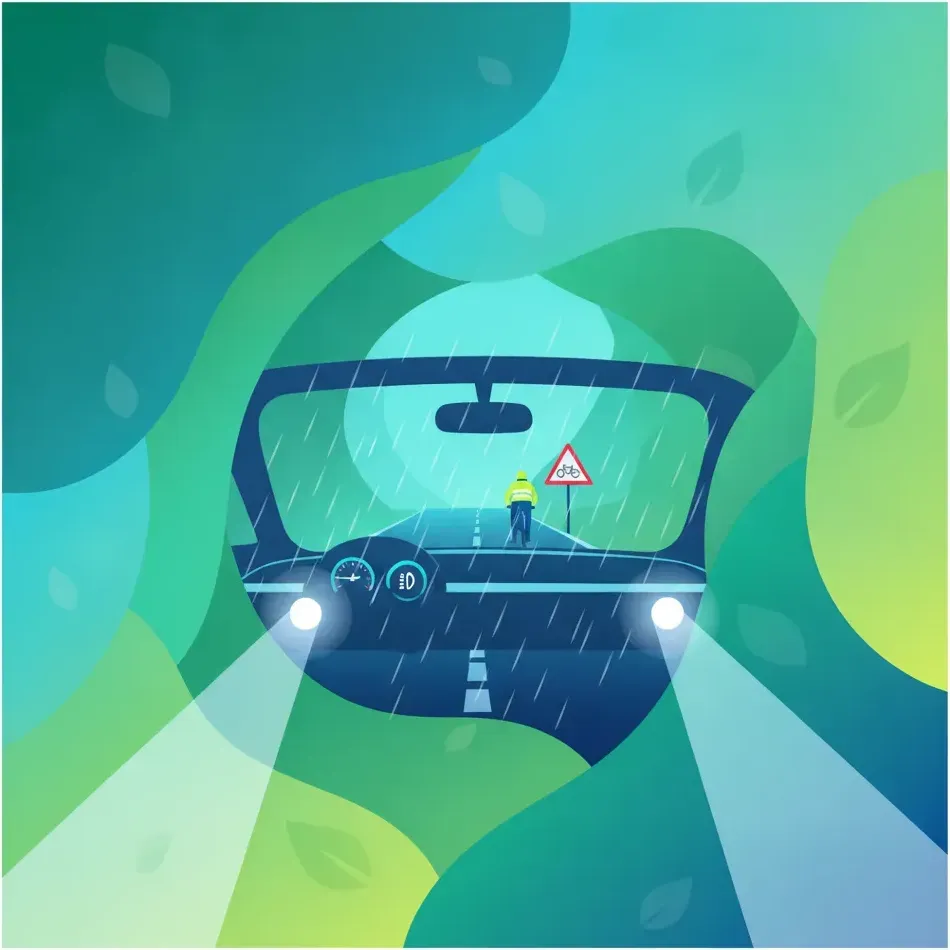
This lesson details the legal requirements and best practices for using lights and reflectors on your moped or light quadricycle. It covers the correct operation of headlamps, daytime running lights, brake lights, and indicators to communicate your intentions clearly to other road users. You will also learn how to enhance your visibility further with strategically placed reflectors and reflective tape, ensuring you remain conspicuous in low-light conditions and compliant with British lighting regulations.

This lesson equips drivers with strategies for maintaining control of a heavy vehicle during adverse weather conditions like heavy rain, ice, snow, and strong crosswinds. It covers the physics of traction loss, aquaplaning, and skidding, and explains how to use smooth inputs for steering, acceleration, and braking. The function of electronic stability control systems and other driver aids is also discussed as part of a proactive approach to safety in challenging environments.
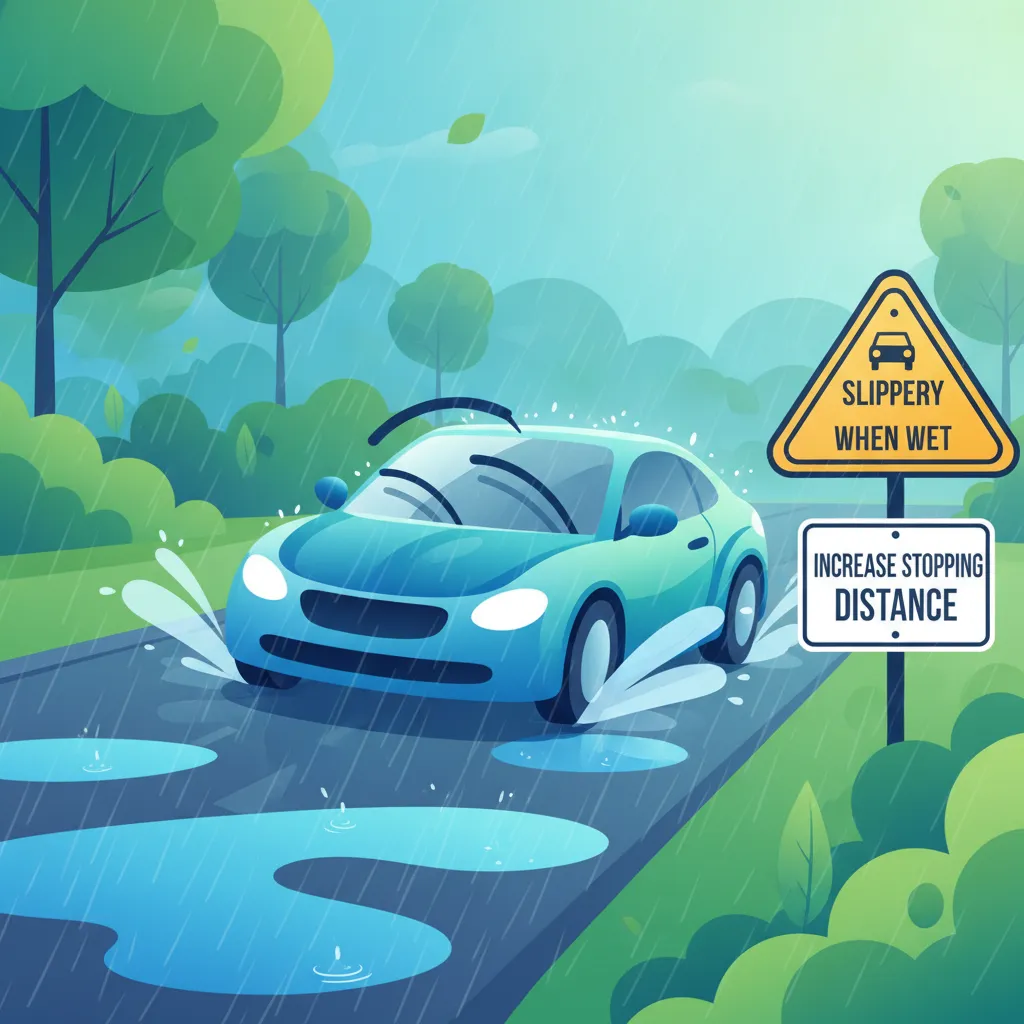
This lesson explains how different weather conditions impact the handling and stability of a large passenger vehicle. It covers the risks of aquaplaning in heavy rain, the effect of high winds on vehicle stability, and the severe reduction in visibility caused by fog. Learners will understand how ice and snow dramatically increase stopping distances and require extremely gentle control inputs to prevent skidding. Strategies for adapting speed and increasing following distances are emphasized.
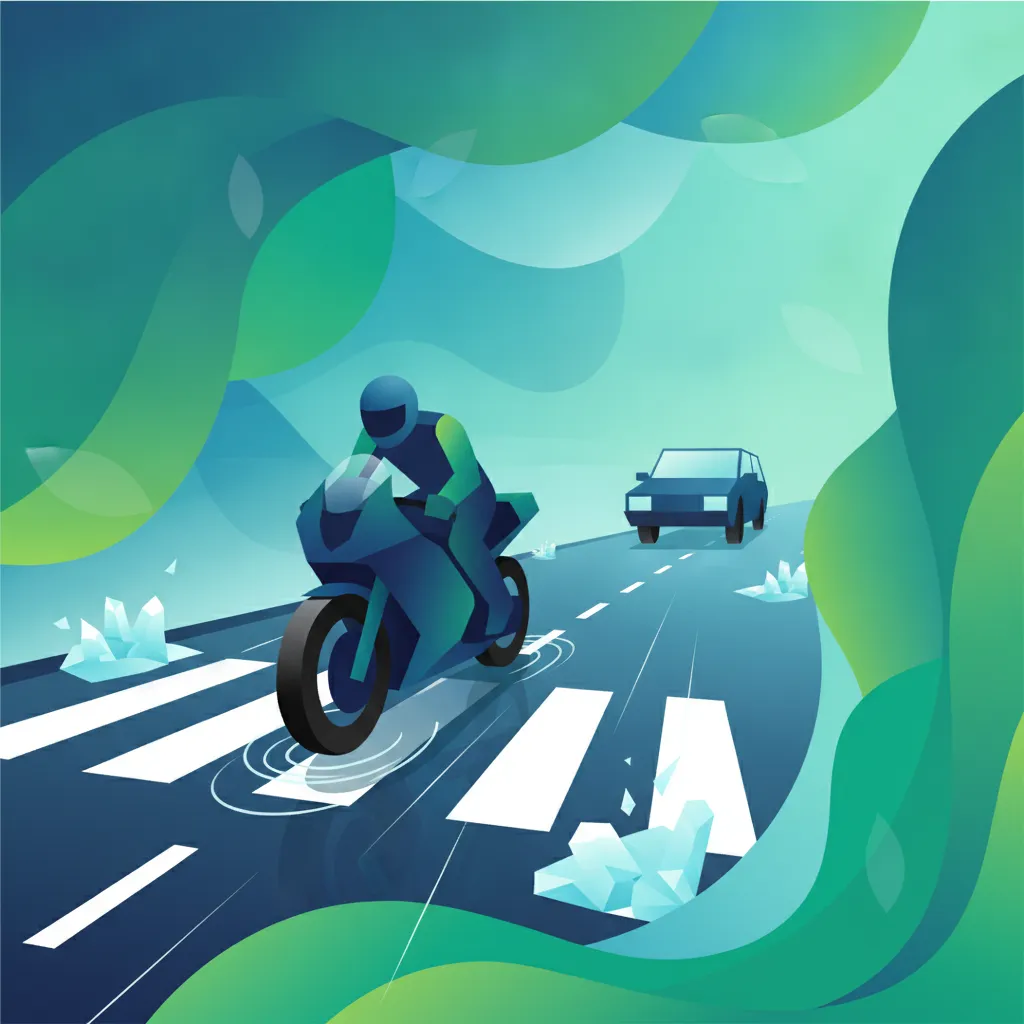
This lesson provides essential advice for riding safely in adverse weather conditions that reduce tyre grip. You will learn how rain, ice, and wet leaves dramatically increase braking distances and affect handling. Key strategies covered include reducing speed, increasing following distances, making smooth control inputs, and anticipating slippery areas to maintain control and avoid skidding on compromised road surfaces.
Learn when to use dipped beam versus main beam headlights, position lights, and hazard warning lights during night driving and low light conditions according to UK Highway Code regulations. Crucial for road safety.
This lesson addresses the increased risks associated with driving after dark. It explains when to switch between dipped and main beam headlights to maximise your own vision without dazzling other drivers. Techniques for reducing glare and spotting hazards like cyclists or pedestrians with poor visibility are also covered.
This lesson provides essential techniques for safe riding during nighttime and in poor visibility conditions like dawn or dusk. It covers the correct use of your headlamp's main and dipped beams, strategies for reducing glare from oncoming traffic, and the critical role of reflective clothing. You will also learn how to identify common nighttime hazards and manage fatigue, ensuring you can navigate British roads safely after dark while complying with all relevant road rules.
This lesson details the legal requirements and best practices for using lights and reflectors on your moped or light quadricycle. It covers the correct operation of headlamps, daytime running lights, brake lights, and indicators to communicate your intentions clearly to other road users. You will also learn how to enhance your visibility further with strategically placed reflectors and reflective tape, ensuring you remain conspicuous in low-light conditions and compliant with British lighting regulations.
Riding at night requires different skills, as visibility is limited to the reach of your headlights. This lesson teaches you how and when to use main beam and dipped beam lights effectively. It also discusses the increased risk from fatigue and nocturnal animals, and emphasizes the importance of a clean visor and reflective gear for safety.
This lesson focuses on the challenges of riding when you can't see or be seen clearly. It covers the correct use of lights in fog, rain, and at night to maximize both your vision and your visibility to others. You will learn why reducing speed is critical, how to use reflective clothing effectively, and strategies for dealing with the glare from other vehicles' headlights to ensure you can navigate safely in all lighting conditions.
Fog dramatically reduces how far you can see and be seen. This lesson explains why you must reduce your speed and increase your following distance in foggy conditions. It also covers the legal requirements and best practices for using your headlights and fog lights to maximize your visibility to others without dazzling them.
Find clear answers to common questions learners have about Vehicle Lighting Requirements (Day, Night, Adverse Conditions). Learn how the lesson is structured, which driving theory objectives it supports, and how it fits into the overall learning path of units and curriculum progression in Great Britain. These explanations help you understand key concepts, lesson flow, and exam focused study goals.
You must only use fog lights when visibility is seriously reduced, generally to less than 100 metres. You must remember to switch them off immediately once visibility improves to avoid dazzling other drivers or obscuring your brake lights.
No, you should never use hazard warning lights as an excuse for illegal or obstructive parking. Hazard warning lights should only be used when your vehicle has broken down or to warn other drivers that you are causing an obstruction on a motorway or unrestricted dual carriageway.
Use main beam headlights on unlit country roads at night to see further ahead, but you must switch to dipped headlights immediately when meeting oncoming traffic, following another vehicle, or approaching a junction to prevent dazzling other road users.
While you aren't always legally required to have your lights on during the day, using dipped headlights in poor daylight visibility helps you be seen by others. Some modern vehicles have daytime running lights that turn on automatically.
Dive into our comprehensive question bank to find exactly what you need for your Great Britain theory test. Use our advanced filters to pinpoint specific subjects or test your knowledge on challenging areas, ensuring you're fully prepared for success.