
This lesson guides you through interpreting the triangular warning signs that alert riders to hazards on Great Britain's roads. Understanding these signs is vital for the Category AM theory test and your practical safety as a moped or light quadricycle rider. You will learn to recognize common indicators for junctions, roadworks, and surface hazards, helping you anticipate danger before it happens.
Lesson content overview
As an AM licence holder, mastering the interpretation of warning signs and hazard indicators is fundamental to safe riding on Great Britain's roads. These crucial traffic signs serve as your proactive alerts, providing advance notice of potential dangers ahead. By understanding their meanings and adhering to the associated rules, you can anticipate hazards, adjust your speed and position defensively, and significantly reduce the risk of collisions. This lesson will equip you with the knowledge to recognise, interpret, and react appropriately to the most common warning signs you'll encounter during your rides on a moped or light quadricycle.
Warning signs are a vital component of the Great Britain road network, designed to enhance road safety by alerting riders and drivers to potential hazards. Unlike regulatory signs, which issue commands or prohibitions, warning signs inform you of conditions requiring extra caution or a change in your riding behaviour. Their primary role is to give you sufficient time to react safely to unforeseen circumstances.
In the UK, permanent warning signs are instantly recognisable by their distinctive shape and colour scheme. They are equilateral triangles, pointing upwards, featuring a red border, a white background, and a black pictogram (symbol) in the centre. This universal design ensures immediate recognition, regardless of language or specific location. This consistent visual cue is engineered for quick cognition, triggering a higher level of hazard perception as you approach.
Temporary warning signs, often associated with roadworks or temporary hazards, typically share the triangular shape but often have an amber or yellow background instead of white. This colour distinction immediately signals that the hazard is temporary and may involve active work or changes to the road layout.
The underlying logic of warning signs aligns with safety engineering principles: identify risks before exposure. Psychology studies confirm that advance warnings significantly improve reaction times, allowing riders to prepare mentally and physically for what lies ahead.
Understanding the foundational principles behind warning signs will deepen your appreciation for their importance and guide your reactions.
Let's explore some of the most frequently encountered warning signs and their specific implications for AM licence holders.
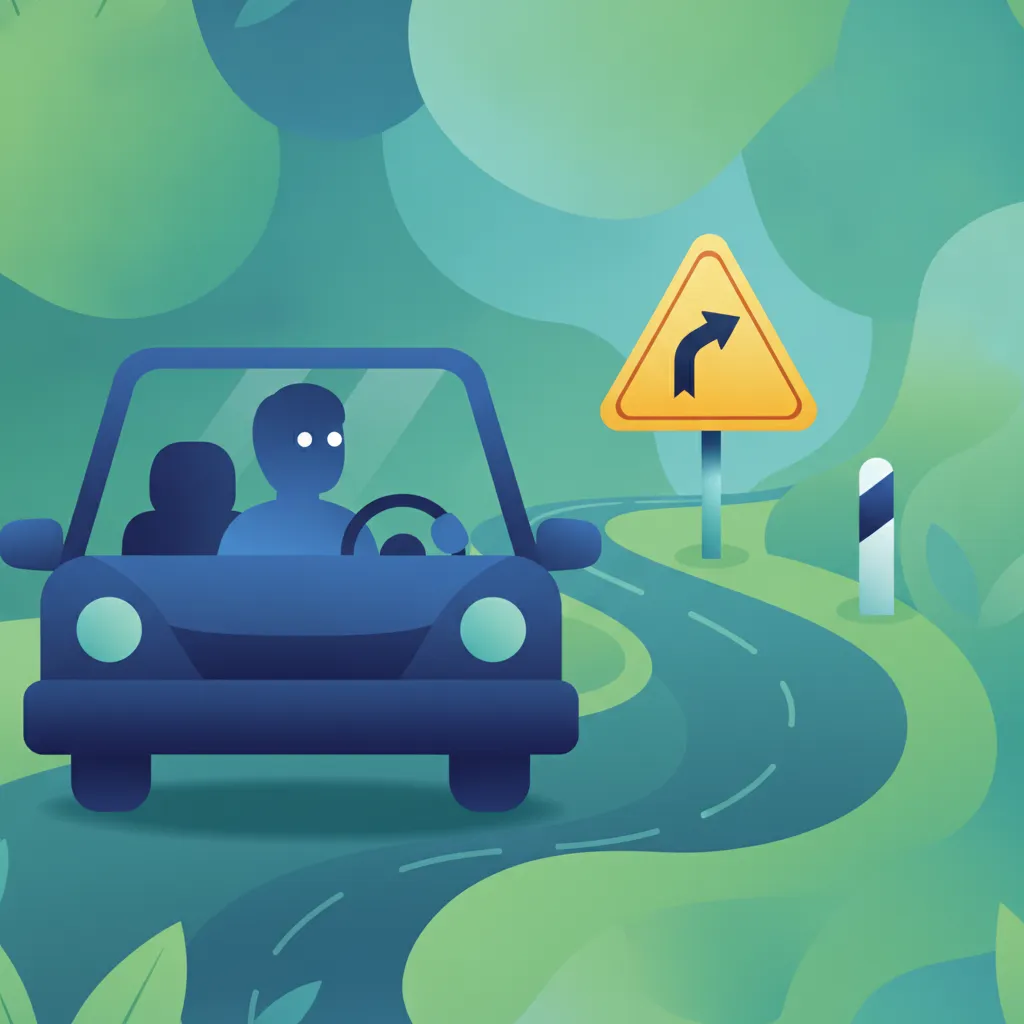
These signs alert you to an upcoming curve in the road that requires a reduction in speed and careful handling. They are critical for AM riders, as mopeds and light quadricycles have different stability characteristics and lean angles compared to larger vehicles.
The pictogram shows a black arrow curving either left or right, or a double arrow indicating successive bends. Upon seeing such a sign, you must anticipate the curve, reduce your speed before entering the bend, and prepare to lean your moped or carefully steer your quadricycle through it. Entering a sharp bend too quickly can lead to a loss of traction or control, particularly on a lighter AM vehicle. Always consider the road conditions, such as wet surfaces or gravel, which can further reduce grip.
This sign is a critical alert for conditions that can compromise your vehicle's tyre grip and stability.
The sign depicts a black car leaving skid marks on a white background. It signifies that the road surface ahead may be unusually slippery, often due to rain, ice, snow, oil, or loose chippings. For AM licence holders, this sign demands immediate attention. Your small vehicle has a smaller tyre contact patch, making it more susceptible to skidding.
When you see a slippery road sign, you must:
Do not assume the slippery patch is brief; treat the entire upcoming section of road with extreme caution. If supplementary plates indicate "ICE" or "WET" or "SNOW," the hazard is even more pronounced.
Roadworks signs alert you to temporary changes in the road environment, which can pose significant risks if not approached cautiously.
This sign typically features a black pictogram of a person carrying a spanner or shovel on an amber or yellow background, signifying temporary conditions. Roadworks can involve lane closures, diversions, reduced road widths, uneven surfaces, loose materials, temporary traffic signals, and active workers.
When approaching roadworks:
Ignoring roadworks signs or temporary speed limits significantly increases the risk of collision, particularly in areas with reduced visibility or active personnel.
These signs warn of areas where animals are likely to cross the road, often in rural or semi-rural locations.
The pictogram shows the silhouette of the specific animal (e.g., deer, cattle, horses). Upon seeing such a sign, you should:
These signs alert you to upcoming pedestrian crossings, requiring you to be ready to stop and yield to pedestrians.
The sign typically shows a black figure of a pedestrian on a white background, sometimes with a crossing stripe below. It signifies that you are approaching an area where pedestrians may cross the road, such as a zebra crossing, pelican crossing, or an uncontrolled crossing point.
When you see this sign:
Often accompanying main warning signs, supplementary plates provide additional crucial information about the hazard. These plates are usually rectangular and placed directly below the primary triangular sign.
Common types of supplementary plates include:
You must interpret these supplementary plates together with the main warning sign. Forgetting to read them can lead to misjudging the immediacy or nature of the hazard. For instance, a "Sharp Bend" sign with a "50m" plate means the bend is almost upon you, demanding a more immediate speed adjustment than if the plate read "300m".
Understanding and obeying warning signs is not merely good practice; it is a legal requirement under The Highway Code.
Highway Code Rule 166: Obey Warning Signs. This rule states that warning signs must be obeyed. They indicate hazards, and you must adjust your speed or position as required. For AM licence holders, this means being constantly vigilant and ready to adapt your riding style.
Correct Action: A rider sees a "Sharp Bend Ahead" sign and reduces speed well before entering the curve, preparing to lean. Incorrect Action: A rider ignores the sign and enters the bend at the previous speed, risking a loss of control.
Highway Code Rule 167: Safe Stopping Distance. This rule mandates that you must not drive faster than a speed that would prevent a safe stop in the presence of warning signs, especially those indicating conditions affecting stopping distance (e.g., slippery roads). This provides a crucial physical safety margin.
Correct Action: Upon seeing a "Slippery Road" sign in rainy conditions, a moped rider significantly reduces speed and increases their following distance. Incorrect Action: A rider maintains normal speed on a visibly wet road despite the warning sign and has to brake harshly, causing a skid.
Highway Code Rule 181: Obey Temporary Speed Limits. During roadworks, temporarily reduced speed limits displayed on supplementary plates must be strictly obeyed. These limits are legally enforceable and are put in place to protect workers and manage altered road layouts safely.
Correct Action: A light quadricycle driver sees a "Roadworks Ahead" sign with a "20 mph" supplementary plate and immediately slows down to the posted limit. Incorrect Action: A driver ignores the temporary 20 mph limit and continues at 40 mph through the roadworks, endangering workers.
Highway Code Rule 174: Pedestrian Priority. When approaching pedestrian crossing warning signs, you must remember that pedestrians on a crossing have priority over vehicles. You must be prepared to slow down and stop to allow them to cross safely.
Correct Action: A moped rider slows down and stops at a zebra crossing warning sign to allow children to cross. Incorrect Action: A rider attempts to ride through a crossing while pedestrians are present, risking a collision.
Highway Code Rule 166 (Supplementary Plates): Read Together. Supplementary plates must always be read and interpreted in conjunction with the main warning sign. They provide vital context, such as distance to the hazard, its duration, or specific conditions.
Correct Action: A rider sees a "Double Bend Ahead" sign with a "For 1 mile" plate and prepares for an extended section of winding road. Incorrect Action: A rider only notices the "Double Bend" sign but overlooks the "For 1 mile" plate, failing to anticipate the full length of the hazardous section.
Even experienced riders can make mistakes when interpreting warning signs. Being aware of these common pitfalls can help you avoid them.
The meaning and urgency of a warning sign are rarely absolute. They are influenced by various contextual factors, requiring you to adapt your riding behaviour.
Understanding the "why" behind these rules reinforces their importance and helps you make safer decisions instinctively.
F = mv²/r). This is critical for mopeds and light quadricycles, which have lower stability margins than cars. Reducing speed drastically lowers the risk of skidding or losing control.By internalising these insights, you'll develop a deeper appreciation for the function of warning signs and cultivate a more defensive and proactive riding style, essential for holding a Great Britain AM Licence.
To ensure you are fully prepared to interpret and respond to warning signs:
This lesson teaches AM licence holders to recognise and respond to Great Britain's triangular warning signs with red borders, which alert riders to hazards ahead. The content covers sharp bends requiring pre-emptive speed reduction, slippery road conditions demanding reduced speed and increased following distance, roadworks with enforceable temporary limits, animal crossings where gentle straight-line braking is safer than swerving, and pedestrian crossings where riders must yield priority. Key principles include always reading supplementary plates together with main signs, obeying Highway Code Rules 166, 167, 181, and 174, and adapting riding behaviour based on weather, light conditions, and vehicle state. Common mistakes to avoid include ignoring supplementary plates, treating temporary signs as optional, and entering bends at excessive speed.
A short set of high-value points that capture the most important learning from this lesson.
Permanent warning signs in Great Britain are equilateral triangles pointing upward with a red border, white background, and black pictogram; temporary signs use an amber background
Sharp bend signs require speed reduction before entering the curve, as mopeds and light quadricycles have lower stability margins than larger vehicles
A slippery road sign means you should reduce speed significantly, increase following distance, and use gentle controls to maintain tyre grip
Supplementary plates below warning signs provide crucial context about distance, conditions, or duration that must always be read together with the main sign
Animal crossing signs require gentle braking in a straight line rather than abrupt swerving, which can cause loss of control on AM vehicles
Explore all units and lessons included in this driving theory course.
Highway Code Rule 166 mandates obeying all warning signs; they indicate hazards requiring speed or position adjustment
Highway Code Rule 167 requires maintaining a speed that allows safe stopping within the visible clear distance ahead
Highway Code Rule 181 makes temporary speed limits at roadworks legally enforceable and non-optional
Highway Code Rule 174 confirms pedestrians on crossings have priority; riders must be prepared to stop
The advance warning from a sign typically provides approximately 2.5 seconds of extra reaction time for hazard perception
Ignoring supplementary plates that indicate distance or specific conditions, leading to misjudged hazard response timing
Treating temporary roadworks signs and reduced speed limits as optional rather than legally binding requirements
Entering sharp bends without prior speed reduction, risking loss of traction or control on a lighter AM vehicle
Making abrupt evasive swerves for animals instead of braking gently in a straight line, which increases collision risk with other road users
Assuming warning signs are less important during daylight, when reduced visibility at night or in fog makes them even more critical
Lesson content overview
A short set of high-value points that capture the most important learning from this lesson.
Permanent warning signs in Great Britain are equilateral triangles pointing upward with a red border, white background, and black pictogram; temporary signs use an amber background
Sharp bend signs require speed reduction before entering the curve, as mopeds and light quadricycles have lower stability margins than larger vehicles
A slippery road sign means you should reduce speed significantly, increase following distance, and use gentle controls to maintain tyre grip
Supplementary plates below warning signs provide crucial context about distance, conditions, or duration that must always be read together with the main sign
Animal crossing signs require gentle braking in a straight line rather than abrupt swerving, which can cause loss of control on AM vehicles
Explore all units and lessons included in this driving theory course.
Highway Code Rule 166 mandates obeying all warning signs; they indicate hazards requiring speed or position adjustment
Highway Code Rule 167 requires maintaining a speed that allows safe stopping within the visible clear distance ahead
Highway Code Rule 181 makes temporary speed limits at roadworks legally enforceable and non-optional
Highway Code Rule 174 confirms pedestrians on crossings have priority; riders must be prepared to stop
The advance warning from a sign typically provides approximately 2.5 seconds of extra reaction time for hazard perception
Ignoring supplementary plates that indicate distance or specific conditions, leading to misjudged hazard response timing
Treating temporary roadworks signs and reduced speed limits as optional rather than legally binding requirements
Entering sharp bends without prior speed reduction, risking loss of traction or control on a lighter AM vehicle
Making abrupt evasive swerves for animals instead of braking gently in a straight line, which increases collision risk with other road users
Assuming warning signs are less important during daylight, when reduced visibility at night or in fog makes them even more critical
Explore search topics learners often look for when studying Warning Signs and Hazard Indicators. These topics reflect common questions about road rules, driving situations, safety guidance, and lesson level theory preparation for learners in Great Britain.
Browse additional driving theory lessons that cover connected traffic rules, road signs, and common driving situations related to this topic. Improve your understanding of how different rules interact across everyday traffic scenarios.
Explore the full range of UK warning signs and supplementary plates. Understand their precise meanings and how to react to complex hazard situations, crucial for AM licence holders navigating Great Britain's roads and for theory test preparation.

This lesson teaches you to interpret warning signs, which are typically triangular with a red border. These signs are crucial for anticipating potential dangers, from changes in road layout to the presence of pedestrians or animals. By understanding these warnings, you can adjust your driving to safely navigate upcoming hazards.
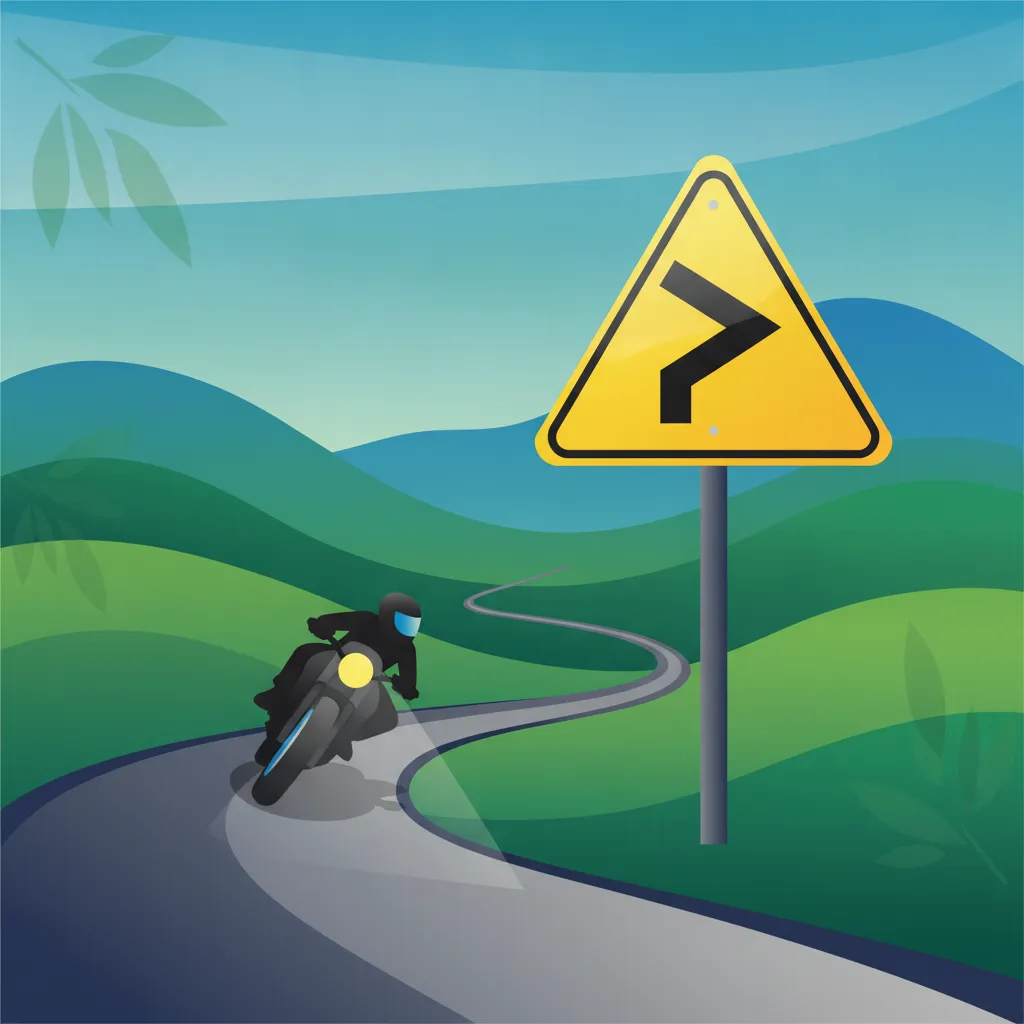
This lesson explains the function of warning signs, which are mostly triangular and alert road users to potential dangers ahead. You will learn to identify signs for bends, junctions, slippery surfaces, and other hazards particularly relevant to motorcyclists. Acting on these warnings allows a rider to adjust speed and position proactively, enhancing safety.
This lesson focuses on regulatory road signs, which convey legally enforceable instructions that all road users must follow. You will learn to identify and understand signs dictating speed limits, prohibited actions like 'no entry' or 'no overtaking', and mandatory directions at junctions. The content explains the distinct shapes and colours used for these signs, ensuring you can comply with their instructions correctly and avoid penalties while riding your AM vehicle.
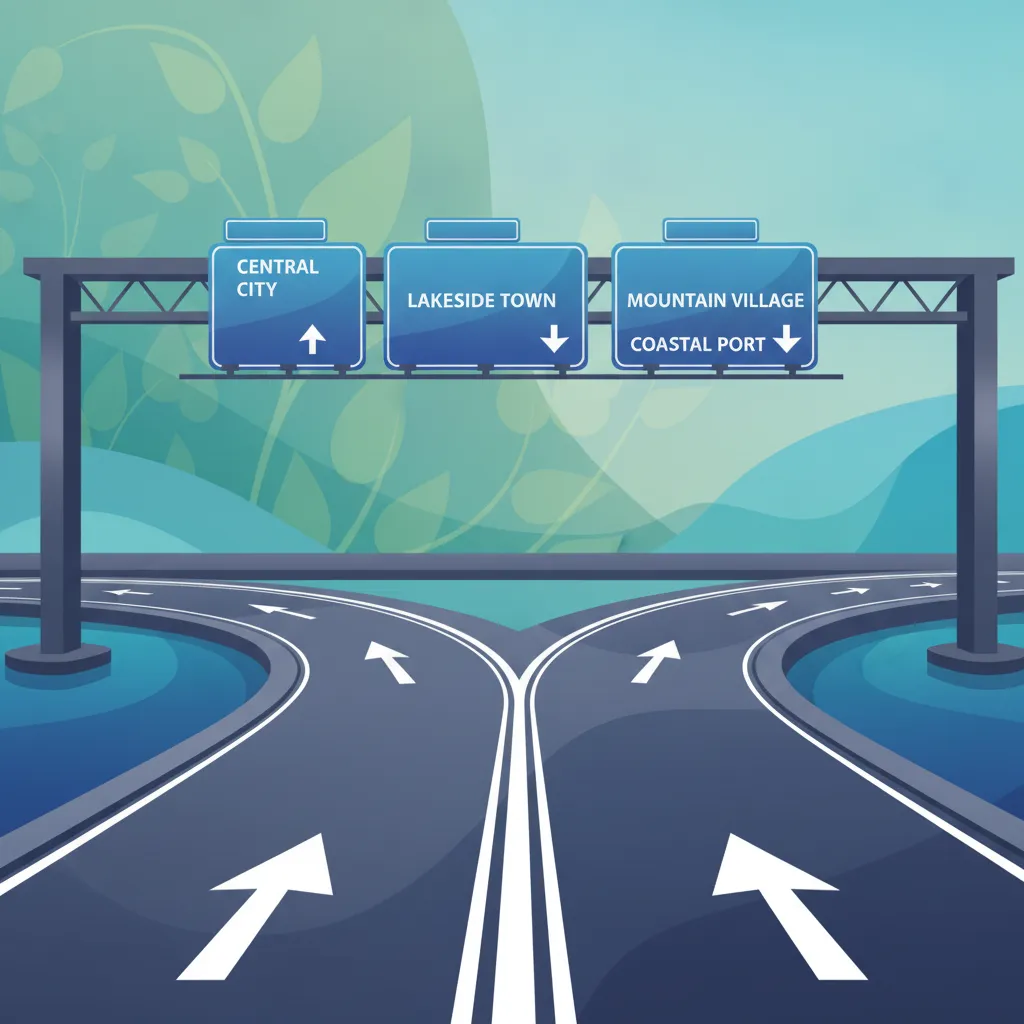
This lesson covers the signs that help you navigate your journey effectively. It explains how sign colours indicate the type of road—blue for motorways, green for primary routes, and white for non-primary routes. You will also learn to interpret signs for tourist attractions, services, and lane information at complex junctions.
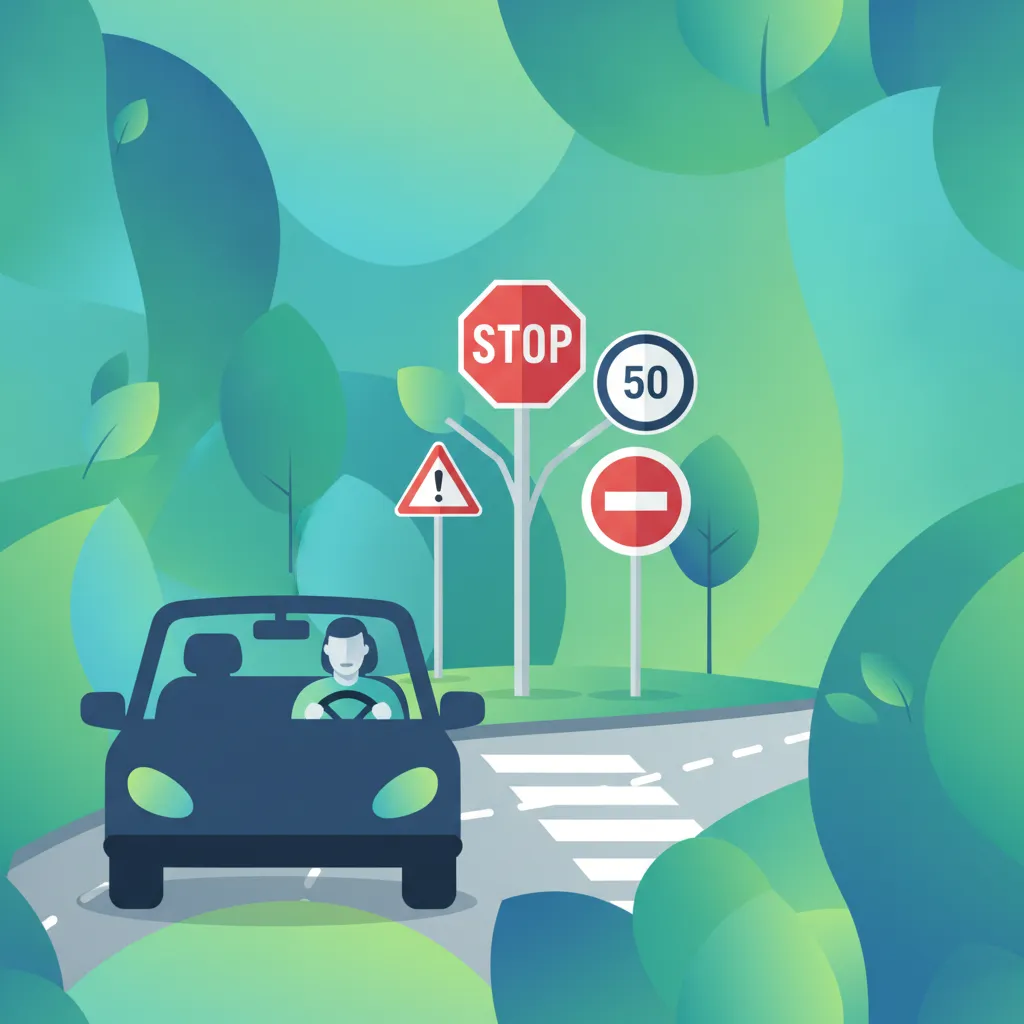
This lesson focuses on regulatory signs, which are legally enforceable and must be obeyed. It explains the difference between prohibitory signs, such as 'No Entry' or speed limits, and mandatory signs, like 'Turn Left'. Understanding the design and meaning of these signs is fundamental to safe and lawful driving in the UK.
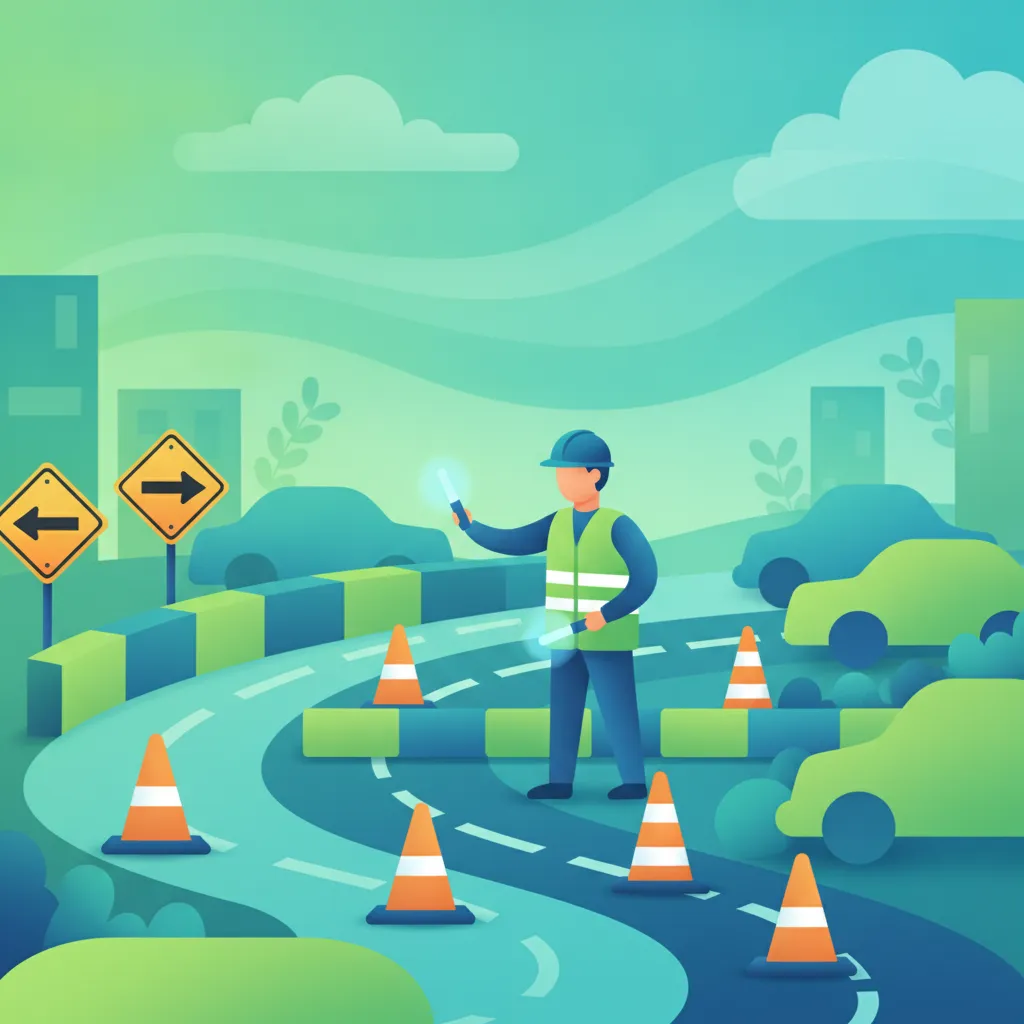
This lesson explains how to drive safely through areas where roadworks are taking place. It stresses the importance of obeying all temporary signs, especially mandatory speed limits, which are in place for your safety and the safety of road workers. You will learn about navigating narrow lanes, contraflow systems, and how to follow official diversion signs.
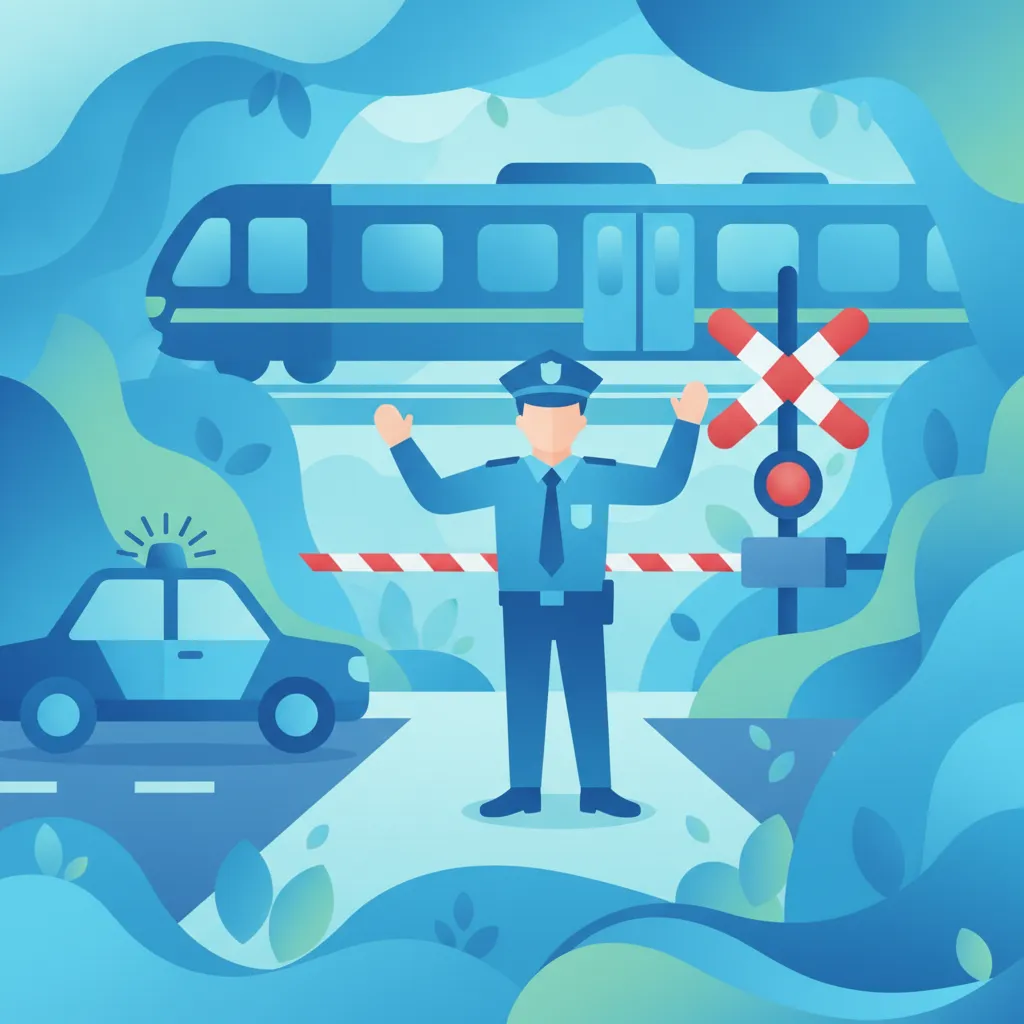
This lesson covers signals that require an immediate and specific response from drivers. You will learn the meaning of hand signals given by police officers and how to give way safely to emergency vehicles with flashing lights or sirens. It also explains the warning light system at railway level crossings, where you must stop when signalled to do so.
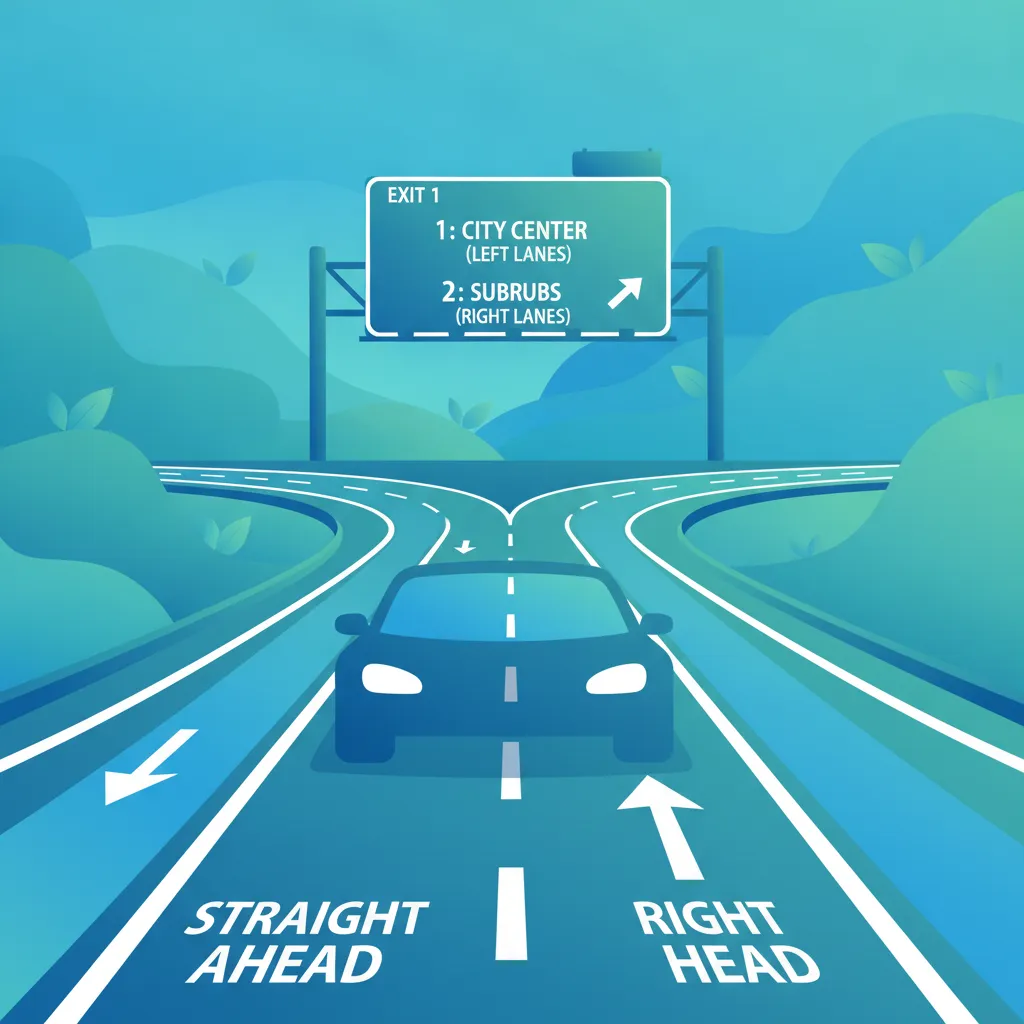
This lesson focuses on the rules conveyed by road markings, such as solid and broken white lines that dictate overtaking rules and lane boundaries. You will learn to interpret waiting and stopping restrictions indicated by yellow and red lines, and understand markings for specific road users like bus and cycle lanes. Maintaining correct lane discipline based on these markings is a fundamental skill for safe navigation and compliance with the Highway Code.
This lesson covers the full range of road signs encountered by passenger vehicle drivers, focusing on regulatory, warning, and informational signs. It explains the visual characteristics of sign shapes, colors, and symbols, particularly those associated with bus lane usage and priority rules. By mastering sign hierarchy and meaning, drivers can quickly interpret the sign's intent and adjust their driving behaviour accordingly, ensuring full compliance with the Highway Code and enhancing road safety.
This lesson provides a thorough explanation of the UK traffic light system, including the meaning of red, amber, and green signals, as well as the red-and-amber phase. You will learn how to interpret filter arrows for turning and understand your position relative to the stop line. The content also covers signals at pedestrian crossings, ensuring you can navigate all types of signalised intersections safely and in accordance with the Highway Code.
Learn how weather, light, and road surface conditions affect riding and hazard perception. Understand essential theory for AM licence holders on adapting speed and position to maintain safety on Great Britain's roads in all environments.

This lesson provides essential advice for driving when weather conditions are poor. It explains how rain can cause aquaplaning and why you must double your following distance. You will also learn techniques for driving in icy conditions, including gentle use of controls to avoid skidding, and the correct use of lights in fog.
This lesson provides essential advice for riding safely in adverse weather conditions that reduce tyre grip. You will learn how rain, ice, and wet leaves dramatically increase braking distances and affect handling. Key strategies covered include reducing speed, increasing following distances, making smooth control inputs, and anticipating slippery areas to maintain control and avoid skidding on compromised road surfaces.

This lesson focuses on the challenges of riding when you can't see or be seen clearly. It covers the correct use of lights in fog, rain, and at night to maximize both your vision and your visibility to others. You will learn why reducing speed is critical, how to use reflective clothing effectively, and strategies for dealing with the glare from other vehicles' headlights to ensure you can navigate safely in all lighting conditions.

Fog dramatically reduces how far you can see and be seen. This lesson explains why you must reduce your speed and increase your following distance in foggy conditions. It also covers the legal requirements and best practices for using your headlights and fog lights to maximize your visibility to others without dazzling them.

This lesson provides essential techniques for safe riding during nighttime and in poor visibility conditions like dawn or dusk. It covers the correct use of your headlamp's main and dipped beams, strategies for reducing glare from oncoming traffic, and the critical role of reflective clothing. You will also learn how to identify common nighttime hazards and manage fatigue, ensuring you can navigate British roads safely after dark while complying with all relevant road rules.
This lesson teaches strategic road positioning techniques to maximize your visibility and safety in traffic. You will learn how to choose the correct lane position to avoid the blind spots of larger vehicles and how to communicate your intentions through predictable riding. Key skills covered include effective use of shoulder checks, making eye contact with drivers, and maintaining a safe following distance, all of which are crucial for defensive riding on British roads.
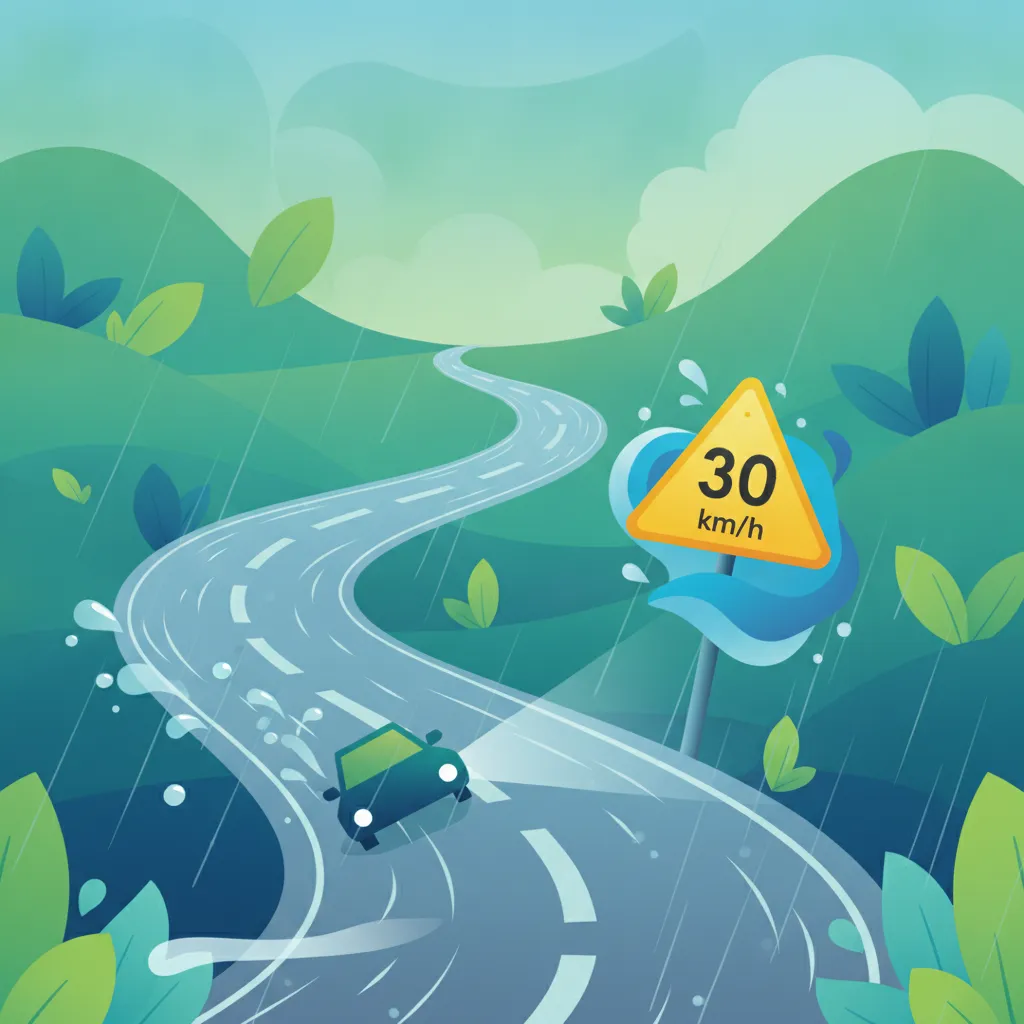
This lesson explains that safe driving often requires travelling at a speed lower than the legal limit. It covers how to adjust your speed for adverse conditions such as rain, which can double your stopping distance, or fog, which severely reduces visibility. The goal is to always be able to stop safely in the distance you can see to be clear.
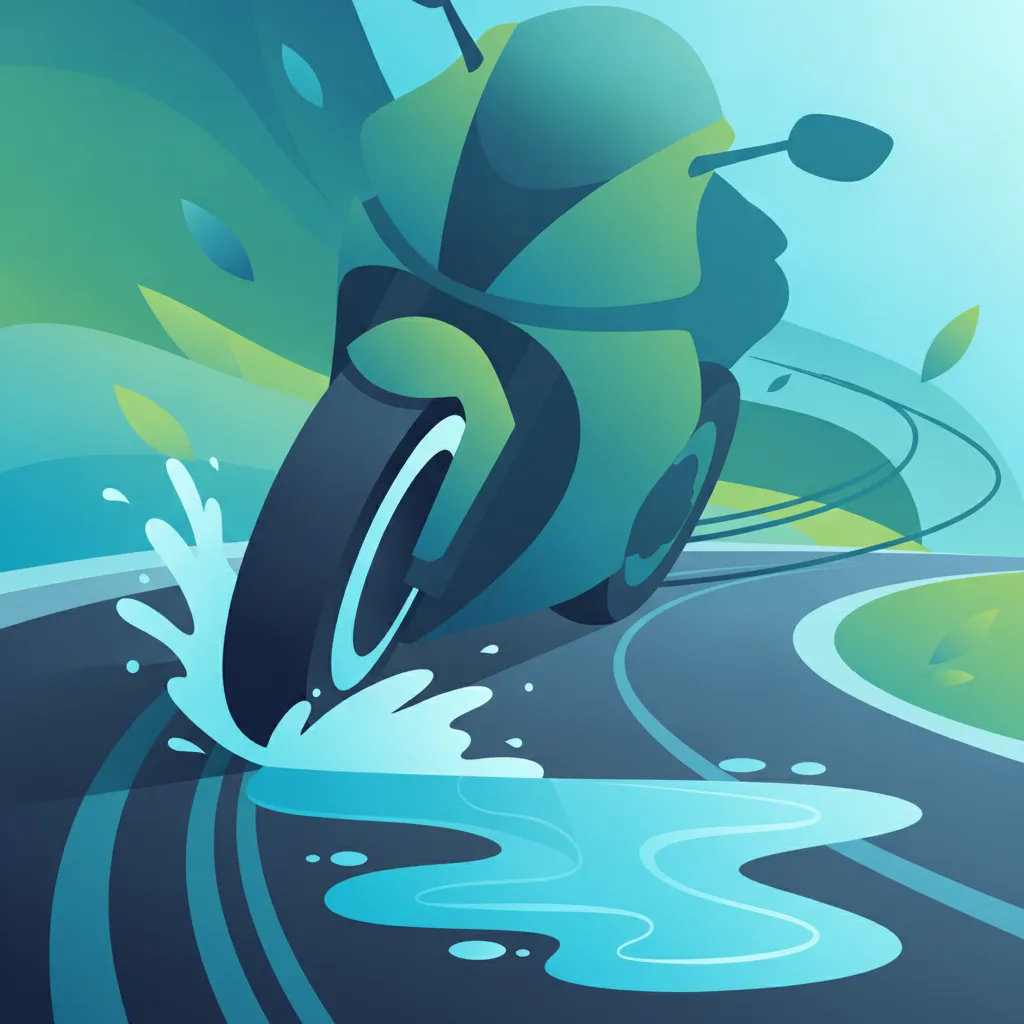
Riding in the rain requires significant adjustments to your technique. This lesson covers how to ride smoothly to maintain traction, the importance of increasing your following distance, and how to deal with reduced visibility from spray and fogged visors. You will also learn what aquaplaning is and how to avoid or manage it.
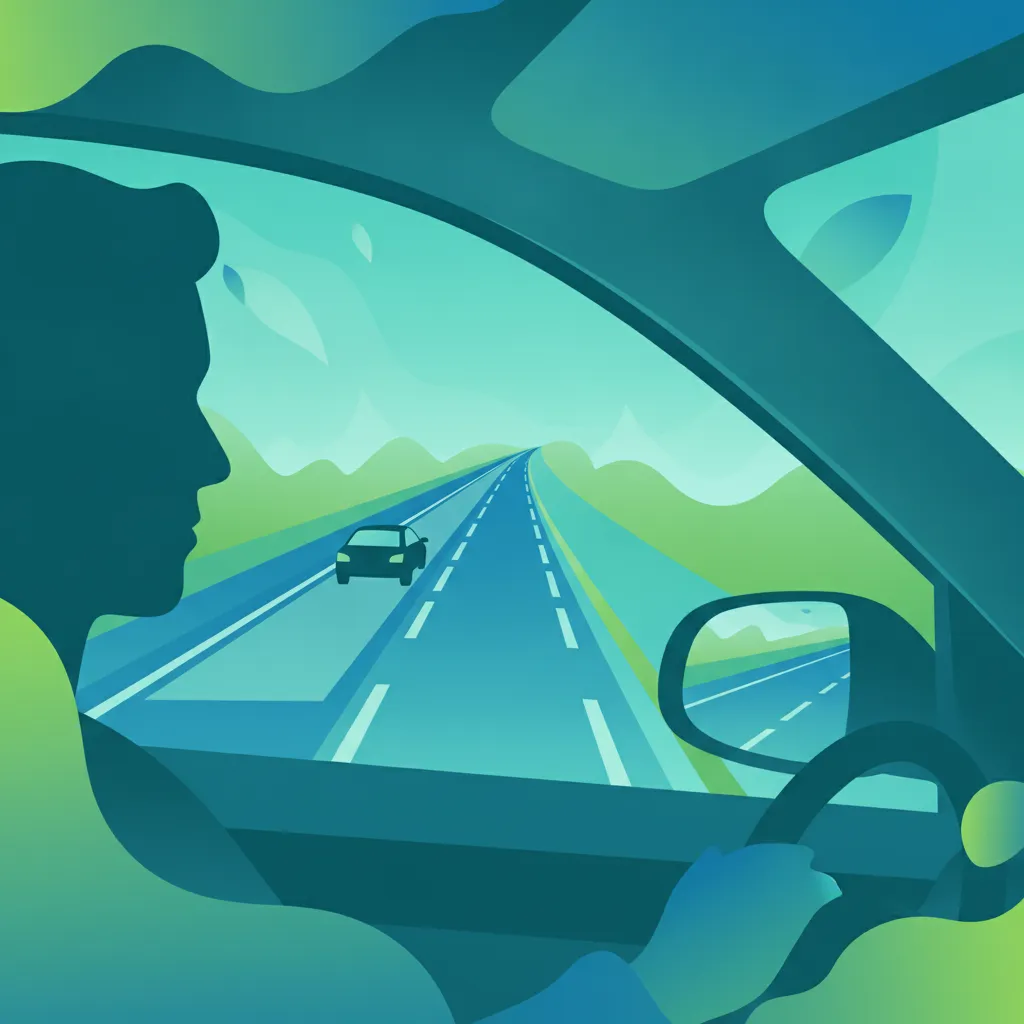
This lesson teaches riders how to be constantly aware of blind spots to prevent collisions. You will learn the importance of the 'lifesaver' shoulder check before changing position, turning, or moving off. The content emphasizes active visual scanning of the road ahead and around you, along with developing the judgment needed to accurately assess traffic speed and create safe gaps for maneuvering in various traffic situations.
Find clear answers to common questions learners have about Warning Signs and Hazard Indicators. Learn how the lesson is structured, which driving theory objectives it supports, and how it fits into the overall learning path of units and curriculum progression in Great Britain. These explanations help you understand key concepts, lesson flow, and exam focused study goals.
In the UK, warning signs are triangular with a red border to make them immediately recognizable as alerts for potential danger. This shape helps drivers and riders distinguish them from regulatory signs, which are often circular.
You should always scan the road ahead, adjust your speed, and be prepared to stop if necessary. The sign is giving you advance notice to manage the hazard safely, so do not leave your reaction until the last second.
No, the official DVSA theory test focuses exclusively on signs defined in the Highway Code. Focusing on the official syllabus is the most effective way to ensure you are prepared.
The warning signs themselves are universal for all road users in Great Britain. However, as an AM rider, you must pay extra attention to signs warning of surface hazards or road narrowings, as these pose a higher risk to smaller, less stable vehicles.
Dive into our comprehensive question bank to find exactly what you need for your Great Britain theory test. Use our advanced filters to pinpoint specific subjects or test your knowledge on challenging areas, ensuring you're fully prepared for success.