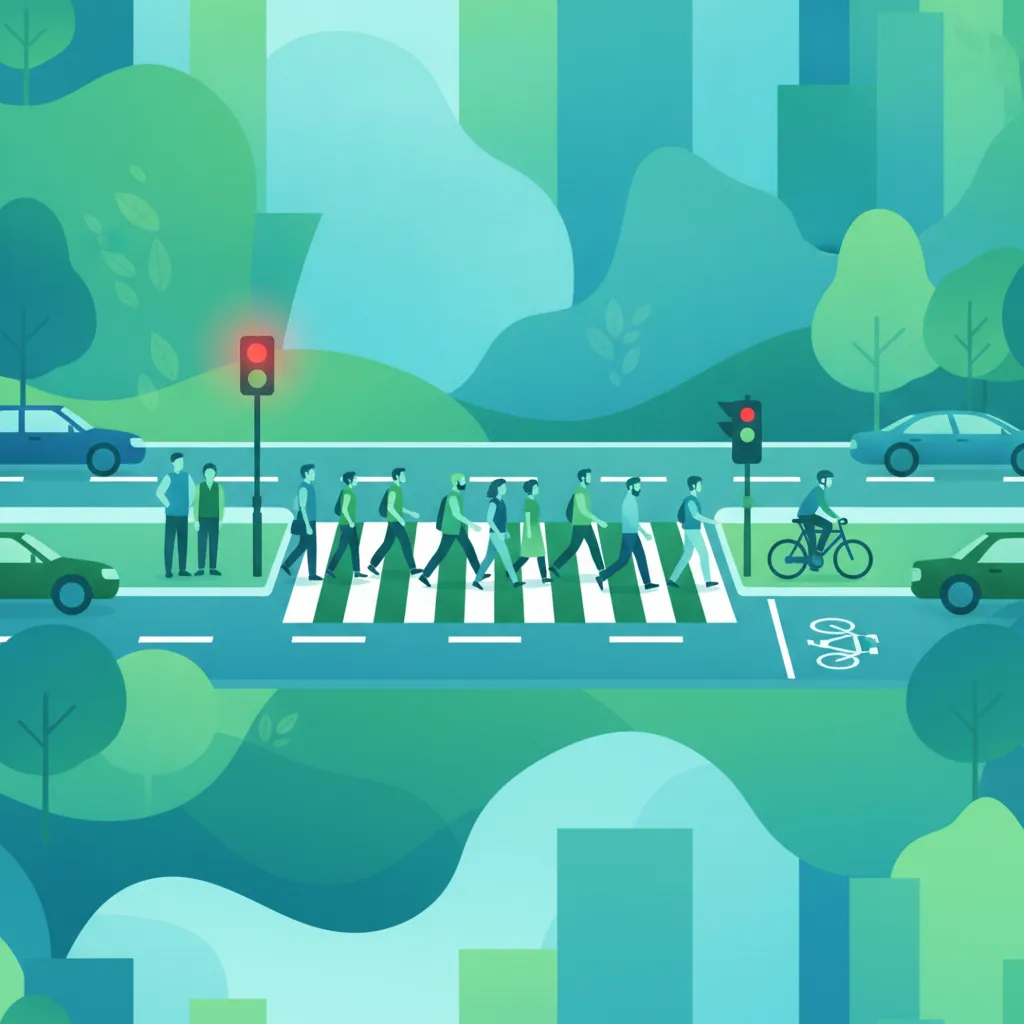
This lesson provides a comprehensive guide to identifying and navigating various pedestrian crossings on British roads. By mastering the differences between Zebra, Pelican, Puffin, and Toucan crossings, you will ensure you meet the safety standards required for your AM theory test and practical riding.
Lesson content overview
Navigating the roads safely as a moped or light quadricycle rider in Great Britain requires a thorough understanding of all types of pedestrian crossings. These designated points are crucial for protecting vulnerable road users, ensuring smooth traffic flow, and complying with the Highway Code. This lesson provides a detailed guide to zebra, pelican, puffin, toucan, and other specialist crossings, outlining the specific rules and best practices for each.
Understanding these rules is not merely about avoiding penalties; it's fundamental to anticipating hazards, making safe decisions, and contributing to a safer road environment for everyone. By mastering how to approach and navigate these crossings, you enhance your awareness, improve your road positioning, and significantly reduce risks.
Pedestrian crossings are vital interfaces where vehicles and pedestrians share the road space. For riders of mopeds and light quadricycles, understanding and adhering to the rules governing these crossings is paramount. Vulnerable road users, such as pedestrians, are particularly at risk in collisions. Your ability to anticipate their movements, recognize different crossing types, and react appropriately directly impacts their safety and your own.
Ignoring crossing rules can lead to serious legal penalties, including fines and penalty points on your licence. More importantly, it can result in tragic accidents. This knowledge builds on your understanding of road signs, markings, signals, and general priority concepts, preparing you for the practical challenges of riding on British roads.
The zebra crossing is perhaps the most iconic and distinct type of pedestrian crossing in Great Britain. It is unsignalised, meaning it does not have traffic lights for vehicles, relying instead on road markings and distinctive flashing beacons to indicate its presence and enforce priority rules.
A zebra crossing is easily identifiable by the alternating white and black stripes painted across the width of the carriageway, stretching from one side of the road to the other. At each end of the crossing, a tall, black and white striped pole features a flashing amber light known as a Belisha beacon. These beacons flash continuously, providing an advance warning to approaching drivers, especially in low light conditions or at night. There are typically also white zigzag lines on the road leading up to and immediately after a zebra crossing. These lines indicate an area where vehicles must not park or overtake, ensuring clear visibility for both drivers and pedestrians.
The core principle of a zebra crossing is absolute pedestrian priority. This means that if a pedestrian is on the crossing, or even clearly waiting to cross and indicating an intention to step onto it, drivers must stop and give way. This is a mandatory rule as per the Highway Code, specifically Rule 170.
Highway Code Rule 170: You must give way when a pedestrian has moved onto a crossing. You should look out for pedestrians waiting to cross and be ready to stop. You must not overtake the moving vehicle nearest the crossing or the vehicle nearest the crossing which has stopped to give way to pedestrians.
When approaching a zebra crossing, you should:
While pedestrians have absolute priority, they also have responsibilities. Highway Code Rule 171 states that pedestrians must not start crossing when traffic is too close for vehicles to stop safely. Pedestrians should wait for a safe gap in traffic before stepping onto the crossing, or ensure that approaching vehicles have stopped. Making eye contact with drivers can also help confirm that they have been seen.
Signal-controlled crossings use traffic lights to manage the flow of both vehicles and pedestrians. This section details the operation and specific rules for Pelican, Puffin, and Toucan crossings, which are equipped with push-button activation and distinct light sequences.
A Pelican crossing (PEdestrian LIght CONtrolled) is a signal-controlled crossing featuring traffic lights for vehicles (red, amber, green) and separate signal heads for pedestrians (red man, green man). Pedestrians activate the crossing by pressing a push button.
Pelican crossings have a unique amber flashing phase that follows the green man signal for pedestrians. After the pedestrian "green man" has been displayed and then typically disappears or changes to a flashing green man, the vehicle lights will show a flashing amber light.
Highway Code Rule 181: At a Pelican crossing, when the amber light is flashing, you must give way to any pedestrians on the crossing. If the crossing is clear, you may proceed.
This amber flashing phase is crucial:
Common errors include drivers treating the flashing amber as a standard amber and proceeding without ensuring the crossing is clear, leading to potential collisions with pedestrians still crossing.
A Puffin crossing (PEdestrian User-Friendly INtelligent) is an evolution of the Pelican crossing, designed to be more efficient and safer. Like Pelican crossings, they are push-button activated and have vehicle and pedestrian signals. However, Puffin crossings incorporate sophisticated sensors (detection loops or cameras) to detect if pedestrians are waiting to cross and, crucially, if they are still on the crossing.
Highway Code Rule 186: At Puffin crossings, drivers must obey the traffic signals. The signals for pedestrians are on the same pole as the vehicle lights, facing pedestrians. The timing of these signals is adjusted by detectors.
A Toucan crossing gets its name from "Two Can" cross – both pedestrians and cyclists. These crossings are designed for mixed use, allowing cyclists to ride across alongside pedestrians without dismounting. They feature push-button activation, and distinct signals for both pedestrians and cyclists.
Highway Code Rule 188: Cyclists and pedestrians may cross together at a Toucan crossing when the green man or green bicycle symbol is shown. Cyclists must not proceed on red or amber without the green bicycle symbol.
Common misunderstandings include cyclists ignoring the green bicycle symbol or riding too quickly, causing conflict with pedestrians. Drivers must remember to look out for both types of vulnerable road users.
Beyond the main types, other specialised crossings cater to specific road layouts or urban needs.
A Parallel crossing is often found on dual carriageways, which are roads with a central reservation separating traffic flowing in opposite directions. Here, pedestrians cross one carriageway at a time using two separate, parallel crossings. Each crossing operates independently with its own set of signals.
Highway Code Rule 190: At a parallel crossing, pedestrians must obey the traffic signals for the carriageway they are crossing.
This design prevents pedestrians from being stranded in the middle of a wide, busy road and allows traffic flow on one side to continue while the other is stopped.
A Mini-Pelican crossing is a smaller, more compact version of a standard Pelican crossing. They are typically used on narrower roads, residential streets, or in areas where space is limited but a signal-controlled crossing is still necessary for pedestrian safety.
Highway Code Rule 191: Mini-Pelican crossings operate under the same rules as Pelican crossings. Drivers must obey the signals, and the amber flashing phase means give way to pedestrians still crossing.
The Highway Code provides comprehensive rules that govern behaviour at all types of pedestrian crossings. Adhering to these is non-negotiable for safe riding and legal compliance.
Regardless of the crossing type, several overarching rules apply to drivers of mopeds and light quadricycles:
While the emphasis is often on driver behaviour, pedestrians and cyclists also have clear responsibilities:
Specific actions are prohibited to maintain safety:
Safe navigation of pedestrian crossings is not just about memorising rules; it requires adapting your driving to various conditions and being aware of potential risks.
Adverse weather conditions significantly increase the risk at pedestrian crossings:
The handling and braking characteristics of your moped or light quadricycle change with load and speed:
Pedestrians, especially children, the elderly, or those with disabilities, are particularly vulnerable.
Always be extra vigilant for vulnerable road users at crossings, especially children and those with disabilities. Their behaviour may not always be predictable.
Occasionally, crossings may be under repair or subject to temporary changes. Always obey any temporary signs, traffic cones, or instructions from traffic officers. These temporary measures override permanent signals or markings.
Understanding the rules comes alive in real-world situations. Here are some scenarios that highlight the correct application of crossing rules for your Great Britain AM Licence Theory Course.
Setting: You are riding your moped on a busy urban street during evening rush hour. Ahead, you see a zebra crossing with several pedestrians waiting, and one has just stepped onto the white stripes. Belisha beacons are flashing.
Correct Action: Immediately reduce your speed and prepare to stop. As the pedestrian is on the crossing, you must stop completely before the white stop line or the zigzag lines. Wait until the pedestrian has safely cleared the entire crossing area before you proceed. Remember, you must not overtake any vehicle that has also stopped to give way.
Reasoning: This is a direct application of the absolute pedestrian priority rule at zebra crossings (Highway Code Rule 170). Failing to stop or attempting to 'creep' past would be illegal and highly dangerous.
Setting: You are approaching a Pelican crossing. The vehicle traffic lights turn from green to amber, then to red, allowing pedestrians to cross. After the pedestrian "green man" has been on for a while, the vehicle light changes to amber flashing. You see a family, including a child, still leisurely making their way across the far side of the crossing.
Correct Action: Despite the amber flashing, you must remain stopped. The amber flashing light requires you to give way to any pedestrians still on the crossing. Only when the family has completely cleared the crossing should you proceed with caution.
Reasoning: This scenario tests your understanding of Highway Code Rule 181. The flashing amber is not a 'go' signal if pedestrians are still present. Your primary duty is to ensure the safety of pedestrians.
Setting: You are riding your moped along a route that includes a Toucan crossing. You see a cyclist approach the crossing from the opposite direction at the same time as a pedestrian approaches from your side. The crossing signal for vehicles is red, and the green man and green bicycle symbols are illuminated.
Correct Action: As a driver, your immediate action is to stop at the red light. You should observe the cyclist and pedestrian crossing. Ensure you are well clear of the stop line and remain stationary until your vehicle light turns green. If your light turns green but there are still users on the crossing (which is less common with Puffin/Toucan, but can happen if timings are long or users are slow), you would still yield.
Reasoning: Toucan crossings are specifically designed for joint use. As a driver, you must obey the vehicle signals. If you were a cyclist, you would wait for the green bicycle symbol before crossing.
Mastering pedestrian crossing rules is a cornerstone of safe riding for your Great Britain AM Licence. By consistently applying the principles discussed—absolute pedestrian priority at zebra crossings, strict adherence to traffic signals at controlled crossings, and vigilance for the amber flashing phase—you contribute significantly to road safety. Always be prepared for the unexpected, especially when it comes to vulnerable road users. Adjust your riding for conditions like weather and vehicle load, and remember that clear lines of sight are critical. Your commitment to these rules not only protects others but also builds confidence and competence as a responsible rider on British roads.
Explore all units and lessons included in this driving theory course.
Lesson content overview
Explore all units and lessons included in this driving theory course.
Explore search topics learners often look for when studying Pedestrian Crossings: Zebra, Pelican, Toucan, etc.. These topics reflect common questions about road rules, driving situations, safety guidance, and lesson level theory preparation for learners in Great Britain.
Browse additional driving theory lessons that cover connected traffic rules, road signs, and common driving situations related to this topic. Improve your understanding of how different rules interact across everyday traffic scenarios.
Learn to identify and respond to risks posed by pedestrians, cyclists, and other vulnerable road users. This lesson explains how to adjust your driving and speed to account for changing road conditions, poor visibility, and unpredictable human behaviour to maintain safety on British roads.
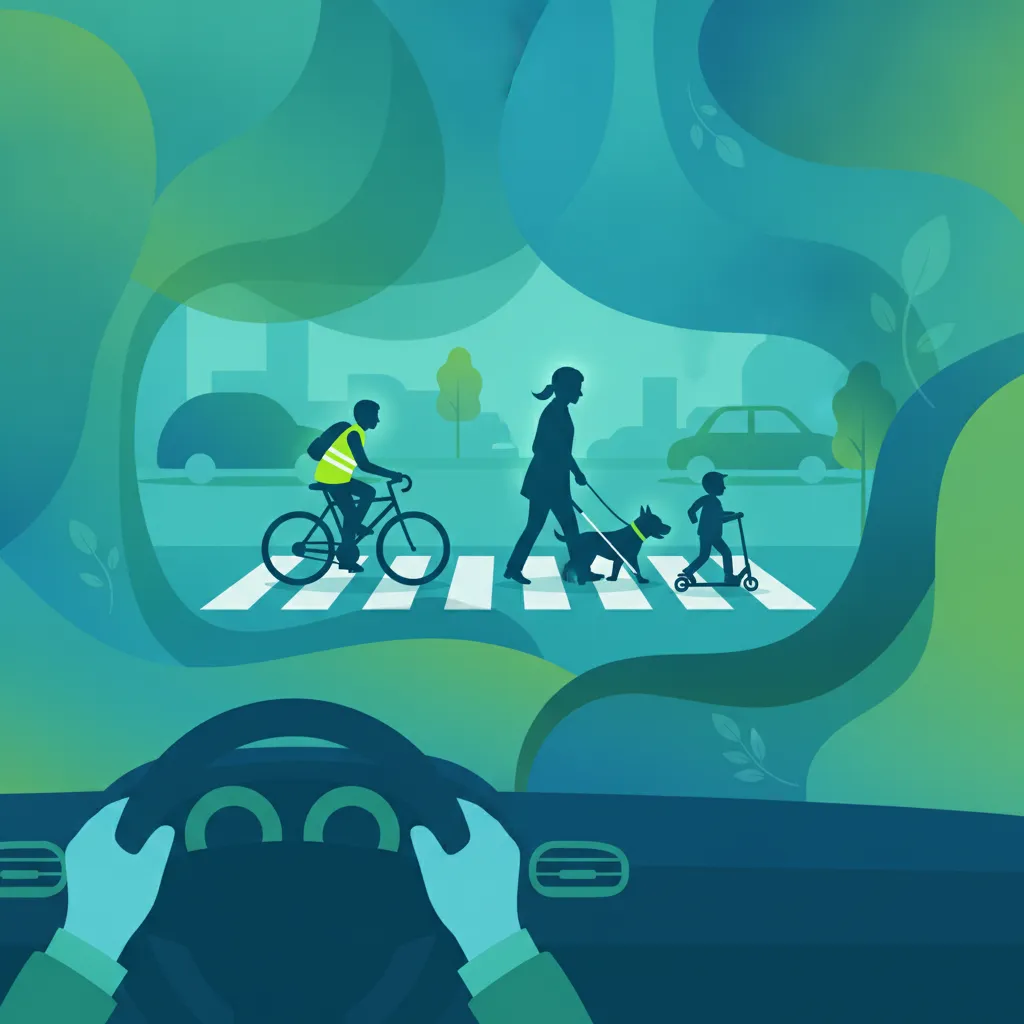
This lesson teaches drivers how to identify various types of vulnerable road users and anticipate their potential actions to prevent conflicts. It covers the specific risks associated with pedestrians, cyclists, motorcyclists, children, and elderly or disabled individuals. Emphasis is placed on heightened awareness and defensive driving techniques required to share the road safely. Understanding their perspectives and typical behaviours is key to protecting them and maintaining safety for everyone.
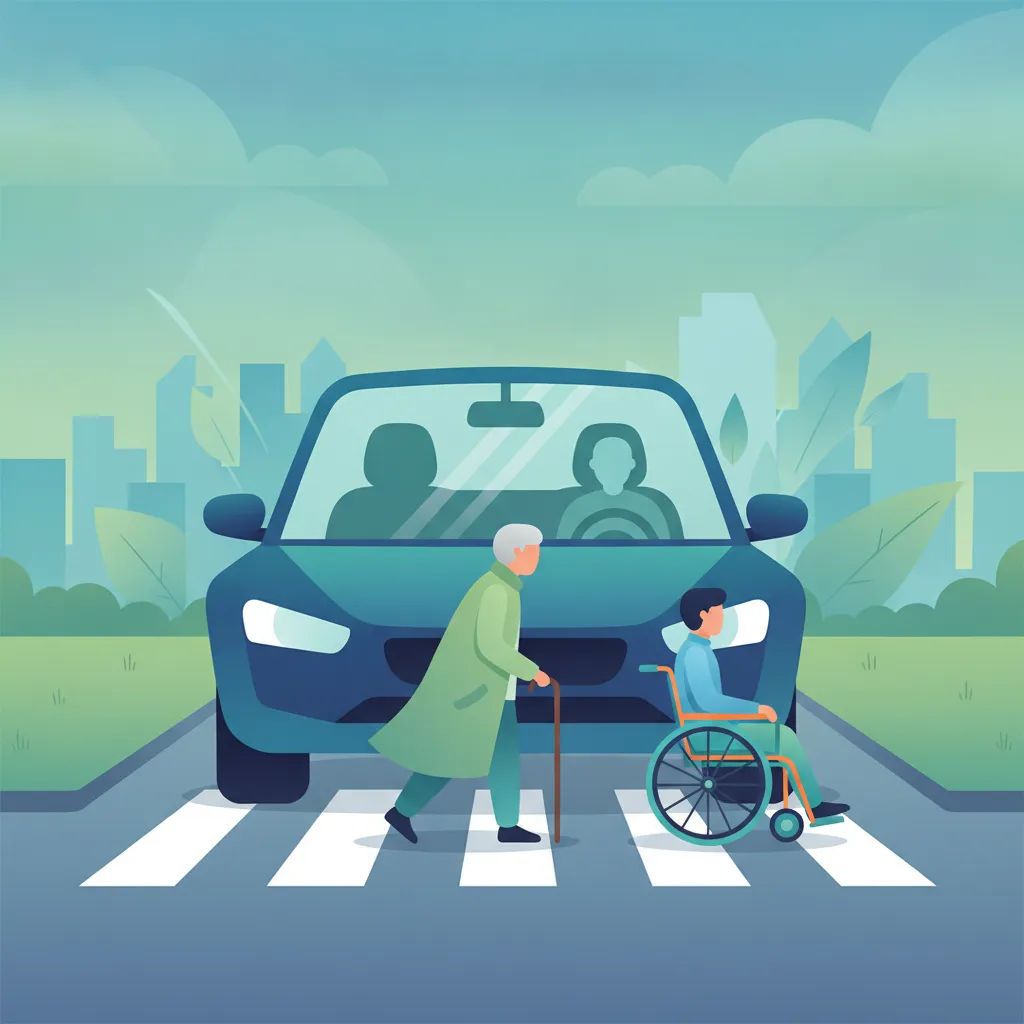
This lesson focuses on developing a proactive and patient approach towards elderly and disabled road users. It explains how to recognize and provide additional time and space for individuals with slower movement, mobility scooters, or sensory impairments. The content emphasizes the importance of driver attitude, patience at crossings, and anticipating the needs of these vulnerable individuals. Understanding these factors is crucial for preventing accidents and demonstrating a high level of professional care and responsibility.
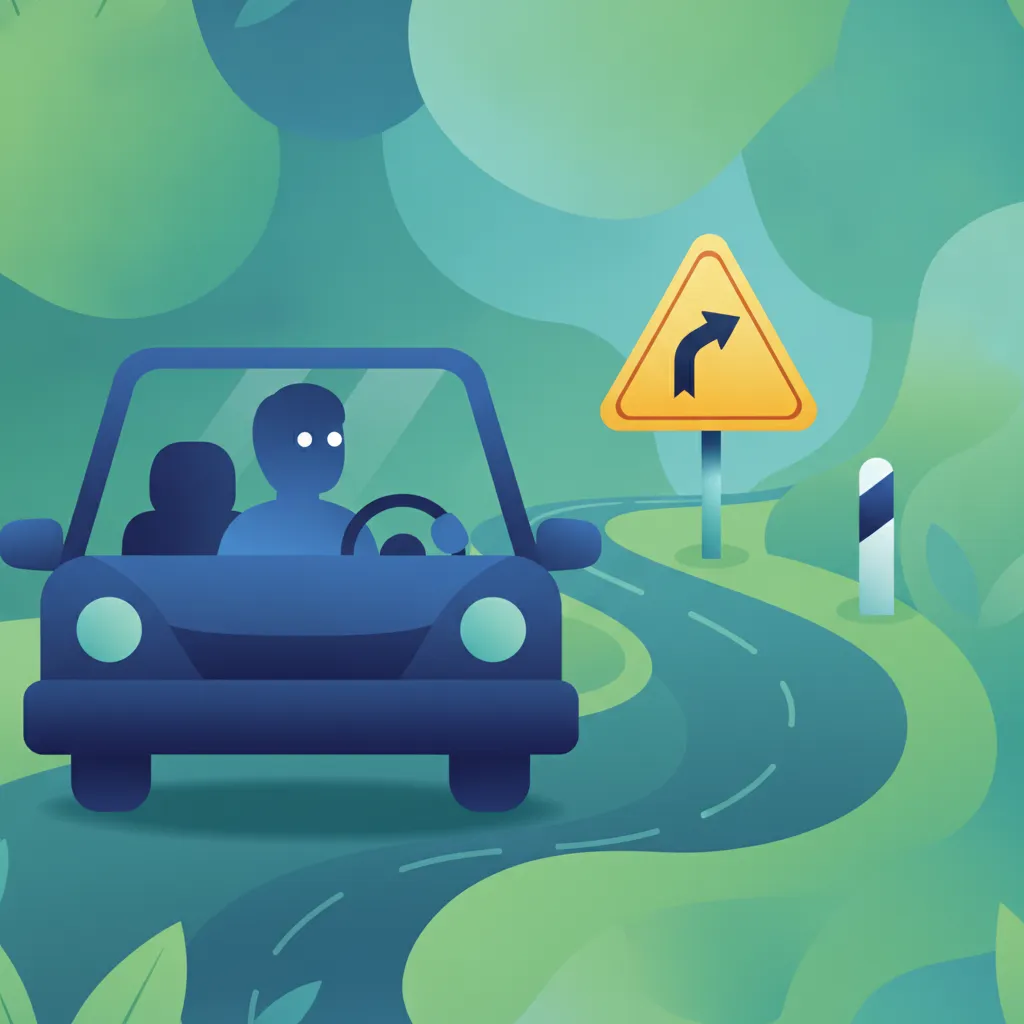
This lesson teaches you to interpret warning signs, which are typically triangular and designed to alert you to potential hazards ahead. You will learn the meanings of common signs indicating sharp curves, slippery surfaces, roadworks, or areas with frequent pedestrian or animal crossings. Understanding these signs is crucial for anticipating dangers and adjusting your speed and position defensively, which is especially important for vulnerable riders of AM vehicles.
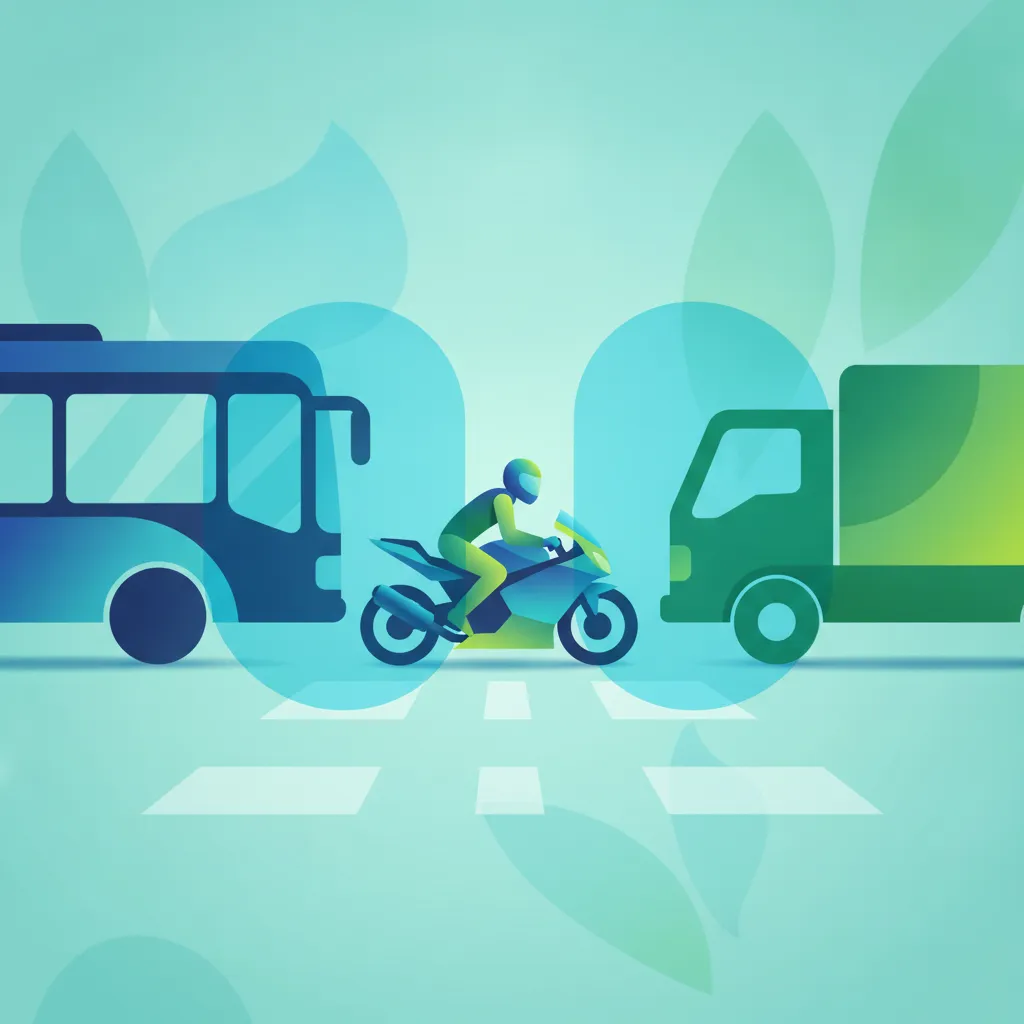
This lesson highlights why motorcyclists are considered vulnerable road users. It covers the increased risk of serious injury in a collision due to lack of physical protection compared to car occupants. You will learn about common visibility challenges and how to adopt proactive, defensive strategies to mitigate risks and anticipate potential hazards on the road.

This lesson prepares you for the specific challenges of driving in the countryside. It explains the correct procedure for overtaking horse riders: slow down and pass wide, ensuring you do not spook the animal. You will also learn how to anticipate and safely manage encounters with slow-moving tractors and other farm machinery.
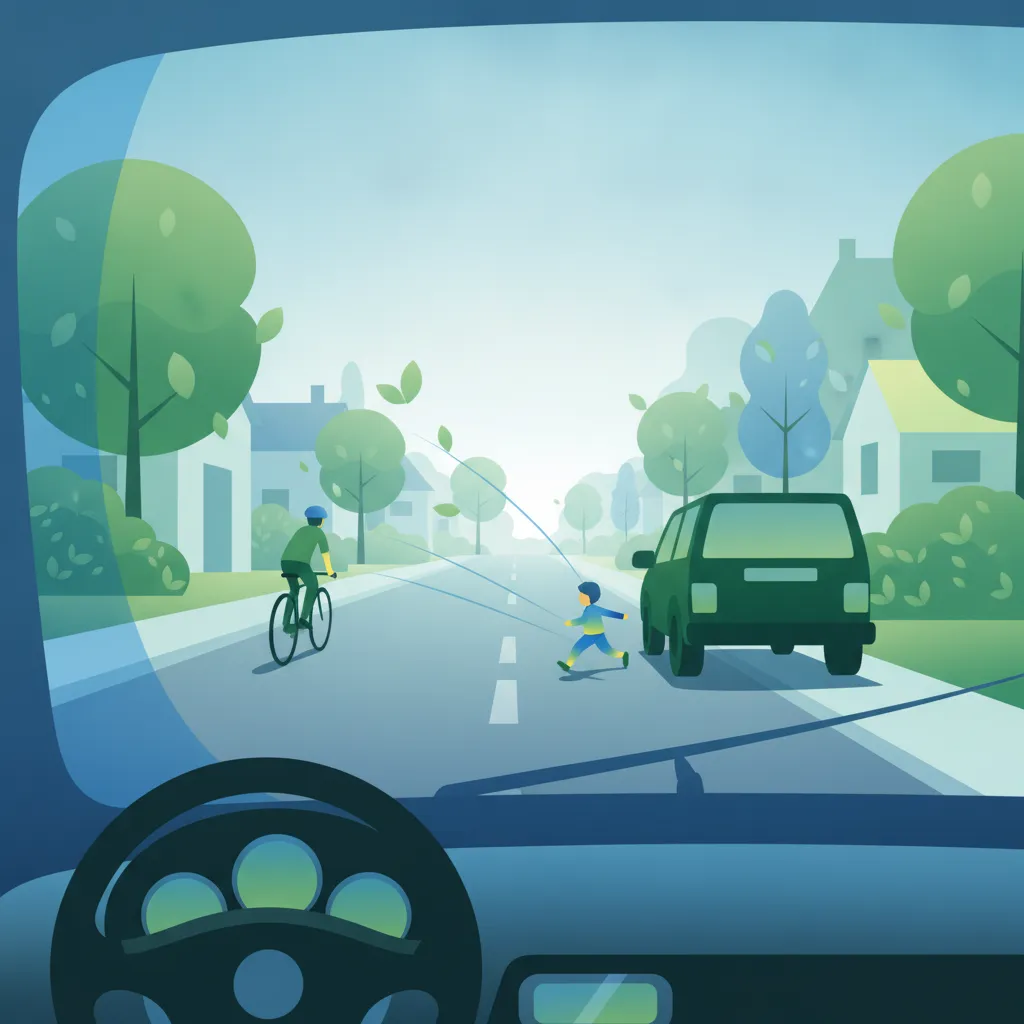
This lesson introduces the skill of hazard perception, a critical component of the official theory test and safe driving. It teaches you to actively scan your environment for potential dangers, such as a pedestrian about to cross or a car waiting to emerge from a junction. By identifying these situations early, you can take action to avoid them turning into actual dangers.
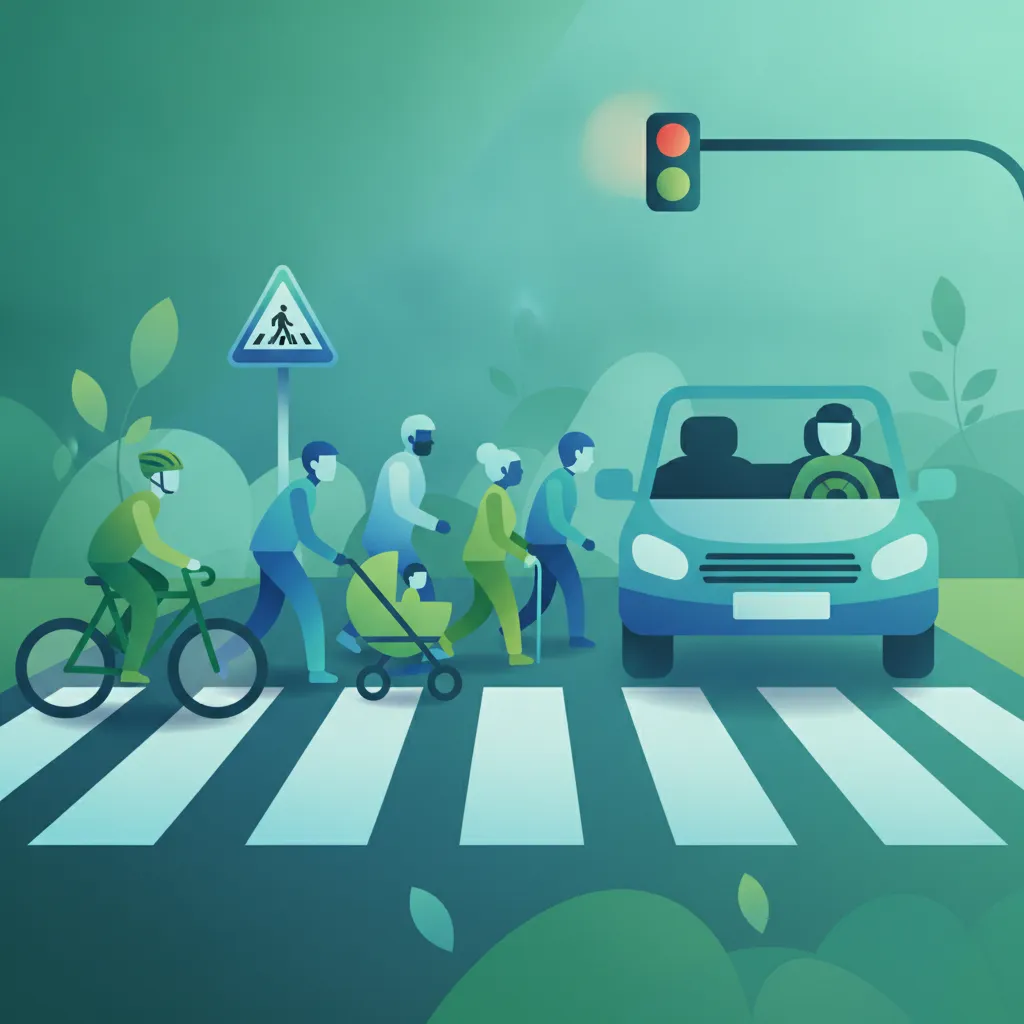
This lesson focuses on a driver's legal and ethical duty of care to all road users. It explains the concept of a road user hierarchy, which prioritizes the safety of vulnerable groups such as pedestrians, cyclists, and motorcyclists. You will learn the principles of defensive driving, anticipating potential hazards, and maintaining a courteous attitude on the road to ensure safety for everyone.

This lesson explains how to adapt your driving around different vehicles. You will learn to look out for motorcyclists, who are often hard to see, especially at junctions. It also covers the challenges of sharing the road with large vehicles, such as their extended blind spots, wider turning circles, and the wind turbulence they can create.
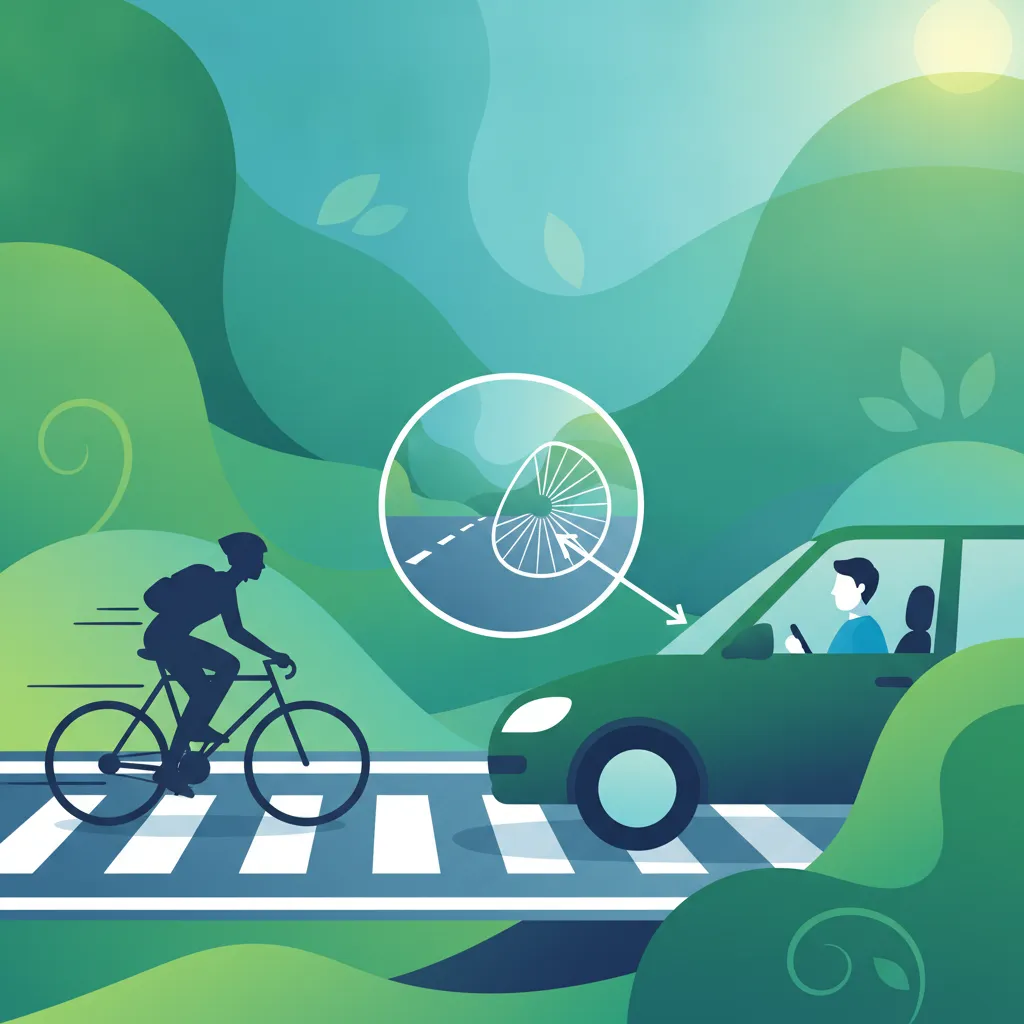
This lesson is dedicated to the safe interaction between large vehicles and the most vulnerable road users: pedestrians and cyclists. It highlights high-risk scenarios, such as left turns at junctions, where cyclists can be hidden in nearside blind spots. The content stresses the importance of anticipation, using signals clearly, and providing generous space at crossings, in cycle lanes, and within pedestrianized zones to prevent tragic accidents.
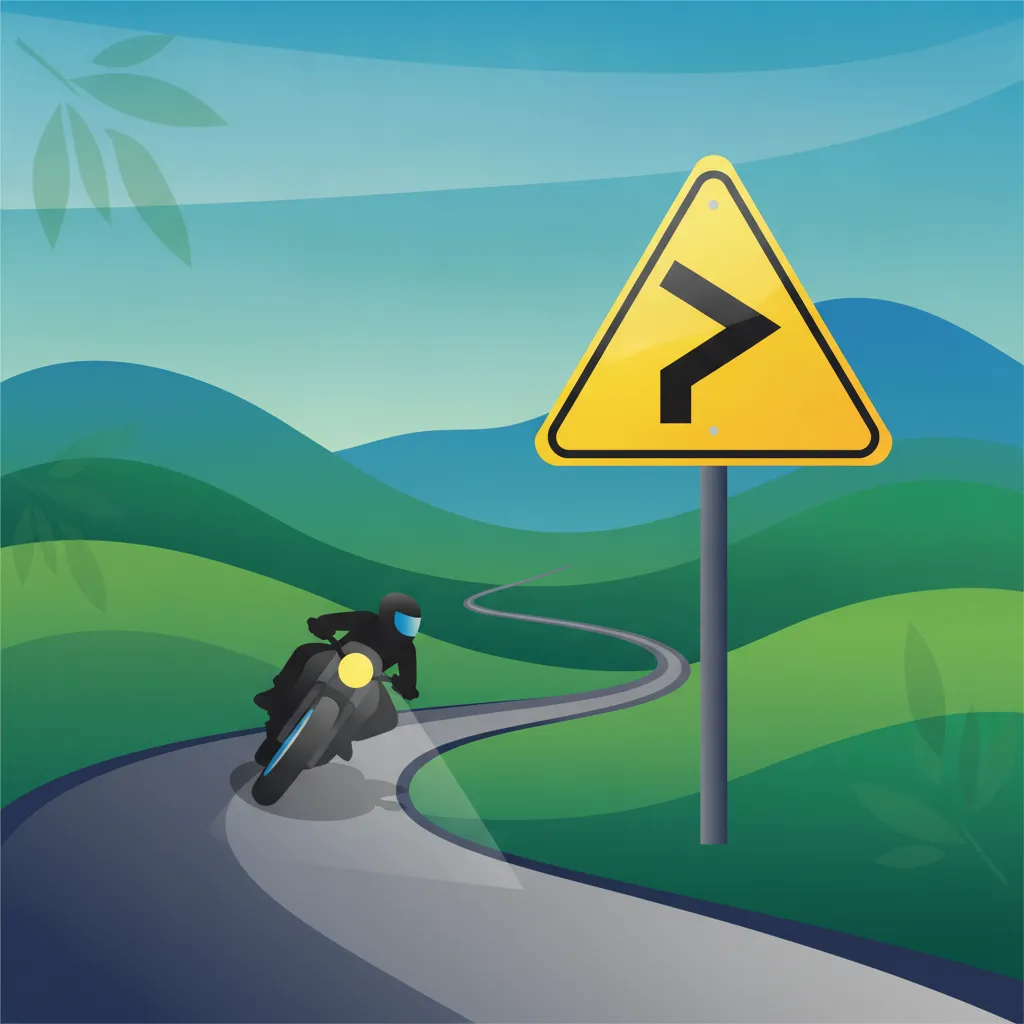
This lesson explains the function of warning signs, which are mostly triangular and alert road users to potential dangers ahead. You will learn to identify signs for bends, junctions, slippery surfaces, and other hazards particularly relevant to motorcyclists. Acting on these warnings allows a rider to adjust speed and position proactively, enhancing safety.
Understand the official Highway Code requirements for approaching and crossing junctions, mini-roundabouts, and multi-lane roundabouts. This guide clarifies how to safely position your vehicle, interpret road markings, and determine priority when interacting with other drivers and road users at busy urban intersections.
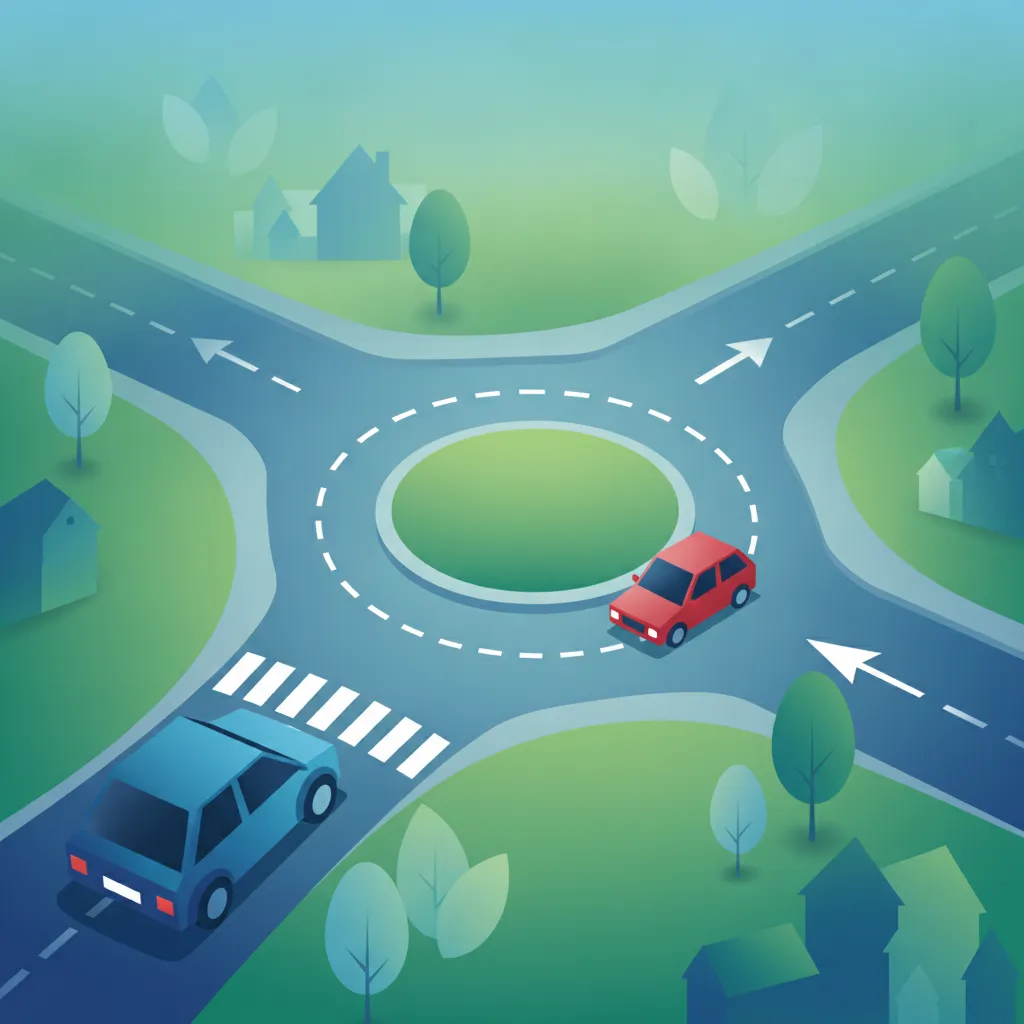
This lesson explains how to handle mini-roundabouts, which are common in urban and residential areas. The primary rule is to approach with caution and give priority to any traffic approaching from your right. You will also learn about correct signalling and the importance of being aware of cyclists and motorcyclists who may be harder to see.
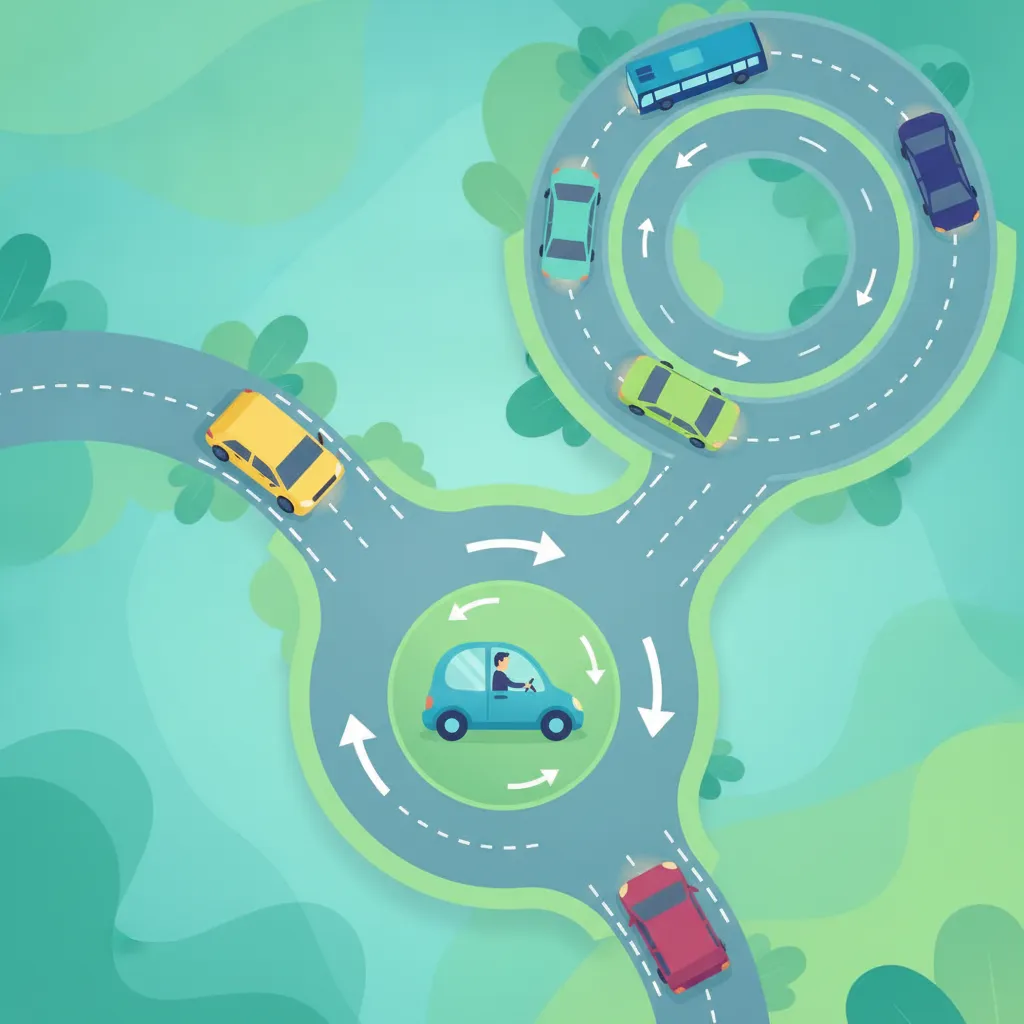
This lesson provides specific techniques for safely navigating the two main types of roundabouts in Great Britain. For multi-lane roundabouts, it covers how to choose the correct lane on approach, maintain your lane while circulating, and signal your exit correctly. It also explains the unique rules for mini-roundabouts, emphasizing the importance of giving way to traffic from the right and navigating them with caution due to their small size.
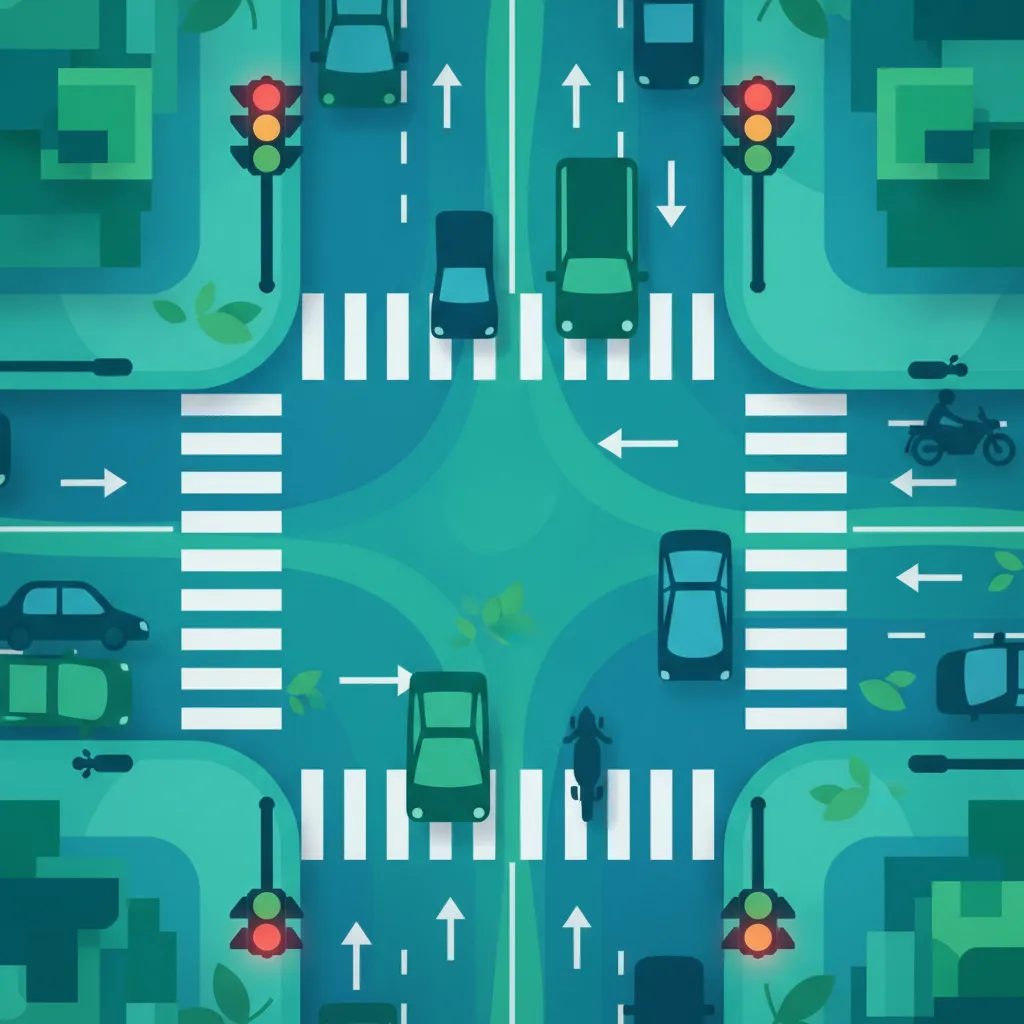
This lesson details how to safely navigate junctions controlled by traffic signals. It explains the meaning of filter arrows, which allow you to proceed in a specific direction even if the main light is red. You will also learn about respecting advanced stop lines for cyclists and how to approach a junction when the traffic lights are not working.
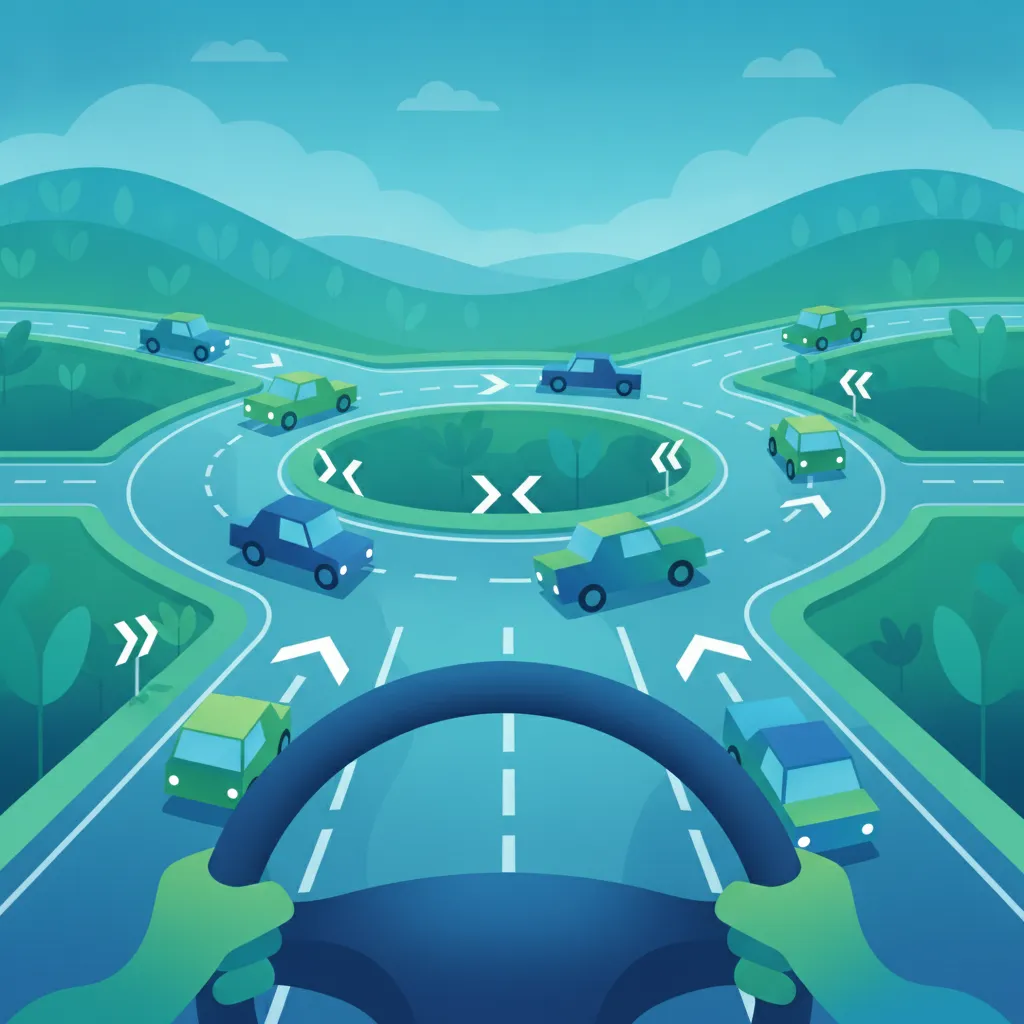
This lesson tackles the complexities of large roundabouts, which often have multiple lanes and exits. It stresses the importance of reading signs on the approach to select the correct lane for your destination. You will learn about maintaining lane discipline while on the roundabout and signalling correctly as you pass exits and prepare to leave.
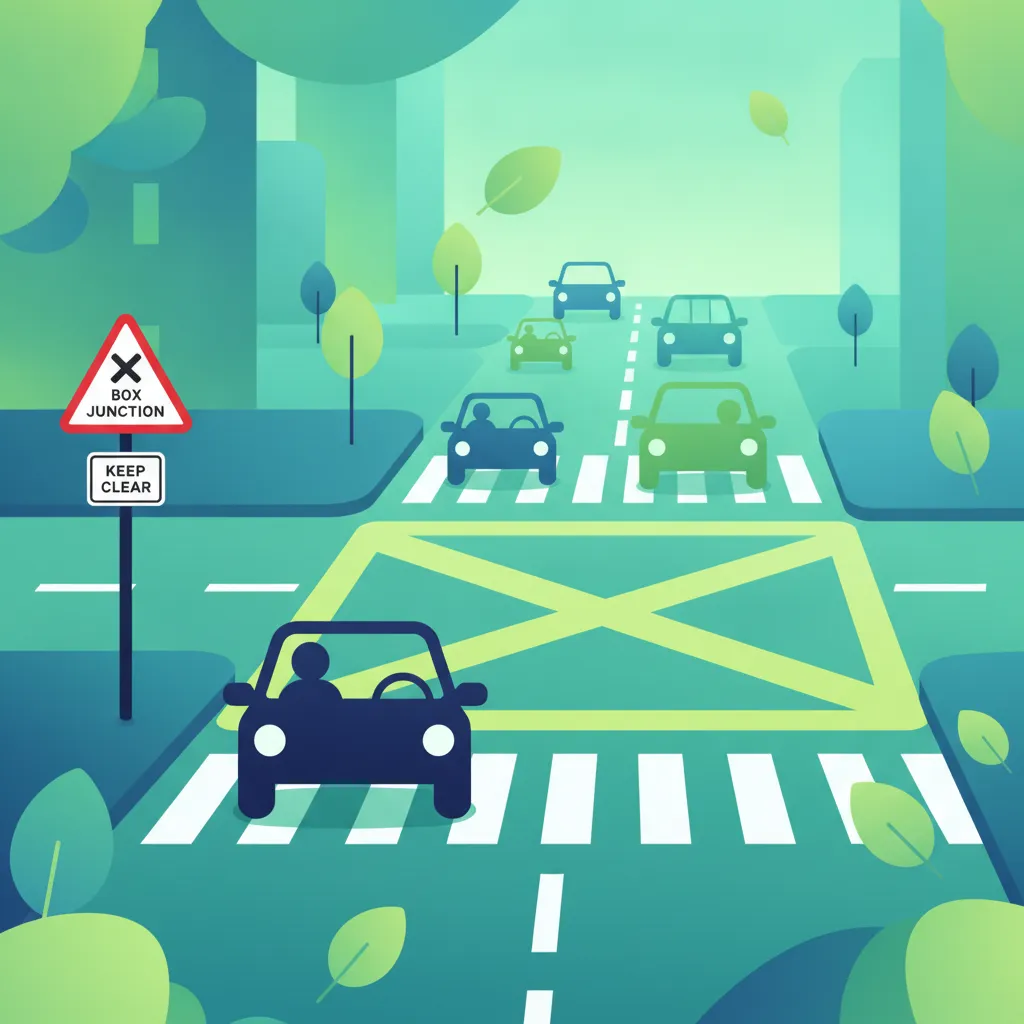
This lesson focuses on the markings that control traffic at intersections. It explains the primary rule of a yellow box junction: do not enter unless your exit is clear. You will also learn the difference between the solid white 'Stop' line and the broken 'Give Way' line, which dictate your priority over other traffic.
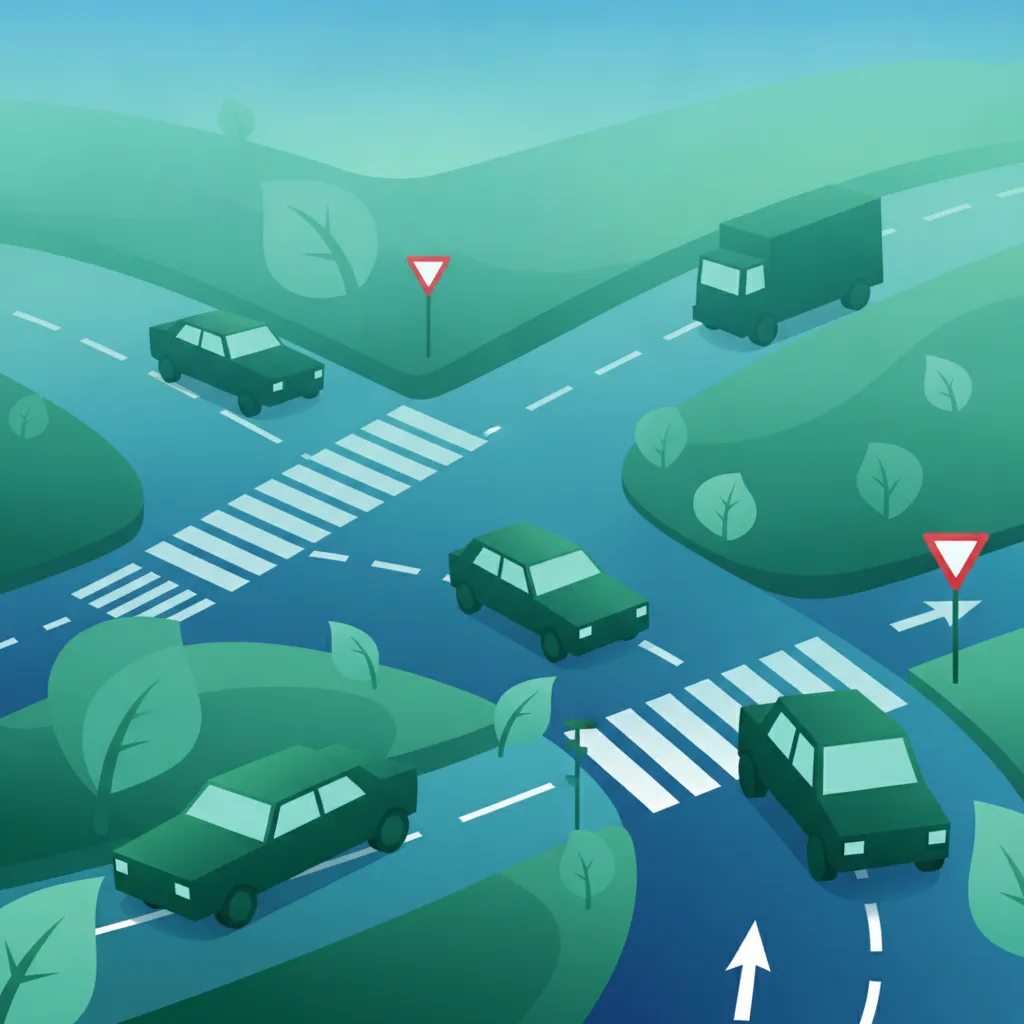
This lesson teaches the systematic approach to safely navigating junctions, emphasizing the importance of adjusting your speed and position well in advance. You will learn the 'Mirror-Signal-Manoeuvre' routine, how to perform effective all-round observation checks, and when to give way to other traffic. The content focuses on making safe judgments about gaps in traffic, a crucial skill for vulnerable AM riders when turning or emerging from a junction.
This lesson covers the explicit priority instructions given by signs and markings at junctions. It explains that at a 'Give Way' line, you must yield to traffic on the major road but can proceed if it is safe. At a 'Stop' sign, you must come to a complete halt before the line, assess the traffic, and only proceed when safe.
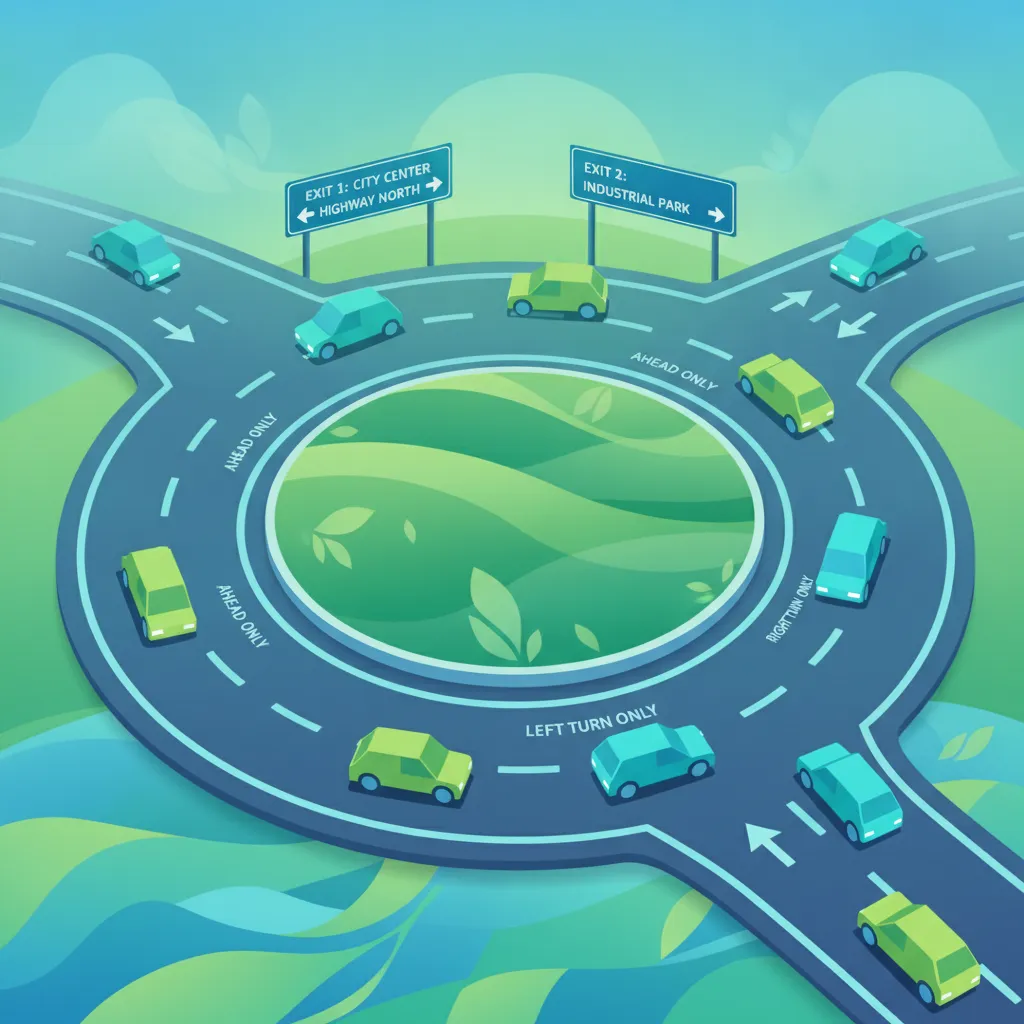
This lesson addresses the unique challenges of mini-roundabouts and large, multi-lane or spiral roundabouts. You will learn the subtle differences in rules and approach for mini-roundabouts and the importance of strict lane discipline on larger ones. The lesson stresses the need for advanced planning and awareness when navigating these complex junctions.
This lesson details the priority rules for turning manoeuvres. When turning left, you generally have priority over traffic waiting to emerge from the side road. However, when turning right, you must give way to all oncoming traffic, positioning your vehicle safely in the centre of the road while you wait for a safe gap.
This lesson explains the critical rules of priority that govern traffic flow at junctions, roundabouts, and crossings throughout Great Britain. You will learn how to determine who has right-of-way at both marked and unmarked intersections, and the specific rules for giving way to traffic on roundabouts. The lesson also reinforces the hierarchy of road users from the Highway Code, ensuring you understand when to yield to pedestrians and other vulnerable users.
Find clear answers to common questions learners have about Pedestrian Crossings: Zebra, Pelican, Toucan, etc.. Learn how the lesson is structured, which driving theory objectives it supports, and how it fits into the overall learning path of units and curriculum progression in Great Britain. These explanations help you understand key concepts, lesson flow, and exam focused study goals.
A Pelican crossing has a flashing amber light phase for drivers, during which you must give way to pedestrians already on the crossing. A Puffin crossing uses sensors to detect pedestrians and features red and green man signals placed directly next to the push-button unit, with no flashing amber phase for traffic.
Yes, if a pedestrian is standing on the pavement and clearly waiting to cross at a Zebra crossing, you must give way. Once they step onto the crossing, you are legally required to stop and wait until they have safely cleared the entire width of the road.
A Toucan crossing is designed for both pedestrians and cyclists to cross together, hence 'two-can' cross. It operates similarly to a Puffin crossing with sensor-controlled lights but accommodates wider crossings for bike traffic.
When the amber light is flashing, you must give way to any pedestrians who are still on the crossing. If the crossing is clear, you may proceed with caution, but you must ensure there are no pedestrians still in the process of crossing before you move off.
Dive into our comprehensive question bank to find exactly what you need for your Great Britain theory test. Use our advanced filters to pinpoint specific subjects or test your knowledge on challenging areas, ensuring you're fully prepared for success.