This lesson guides you through the system of longitudinal road markings used to control traffic flow and lane discipline across Great Britain. It forms a critical part of your Category B theory preparation by teaching you how to interpret road lines to stay safe and legal. Mastering these markings is essential for both your theory exam and your practical driving confidence.
Lesson content overview
As a Great Britain Category B learner driver, mastering road markings is fundamental to safe and confident driving. Longitudinal road markings are lines painted on the road surface that run parallel to the kerb, acting as a visual language to guide, warn, and regulate traffic flow. These markings define lanes, indicate where overtaking is permitted or prohibited, and dictate how drivers should position their vehicles.
This comprehensive lesson will delve into the various types of longitudinal markings you will encounter, explaining their specific meanings, the rules associated with them, and the crucial role they play in maintaining lane discipline. Understanding these markings is not just about passing your driving theory test; it is about developing predictive awareness and safe driving habits that protect you and other road users.
Longitudinal road markings are more than just paint on the road; they are legally enforceable instructions designed to ensure safety and order on our roads. They minimise collision risks, particularly side-impact and head-on collisions, by clearly defining where vehicles should be and what manoeuvres are permissible. Consistent observance of these markings leads to predictable traffic flow, allowing all road users to anticipate actions and react safely.
Proper lane discipline, which is the continuous observance of these markings and maintaining appropriate lane position, is paramount. It reduces sudden lane changes, prevents unnecessary weaving, and clarifies intentions, all contributing to a smoother and safer driving environment for everyone.
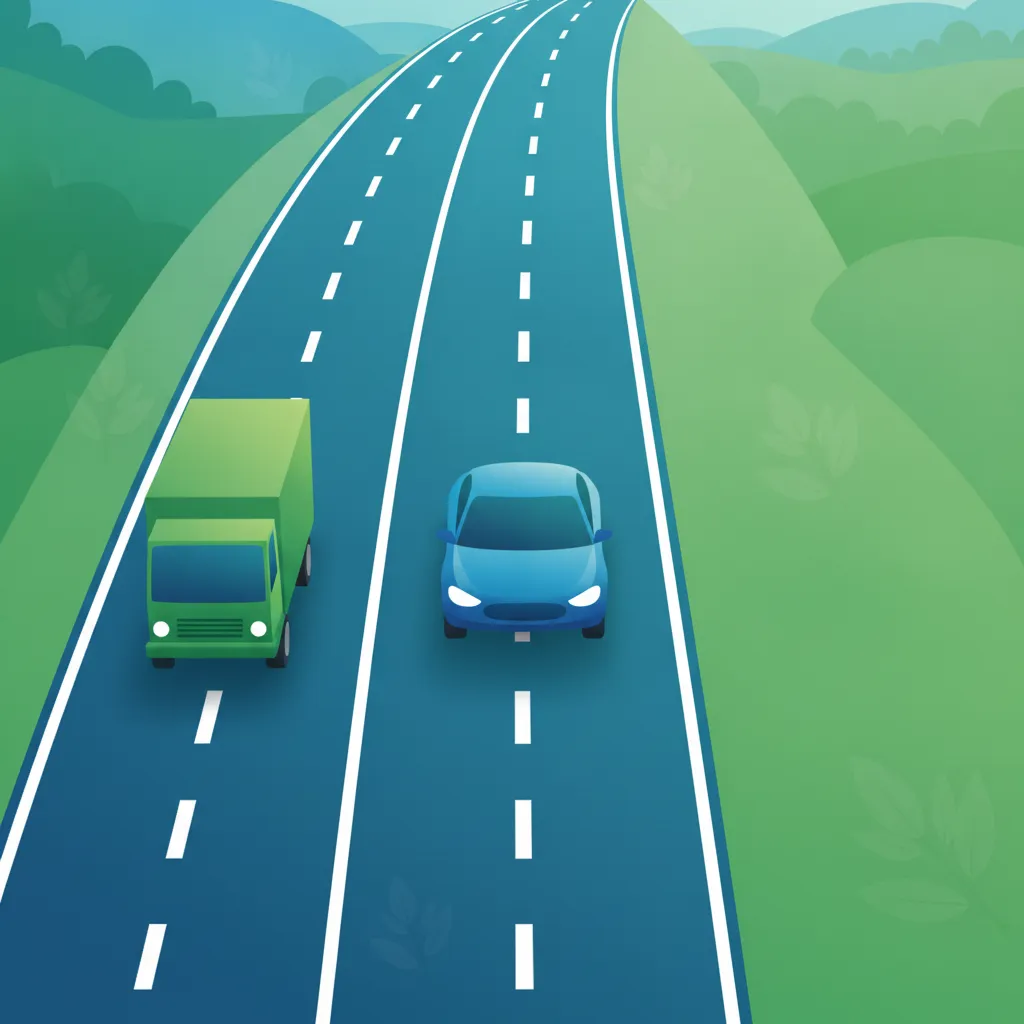
Broken white lines are one of the most common longitudinal markings you will encounter on Great Britain roads. They consist of a series of short, equally spaced dashes running parallel to the kerb. Their primary function is to separate lanes of traffic moving in the same direction, or to define the edges of the main carriageway where there isn't a solid line.
The standard broken white line indicates that you may safely cross these lines to change lanes, overtake, or merge, provided it is safe to do so. This freedom comes with a significant responsibility: you must always ensure your manoeuvre will not endanger yourself or other road users. Before crossing, check your mirrors, signal your intentions, and assess the speed and position of surrounding traffic.
Sometimes, broken lines might have additional symbols, such as arrows, indicating the direction of travel for a specific lane or advising about an upcoming turn. It is crucial to pay attention to these supplementary markings as they provide specific guidance for that particular lane.
The Highway Code stipulates that you are permitted to cross a broken white line when it is safe to do so and when the manoeuvre does not involve crossing an adjacent solid white line. For example, if you are on a dual carriageway with a broken line between your lane and the next, you can change lanes to overtake. However, if there's a solid white line next to a broken line, the rule depends on which line is closer to you.
Always remember the golden rule: safety first. Even if a broken line permits crossing, if the conditions (such as heavy traffic, poor visibility, or upcoming hazards) make it unsafe, you must not proceed with the manoeuvre.
Common Misunderstandings: A frequent mistake is assuming that all broken lines allow crossing irrespective of adjacent solid lines. Always check for other lines that might restrict your movement. For instance, a broken line on your side next to a solid line on the other side means you can cross, but traffic on the other side cannot.
A solid white line is a continuous white line running parallel to the kerb, and its presence generally indicates a restriction on crossing. These lines are used in areas where lane changes or overtaking would be particularly hazardous, such as near junctions, bends, or other areas of reduced visibility.
A single solid white line marks lane boundaries where crossing is discouraged, but not always entirely prohibited under specific, limited circumstances. For example, a single solid white line might separate a traffic lane from a hard shoulder or lay-by. While you should generally stay within your lane, you might cross it to avoid a stationary obstruction or to enter or exit a road.
This is a common configuration on many roads. If the solid white line is on your side of the road and a broken white line is on the other side, you must not cross the solid line. This means you are prohibited from overtaking or changing lanes. However, oncoming traffic, with the broken line on their side, would be permitted to cross the lines if it is safe for them to do so. This setup is often used to protect one direction of traffic from dangerous overtaking.
Conversely, if the broken white line is on your side and the solid white line is on the other, you are permitted to cross if it is safe and expedient. In this scenario, oncoming traffic would be prohibited from crossing.
The Highway Code is clear: you cannot cross a single solid white line to overtake another vehicle if it means you will drive over the solid line itself. You are generally only allowed to cross a solid white line if:
Crossing a solid white line unnecessarily or for illegal overtaking carries serious legal penalties, including fines and penalty points on your licence.
Common Misunderstandings: A prevalent misconception is that crossing a single solid white line is always illegal. While it is highly restrictive for overtaking, specific justifications (like avoiding an obstruction) do exist. However, these exceptions do not apply to double solid white lines.
Double white lines consist of two parallel solid white lines with no gaps between them. These are among the most restrictive longitudinal markings and indicate that lane changes and overtaking are prohibited for all traffic, with very few and specific exceptions. You will typically find double white lines in areas with limited visibility, such as sharp bends, approaches to junctions, or crests of hills, where overtaking would be exceptionally dangerous.
When you encounter double solid white lines, the rule is straightforward: you must not straddle or cross them. This prohibition applies to overtaking, changing lanes, or turning right across them, unless one of the very limited exceptions applies. These exceptions are similar to those for a single solid white line but are interpreted even more stringently due to the heightened risk double lines represent.
You may cross double solid white lines only if:
Common Misunderstandings: Many drivers mistakenly believe that if there is no oncoming traffic, they can cross double white lines to overtake a slow-moving vehicle. This is incorrect and highly dangerous. The lines are there because the road layout itself (e.g., blind bend) presents an inherent risk, regardless of immediate traffic.
Lane edge markings are the outermost white lines on a carriageway, defining the very edge of the traffic lane. They typically separate the main carriageway from the verge, hard shoulder, or a cycle path. These lines are crucial for guiding drivers, especially in poor visibility conditions like fog or heavy rain, helping them maintain a safe position on the road.
These markings provide a clear boundary for the traffic lane. While they mark the edge of the legal driving area, they are not usually an absolute prohibition against crossing. You may drive on or cross a lane edge marking when you are:
In normal driving conditions, your vehicle should remain entirely within the lane edge markings. Continuously driving on the lane edge line on motorways or dual carriageways, for instance, is incorrect and can reduce your clearance from the verge or hard shoulder, potentially obscuring your signalling for other drivers.
Lane edge markings are distinct from kerbside regulations which involve yellow or red lines indicating parking and stopping restrictions. Lane edge markings primarily concern the live flow of traffic.
Specialised longitudinal markings are used to designate lanes for specific types of vehicles or purposes. Understanding these is vital for avoiding penalties and ensuring fair road use.
HOV lanes are reserved for vehicles carrying a minimum number of occupants, often two or three people, including the driver. These lanes are typically marked with specific longitudinal lines, often a double broken white line, along with a stylised HOV sign on the road surface. The aim is to encourage car-sharing and reduce congestion.
Rules for HOV Lanes:
Longitudinal markings also play a role in how drivers interact with vulnerable road users, particularly cyclists and motorcyclists.
Cyclists: In situations where the lane width is insufficient for a dedicated cycle lane (generally less than 1.8 metres), cyclists are advised to "share the lane" by riding in the centre of the lane. This enhances their visibility to motorists and reduces the risk of side-swipe collisions. When a cyclist is riding in this position, you, as a driver, must give them ample space – at least 1 metre when passing them at speeds up to 30mph, and more at higher speeds. You should only overtake when it is safe to do so, potentially crossing a broken white line if permitted and safe.
Motorcyclists: Motorcyclists are encouraged to position themselves to maximise their safety and visibility. This often means riding in the left half of the lane, allowing them to be seen in mirrors and avoid potential blind spots. While motorcyclists may filter through traffic in slow-moving or stationary queues, they must not ride between lane markings in a way that creates ambiguity or danger when traffic is moving at speed.
The interpretation and adherence to longitudinal markings can be affected by various external factors. Safe driving requires you to adapt your behaviour according to these conditions.
Heavy rain, fog, snow, or even bright sunlight can significantly reduce the visibility of road markings. In such conditions:
Nighttime driving can cause reflections or halo effects on road markings, making them difficult to interpret. Ensure your headlights are correctly dipped to avoid blinding oncoming drivers and reducing your own visibility of the lines. If markings are not illuminated, treat lane boundaries as hidden and avoid unnecessary lane changes. Reflective road markings are designed to help in low light, but their effectiveness can vary.
When driving through road works, you will often encounter temporary markings, which are typically orange or yellow. These temporary markings always take precedence over the permanent white markings. Treat temporary "solid white" equivalents as absolute restrictions and follow any accompanying signage for lane changes, reduced speeds, and other instructions. Failing to obey temporary markings can lead to hazards within the work zone.
Failure to observe longitudinal road markings and maintain proper lane discipline can have severe consequences, both legal and safety-related.
Violating rules related to solid and double white lines can lead to:
Beyond legal repercussions, the primary concern of violating lane discipline is the heightened risk of collisions:
Studies suggest that a significant percentage of side-impact collisions involve improper lane usage, highlighting the direct link between lane discipline and road safety.
Understanding and respecting these markings is a cornerstone of responsible driving and is essential for all Great Britain Category B learner drivers. It ensures predictability, promotes safety, and contributes to the efficient movement of traffic.
Explore all units and lessons included in this driving theory course.
Lesson content overview
Explore all units and lessons included in this driving theory course.
Explore search topics learners often look for when studying Longitudinal Markings and Lane Discipline. These topics reflect common questions about road rules, driving situations, safety guidance, and lesson level theory preparation for learners in Great Britain.
Browse additional driving theory lessons that cover connected traffic rules, road signs, and common driving situations related to this topic. Improve your understanding of how different rules interact across everyday traffic scenarios.
Explore the strict rules and significant dangers associated with double white lines on Great Britain roads. Learn why these lines generally prohibit overtaking and the severe consequences of violations.
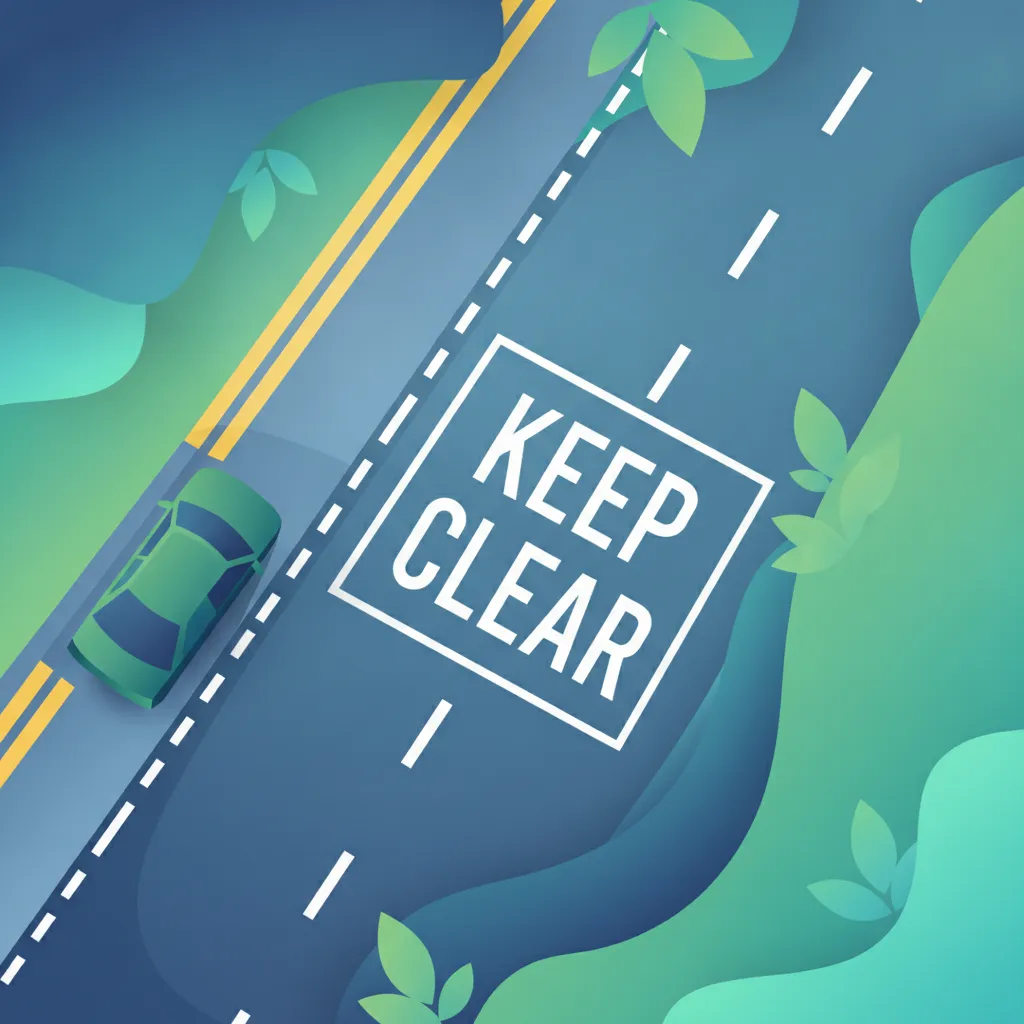
This lesson explains markings found at the side of the road that regulate parking and stopping. You will learn the meaning of single and double yellow lines, and the stricter rules associated with red lines on 'Red Routes'. The lesson also covers markings for parking bays, loading zones, and hatched areas that are designed to separate traffic.

This lesson focuses on the markings and rules at designated pedestrian crossing points. It details the legal requirement to give way to pedestrians on a zebra crossing and explains the light sequences at signal-controlled crossings. You will also learn the meaning of the white zig-zag lines on the approach to all crossings.

This lesson provides a detailed guide to various pedestrian crossings and their specific rules. You will learn to identify each type by its markings and signals, from the black and white stripes of a zebra crossing to the sensor-controlled lights of a puffin crossing. The focus is on knowing when and how to stop to ensure pedestrian safety.
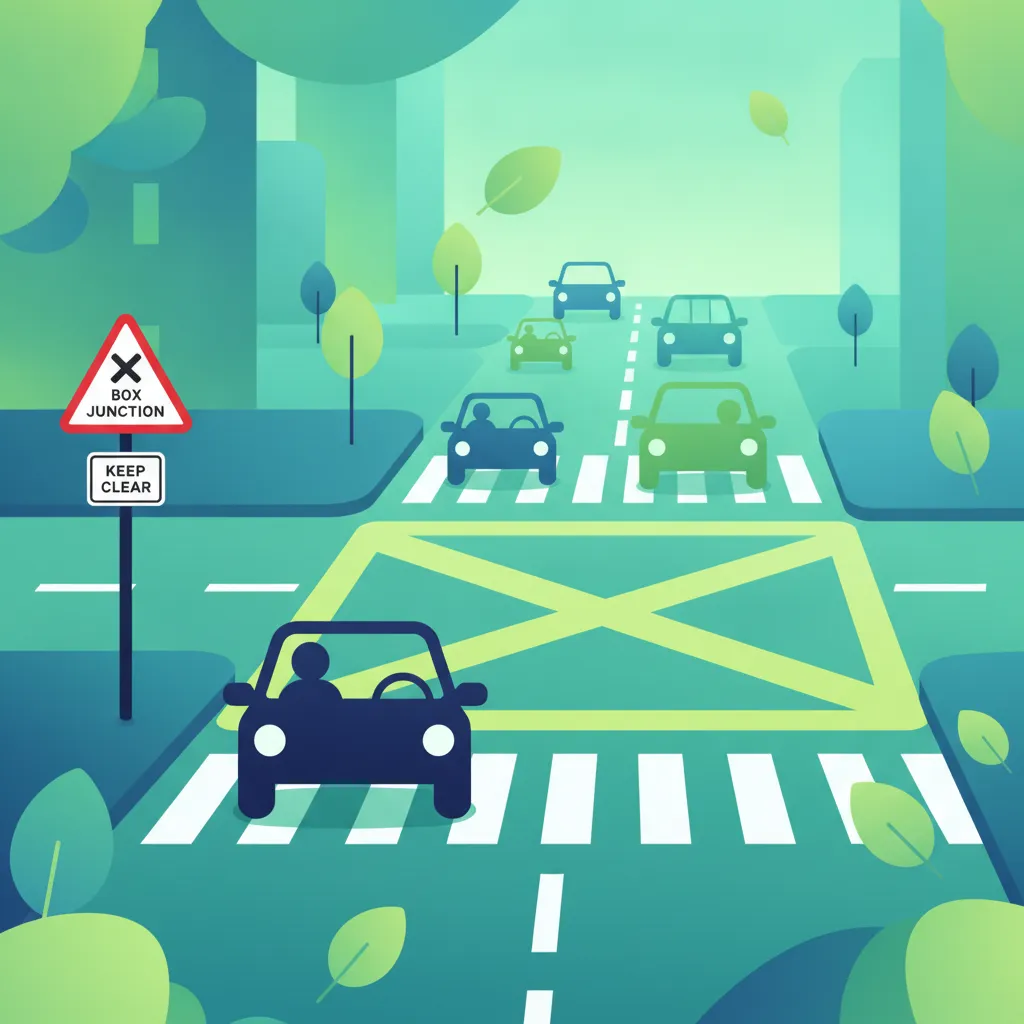
This lesson focuses on the markings that control traffic at intersections. It explains the primary rule of a yellow box junction: do not enter unless your exit is clear. You will also learn the difference between the solid white 'Stop' line and the broken 'Give Way' line, which dictate your priority over other traffic.
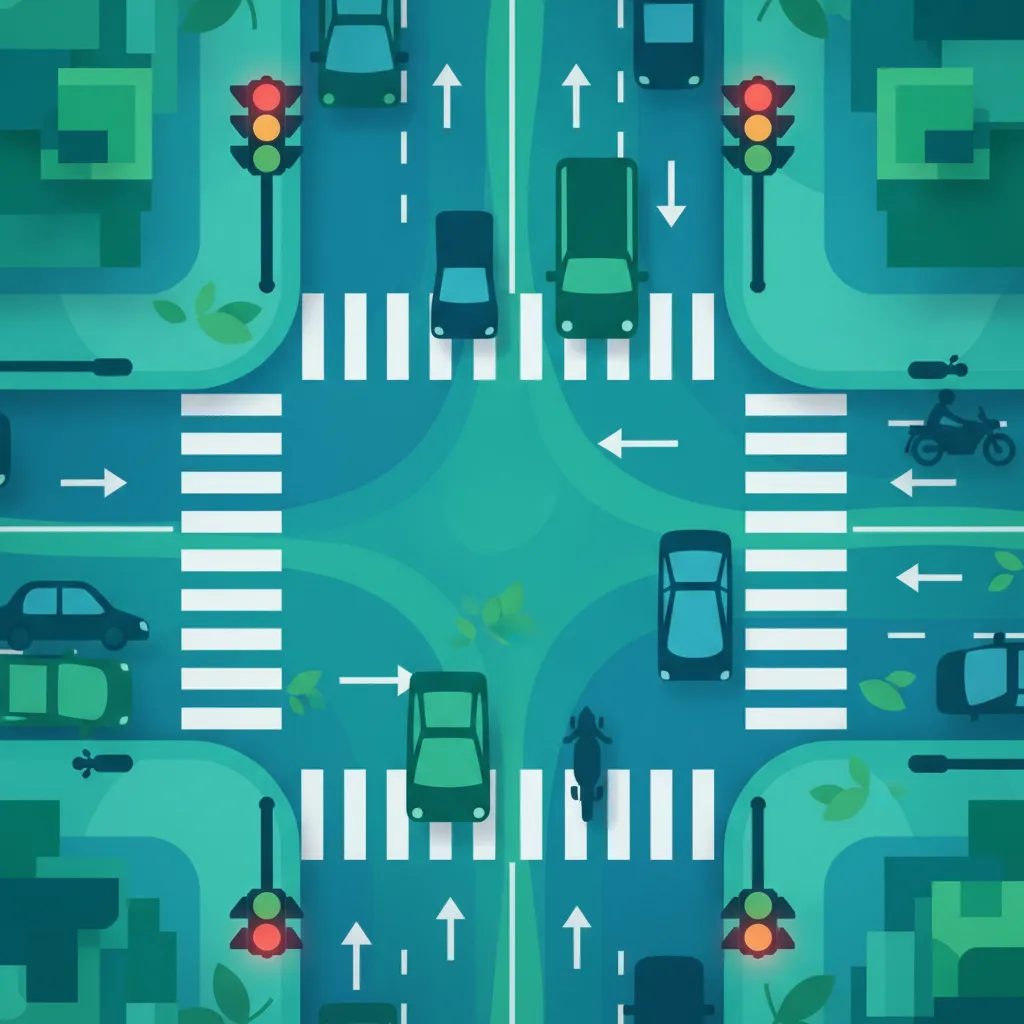
This lesson details how to safely navigate junctions controlled by traffic signals. It explains the meaning of filter arrows, which allow you to proceed in a specific direction even if the main light is red. You will also learn about respecting advanced stop lines for cyclists and how to approach a junction when the traffic lights are not working.
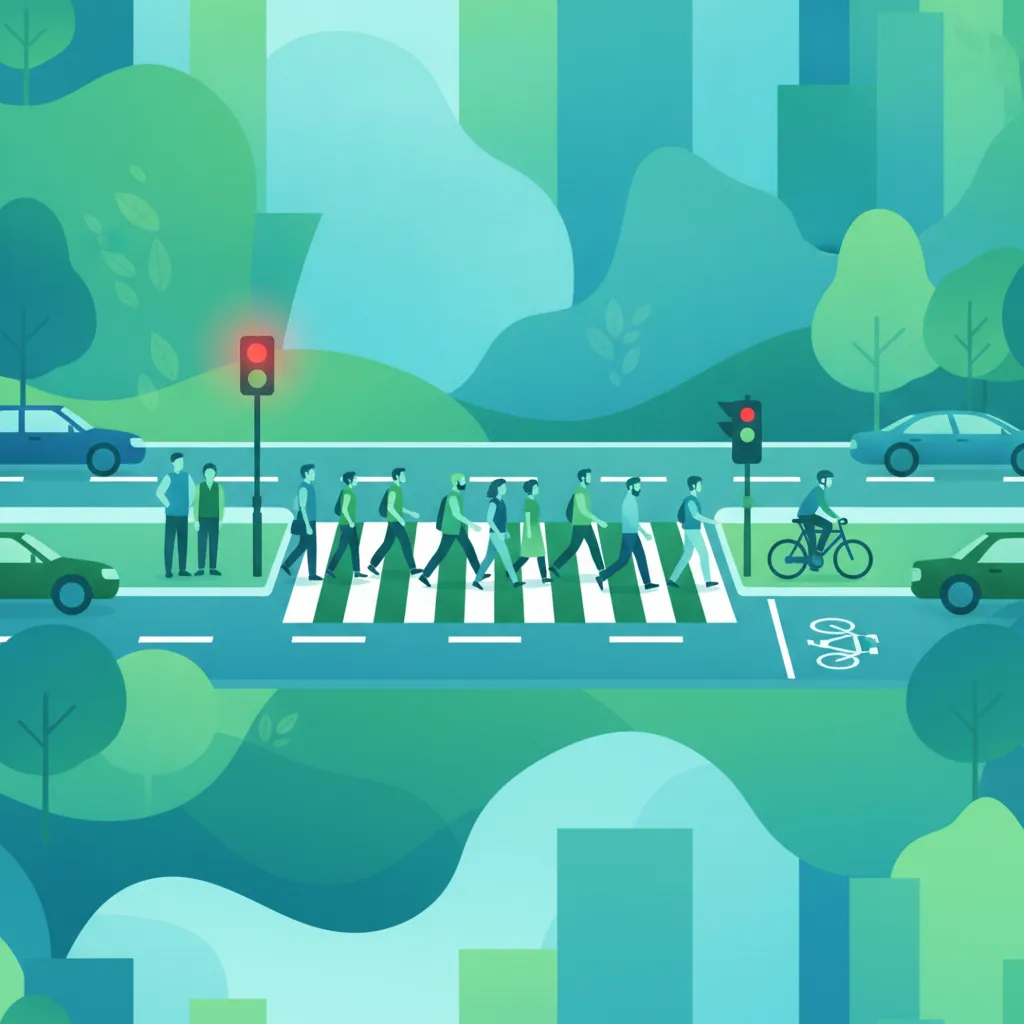
This lesson provides a detailed guide to the various types of pedestrian crossings found on British roads. You will learn the specific rules for each, including the absolute priority of pedestrians at zebra crossings and how to respond to the light signals at pelican, puffin, and toucan crossings. Understanding these rules is essential for protecting vulnerable road users and ensuring you are compliant with the Highway Code.
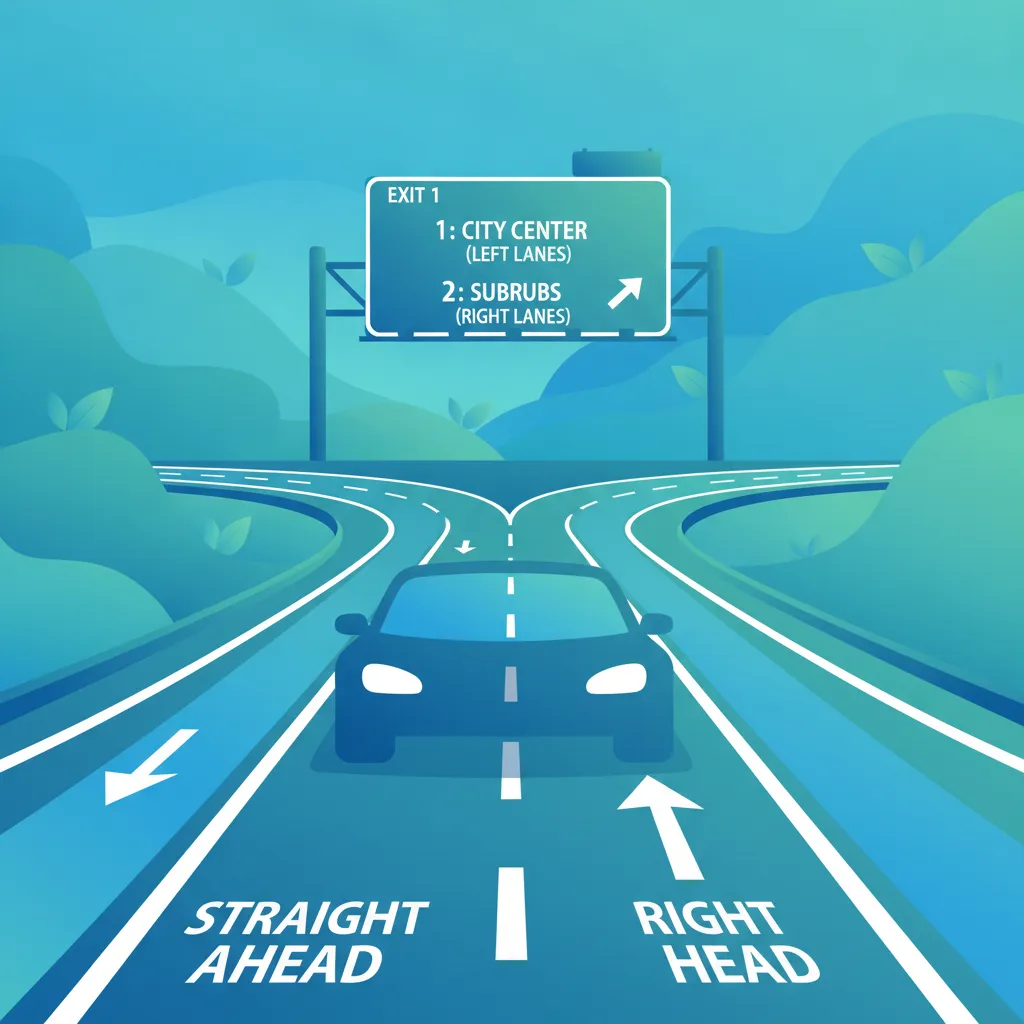
This lesson focuses on the rules conveyed by road markings, such as solid and broken white lines that dictate overtaking rules and lane boundaries. You will learn to interpret waiting and stopping restrictions indicated by yellow and red lines, and understand markings for specific road users like bus and cycle lanes. Maintaining correct lane discipline based on these markings is a fundamental skill for safe navigation and compliance with the Highway Code.

This lesson provides detailed guidance on protecting pedestrians in high-risk areas like bus stops and formal crossings. It covers the specific rules and driver obligations at zebra, pelican, toucan, and puffin crossings, as well as when approaching a school crossing patrol. The content emphasizes the importance of vigilance, anticipating pedestrian movements, especially those who may be distracted or emerge from behind the bus, and always being prepared to stop to prevent accidents.

This lesson explains how to drive safely through areas where roadworks are taking place. It stresses the importance of obeying all temporary signs, especially mandatory speed limits, which are in place for your safety and the safety of road workers. You will learn about navigating narrow lanes, contraflow systems, and how to follow official diversion signs.
Understand the specific, limited circumstances under which crossing a solid white line is permitted according to Great Britain driving theory. This lesson clarifies legal exceptions for obstructions, side roads, and vulnerable users.
This lesson focuses on the markings that control traffic at intersections. It explains the primary rule of a yellow box junction: do not enter unless your exit is clear. You will also learn the difference between the solid white 'Stop' line and the broken 'Give Way' line, which dictate your priority over other traffic.
This lesson focuses on the rules conveyed by road markings, such as solid and broken white lines that dictate overtaking rules and lane boundaries. You will learn to interpret waiting and stopping restrictions indicated by yellow and red lines, and understand markings for specific road users like bus and cycle lanes. Maintaining correct lane discipline based on these markings is a fundamental skill for safe navigation and compliance with the Highway Code.
This lesson explains markings found at the side of the road that regulate parking and stopping. You will learn the meaning of single and double yellow lines, and the stricter rules associated with red lines on 'Red Routes'. The lesson also covers markings for parking bays, loading zones, and hatched areas that are designed to separate traffic.
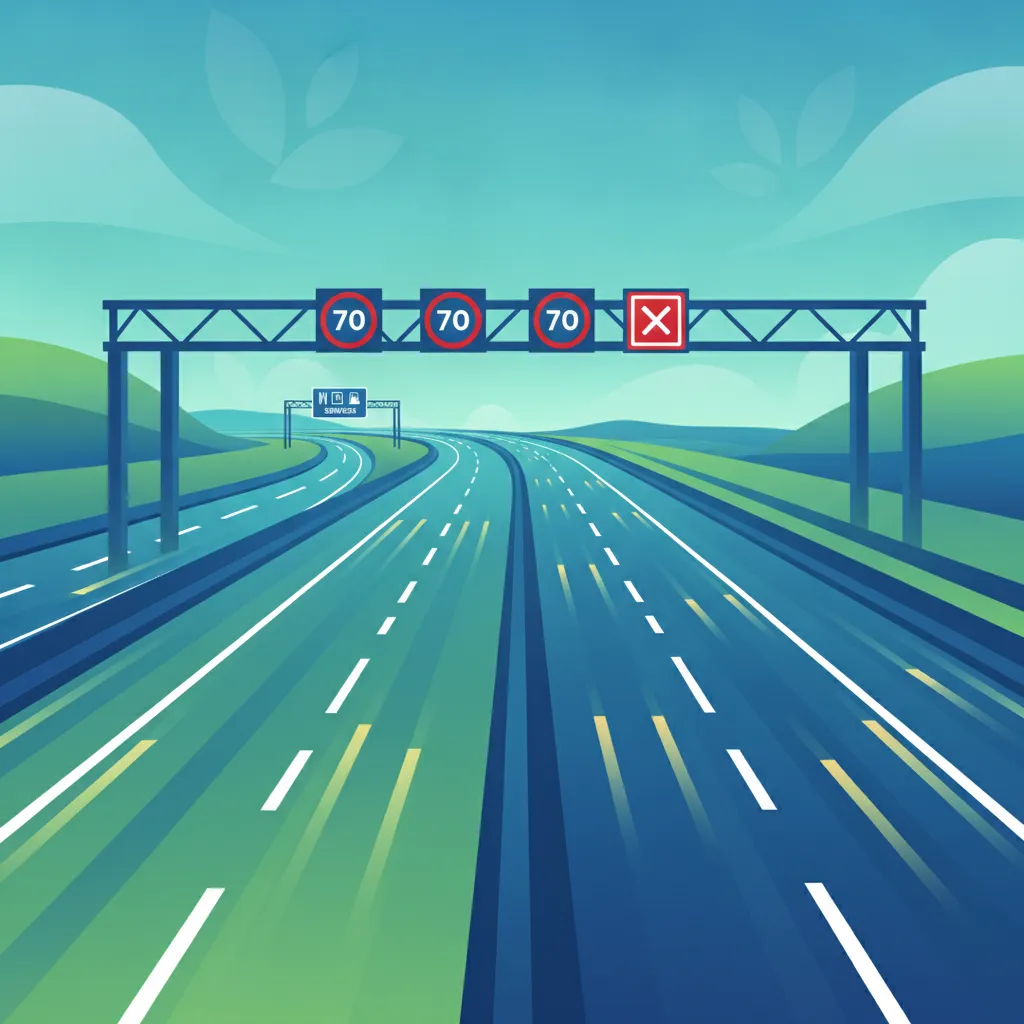
This lesson covers the unique aspects of motorway driving, from joining and leaving the carriageway to the strict lane discipline of keeping to the left unless overtaking. It explains the features of smart motorways, such as variable speed limits and the meaning of a Red X symbol above a lane. The safe procedure for handling a breakdown is also a key topic.
This lesson focuses on the markings and rules at designated pedestrian crossing points. It details the legal requirement to give way to pedestrians on a zebra crossing and explains the light sequences at signal-controlled crossings. You will also learn the meaning of the white zig-zag lines on the approach to all crossings.
This lesson details how to safely navigate junctions controlled by traffic signals. It explains the meaning of filter arrows, which allow you to proceed in a specific direction even if the main light is red. You will also learn about respecting advanced stop lines for cyclists and how to approach a junction when the traffic lights are not working.

This lesson decodes the language of road markings painted on the road surface. You will learn the rules associated with solid and broken white lines, double white lines that restrict overtaking, and yellow lines controlling parking. Proper understanding of these markings is crucial for maintaining correct lane discipline and riding legally.

This lesson covers the explicit priority instructions given by signs and markings at junctions. It explains that at a 'Give Way' line, you must yield to traffic on the major road but can proceed if it is safe. At a 'Stop' sign, you must come to a complete halt before the line, assess the traffic, and only proceed when safe.

This lesson provides guidance on where and how to park your vehicle legally and safely. It covers common manoeuvres like parallel parking and reversing into a bay, as well as specific rules for parking on a hill or at night. You will also learn to recognise locations where stopping is prohibited, such as on zig-zag lines or in clearways.
This lesson provides a detailed guide to various pedestrian crossings and their specific rules. You will learn to identify each type by its markings and signals, from the black and white stripes of a zebra crossing to the sensor-controlled lights of a puffin crossing. The focus is on knowing when and how to stop to ensure pedestrian safety.
Find clear answers to common questions learners have about Longitudinal Markings and Lane Discipline. Learn how the lesson is structured, which driving theory objectives it supports, and how it fits into the overall learning path of units and curriculum progression in Great Britain. These explanations help you understand key concepts, lesson flow, and exam focused study goals.
You must not cross or straddle a solid white line unless it is necessary to avoid an obstruction, pass a stationary vehicle, or pass a pedal cycle, horse, or road maintenance vehicle travelling at 10 mph or less.
Short, closely spaced lines indicate a hazard ahead, such as a junction or approaching solid lines. Longer, more widely spaced lines indicate that the road is safer to proceed along, but you should still exercise caution.
Yes, if the line nearest to you is solid, you must not cross it. If the line nearest to you is broken, you may cross it to overtake if it is safe to do so and you can complete the manoeuvre before reaching a solid line.
Examiners will observe your lane discipline throughout your test. Ignoring solid lines or failing to maintain lane position due to poor observation of markings is a common reason for faults during the practical test.
Dive into our comprehensive question bank to find exactly what you need for your Great Britain theory test. Use our advanced filters to pinpoint specific subjects or test your knowledge on challenging areas, ensuring you're fully prepared for success.