
This lesson explores the essential mechanics of braking for mopeds and light quadricycles, building on your control skills from previous units. You will learn how to master progressive braking and emergency stop procedures to ensure safety and stability on various road surfaces.

Lesson content overview
Effective braking is a fundamental skill for every rider, especially those operating low-powered vehicles such as mopeds and light quadricycles. This lesson will equip you with the knowledge and techniques required to stop safely and efficiently, ensuring control and stability in all road conditions. Mastering these methods is not only crucial for passing your AM licence theory and practical tests but, more importantly, for your safety and the safety of other road users on Great Britain's roads.
Braking involves more than simply pulling a lever or pressing a pedal. It is a nuanced process influenced by physics, vehicle design, and environmental factors. For mopeds and light quadricycles, understanding these dynamics is paramount due to their lighter weight and often simpler braking systems compared to larger motorcycles.
When you apply the brakes, you are essentially converting the vehicle's kinetic energy into heat energy through friction. This friction occurs between the brake pads and discs (or shoes and drums) and, critically, between the tyres and the road surface. The total stopping force available is directly limited by the amount of grip, or adhesion, the tyres can maintain with the road. If the braking force exceeds the tyre's adhesion limit, the wheel will lock, leading to a loss of control.
During deceleration, the vehicle's weight dynamically shifts forward. This weight transfer significantly increases the load on the front wheel and reduces it on the rear wheel. Consequently, the front tyre gains more grip and can handle greater braking force, while the rear tyre loses grip and is more prone to locking. Understanding this dynamic shift is key to distributing braking effort effectively.
Inappropriate brake usage is a common cause of accidents for riders of mopeds and light quadricycles. A sudden, uncontrolled stop can lead to a front wheel lock, causing the rider to lose steering control and potentially fall, or a rear wheel skid, which can destabilise the vehicle. Both scenarios pose a serious risk of collision or injury. On low-powered vehicles, which often have less sophisticated braking systems (e.g., without Anti-Lock Braking Systems, or ABS, as standard), the rider's skill in modulating brake force becomes even more critical.
The ability to stop quickly and safely, while maintaining control, is a core component of defensive riding. It allows you to react effectively to unexpected hazards, prevent collisions, and comply with the Highway Code's requirement to stop safely without endangering other road users.
Several fundamental concepts underpin effective braking for mopeds and light quadricycles:
These concepts are interconnected and form the foundation of safe and efficient braking.
Developing a feel for your vehicle's brakes and how they respond in different situations is essential. The following core principles guide safe braking for AM licence holders.
Progressive braking, sometimes called modulated braking, is the default and safest technique for most normal stops and for slowing down. It involves a gradual, increasing application of brake force rather than a sudden, abrupt action.
A braking technique where force is applied gradually, typically starting with the rear brake and then smoothly adding front brake pressure, to achieve controlled deceleration without locking the wheels.
The principle is to start gently and build up pressure smoothly. This allows the tyres time to adapt to the increasing load and friction, maximising grip and preventing sudden weight transfer that could cause a wheel lock. It also provides smoother deceleration, which is more comfortable for the rider and safer for following traffic.
Mopeds and light quadricycles, like most two-wheeled and light four-wheeled vehicles, are equipped with both a front and a rear brake. Each plays a distinct role in stopping the vehicle safely.
The art of braking lies in balanced braking, applying appropriate force to both brakes to maximise overall stopping power while maintaining stability. The exact balance will shift depending on the road surface and the intensity of the braking required.
An emergency stop is a critical manoeuvre performed when an imminent hazard requires you to stop your vehicle as quickly as possible. This technique demands maximum brake force while still preserving your ability to steer and control the vehicle. It is not about simply slamming on both brakes, but about a rapid yet controlled application that leverages maximum grip.
A rapid, high-intensity braking manoeuvre designed to stop the vehicle in the shortest possible distance while maintaining steering control, typically in response to an unforeseen hazard.
For low-powered vehicles, a common mistake is to grab the front brake too aggressively, leading to a lock. A correct emergency stop involves applying both brakes firmly and quickly, but with a nuanced release of the rear brake as weight transfers, preventing its lock while the front brake does most of the work.
As previously mentioned, weight transfer is the dynamic shift of the vehicle's mass. When you brake, this weight shifts from the rear to the front. Understanding this phenomenon allows you to anticipate how your vehicle will behave under braking and adjust your technique accordingly.
The front tyre gains significantly more grip as its load increases, meaning it can handle much greater braking force. Conversely, the rear tyre's grip reduces, making it more susceptible to locking. Effective weight transfer management means modulating your brake application to take advantage of the front tyre's increased grip while preventing the rear tyre from locking due to its reduced load.
The road surface adhesion—the friction between your tyres and the road—is not constant. It varies dramatically with the condition of the road (dry, wet, icy, dusty, gravelly) and the presence of contaminants like oil spills. Your braking technique must always be adapted to the prevailing surface conditions to prevent wheel lock and maximise stopping power.
On a dry, clean surface, you have maximum grip, allowing for strong brake application. However, on wet, loose, or icy surfaces, grip is severely reduced, demanding a much gentler, more progressive approach and a significant adjustment to the front-to-rear brake balance. Failure to adapt can easily lead to a skid and loss of control.
Progressive braking is your go-to technique for most everyday riding situations, from slowing down for a traffic light to reducing speed before a bend.
The key to successful progressive braking is a smooth, coordinated action involving both brakes.
Initial Rear Brake Application: Begin by gently applying the rear brake (either the foot pedal for a moped or right hand lever for a scooter) with light pressure. This helps to settle the vehicle, activate the brake light, and start the deceleration process.
Adding Front Brake Pressure: As the vehicle begins to slow and some weight transfers forward, smoothly and progressively increase pressure on the front brake lever (left hand for a moped or scooter). The goal is a steady, continuous increase in pressure, building up to the desired level of deceleration.
Maintaining Balance: Throughout the process, keep your body relaxed and maintain a neutral riding position. Avoid stiffening up, which can hinder your ability to modulate the brakes effectively.
Modulate to Stop: Continue to modulate both brakes, increasing or decreasing pressure as needed, until you reach your desired speed or come to a complete stop. As you approach a complete stop, you may slightly ease off the front brake to allow the rear suspension to extend and maintain stability.
The feel for the amount of pressure required comes with practice. You should aim to use enough force to decelerate efficiently without feeling the tyres beginning to lose grip or lock.
The correct balance between the front and rear brakes is not fixed; it is dynamic and depends on several factors, including vehicle speed, road surface, and the degree of deceleration required.
On a dry, grippy surface, the front brake provides the majority of stopping power. A general guideline is to use a ratio of approximately 60-70% front brake to 30-40% rear brake for effective deceleration. However, this is a starting point, and the rider must constantly adjust based on feedback from the vehicle.
As you brake, weight shifts forward, increasing the front tyre's grip potential. You can therefore apply more force to the front brake. Simultaneously, the rear tyre becomes lighter and its grip reduces, so you must be cautious not to apply too much rear brake, which could cause it to lock.
While the front brake is dominant on dry surfaces, there are specific situations where the rear brake becomes more important:
An emergency stop is a crucial skill that could save your life or prevent a serious accident. It requires decisive action and practice to perform correctly.
Identify the Hazard and React: As soon as you perceive an imminent hazard, simultaneously shut the throttle and apply both brakes.
Apply Both Brakes Firmly and Quickly: Squeeze the front brake lever firmly and quickly, and press the rear brake pedal/lever with similar urgency. Do not grab the front brake abruptly, but apply it with maximum progressive force.
Manage Weight Transfer (Rear Brake Modulation): As significant weight shifts to the front wheel, the rear wheel will lighten rapidly and become prone to locking. You must be prepared to slightly ease off the rear brake pressure to prevent it from locking, while maintaining maximum pressure on the front brake.
Maintain Steering Control: Keep your eyes up, looking where you want to go. While braking hard, you should still be able to slightly steer the vehicle to avoid the hazard if there is a safe path. Do not fixate on the obstacle.
Release Brakes (Once Stopped): Once the vehicle has come to a complete stop, release the brakes to prevent unnecessary strain on the system and prepare for potential further action.
The goal is to stop in the shortest possible distance while maintaining steering control. Practice in a safe, controlled environment is vital for developing the muscle memory and confidence required for this manoeuvre.
The primary challenge during an emergency stop on a moped or light quadricycle is preventing wheel lock. If the front wheel locks, you will almost certainly lose steering and fall. If the rear wheel locks, the vehicle may skid sideways, but it is generally easier to recover or manage a rear-wheel skid than a front-wheel skid.
Never slam the front brake alone in an emergency. Always use both brakes in a controlled manner, prioritising the front brake's stopping power while modulating the rear to prevent lock.
Riders must anticipate the increased grip on the front tyre and reduced grip on the rear tyre during severe braking. The ability to finely modulate the rear brake—releasing just enough pressure to keep it rotating, but no more—is what differentiates a controlled emergency stop from a skid.
Understanding weight transfer is not just theoretical; it profoundly influences how you should apply your brakes.
When a vehicle is accelerating, weight shifts to the rear. When it's braking, weight shifts to the front. This is known as dynamic weight transfer. The amount of weight transferred depends on the vehicle's height, wheelbase, and deceleration rate. For a moped or light quadricycle, which often have a relatively short wheelbase and high centre of gravity, this transfer can be quite pronounced.
A typical hard braking manoeuvre can shift 30% or more of the vehicle's total weight to the front wheel, effectively increasing its grip capacity. At the same time, the rear wheel can become so light that it has very little load, and thus very little grip.
Effective brake control means constantly adjusting your brake pressure to match the dynamic changes in tyre grip.
This continuous modulation is a skill developed through experience and practice. It helps you to extract maximum stopping power from both tyres without exceeding their friction limits.
Road conditions are rarely uniform, and your braking technique must adapt to varying levels of road surface adhesion.
On dry, clean asphalt or concrete, you have the maximum available grip. This allows for firm, progressive braking using both brakes, with the front brake contributing the majority of the stopping power (typically 60-70%). This is where you can achieve the shortest stopping distances.
Wet roads significantly reduce tyre grip, often by as much as 50% compared to dry conditions. Water acts as a lubricant, reducing the friction coefficient.
After riding through a puddle or prolonged rain, your brake pads and discs/drums may be wet. Lightly apply your brakes for a moment to dry them out, restoring full braking efficiency.
Loose surfaces like gravel, sand, or dirt offer very low grip, even less than wet asphalt. Braking on these surfaces requires extreme caution.
Icy conditions offer almost no grip. Braking forcefully on ice will inevitably lead to a wheel lock and loss of control.
The Highway Code and DVSA (Driver and Vehicle Standards Agency) guidance provide the legal framework and best practices for braking in the UK. Adhering to these is mandatory for all road users, including AM licence holders.
| Rule | Applicability | Legal Status | Rationale |
|---|---|---|---|
| Stop safely without endangering other road users (§ 106) | All road stops, normal and emergency | Mandatory | Ensures rider maintains control and avoids collisions |
| Maintain steering control during braking (§ 106) | Any braking context | Mandatory | Ability to avoid obstacles and maintain stability |
| Adjust braking for road surface condition (Vehicle Code) | Wet, icy, or loose surfaces | Mandatory | Prevents wheel lock and skidding in low-adhesion conditions |
| Do not brake while negotiating a turn exceeding safe cornering speed (§ 155) | Cornering | Mandatory | Braking while turning can cause loss of traction, increasing crash risk |
| Carry out an emergency stop within a distance that allows safe clearance from other road users (DVSA test standard) | Emergency stop scenarios | Mandatory (test requirement) | Demonstrates rider’s ability to stop quickly and safely |
The Highway Code emphasizes that you must always be able to stop your vehicle safely, in a distance appropriate to your speed and the road conditions. This includes allowing for sufficient stopping distance, which is composed of thinking distance (the time it takes to react) and braking distance (the distance covered while the brakes are applied).
DVSA guidance for AM vehicles strongly recommends:
Some modern mopeds and light quadricycles may be equipped with Combined Braking Systems (CBS) or Anti-Lock Braking Systems (ABS). CBS links the front and rear brakes, applying a small amount of the other brake when one is activated. ABS prevents wheel lock by rapidly releasing and re-applying brake pressure. While these systems enhance safety, they do not negate the need for proper progressive braking technique and surface adaptation.
Being aware of common mistakes can help you avoid them and develop safer braking habits.
Effective braking involves dynamic adaptation to the context of your ride.
Your braking actions directly impact the safety of others.
Mastering braking techniques requires a combination of theoretical understanding and practical application.
These three factors are intrinsically linked. Understanding their interaction allows you to make informed decisions about your riding speed and braking strategy.
The best braking technique is one you don't have to use in an emergency. Hazard anticipation and defensive speed management are crucial. By constantly scanning the road ahead and anticipating potential hazards, you can often reduce speed using engine braking or light progressive braking well in advance, avoiding the need for sudden emergency stops. This proactive approach significantly enhances safety.
Mastering braking techniques for mopeds and light quadricycles is a cornerstone of safe riding. By understanding the physics of deceleration, the importance of progressive braking, the dynamic balance between front and rear brakes, and how to adapt to varying road conditions, you will significantly enhance your ability to control your vehicle. Regular practice of these techniques, coupled with constant hazard anticipation, will make you a safer, more confident rider, prepared for the diverse challenges of Great Britain's roads.
Explore all units and lessons included in this driving theory course.
Lesson content overview
Explore all units and lessons included in this driving theory course.
Explore search topics learners often look for when studying Braking Techniques for Low-Powered Vehicles. These topics reflect common questions about road rules, driving situations, safety guidance, and lesson level theory preparation for learners in Great Britain.
Browse additional driving theory lessons that cover connected traffic rules, road signs, and common driving situations related to this topic. Improve your understanding of how different rules interact across everyday traffic scenarios.
Explore how maintaining vehicle stability is crucial when braking on mopeds and light quadricycles. Learn about the interplay between braking force, weight transfer, and tyre grip for safe deceleration.
This lesson provides essential guidance for handling on-road emergencies. It outlines the steps to take if your vehicle breaks down, including making yourself visible and getting to a place of safety. You will also learn the basics of what to do at an accident scene, including assessing the situation, calling for help, and providing simple first aid until professional assistance arrives.
This lesson details all the necessary documentation required at each stage of the AM licensing process, from applying for a provisional licence to attending your theory and practical tests. You will learn about the required forms of identification, proof of insurance, and vehicle registration documents. The lesson also provides a clear overview of the DVSA test procedures, explaining the format of the multiple-choice theory test, the hazard perception section, and the criteria for the practical assessment.

This lesson clarifies the roles of the front and rear brakes on a motorcycle. You will learn that the front brake is responsible for around 70-80% of your braking power due to weight transfer during deceleration. The lesson teaches how to apply both brakes progressively and smoothly for controlled, stable stops in various situations.
This lesson covers the principles of safe loading to prevent items from shifting or falling and causing a hazard. It explains that any load must be securely fastened and must not obstruct your view. You will also learn how overloading or distributing weight incorrectly can dangerously affect the vehicle's steering, braking, and overall stability.
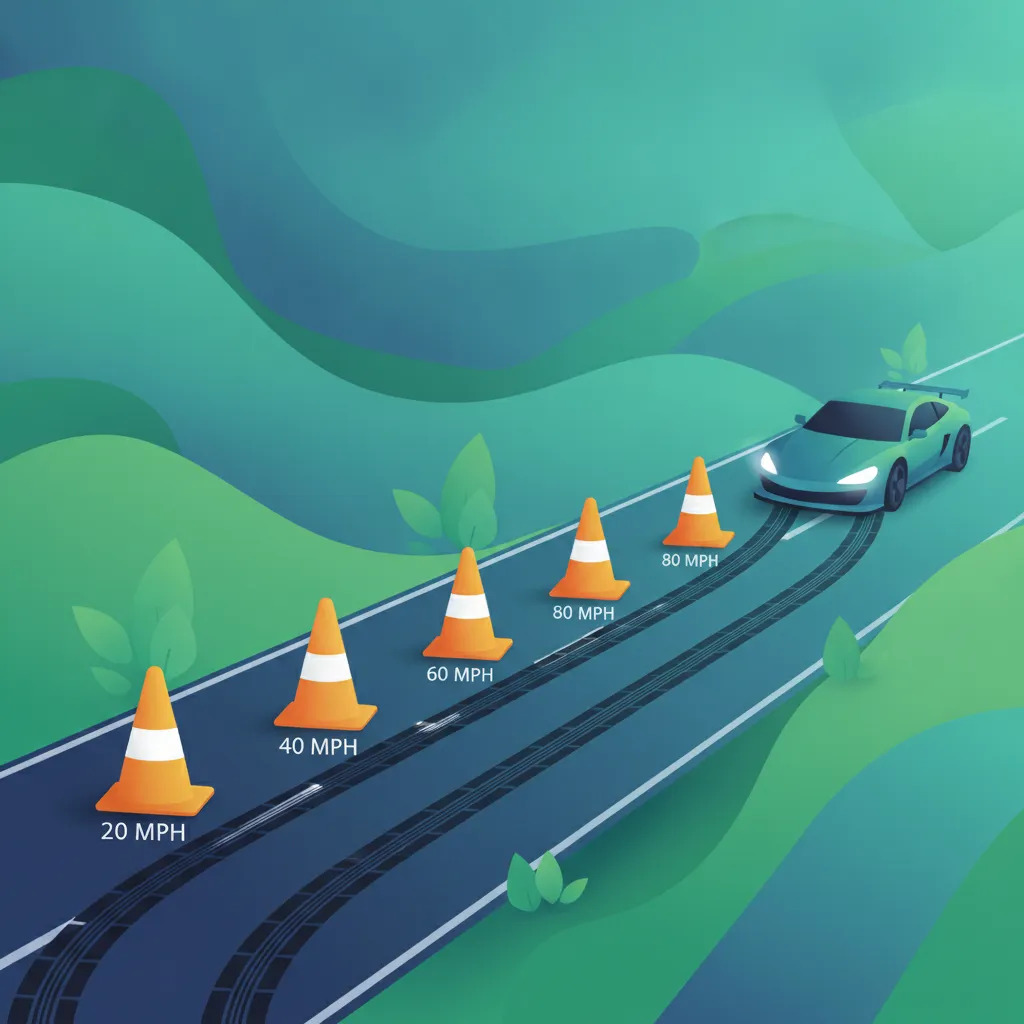
This lesson focuses on effective braking strategies, including brake modulation, ABS usage, and emergency braking procedures for large vehicles. Learners will understand how to calculate total stopping distances, taking into account perception-reaction time, vehicle mass, speed, and road conditions. The discussion also reviews brake wear, proper maintenance, and the effect of passenger load on braking performance. Mastering these concepts is crucial for reducing stopping distances and increasing safety margins.
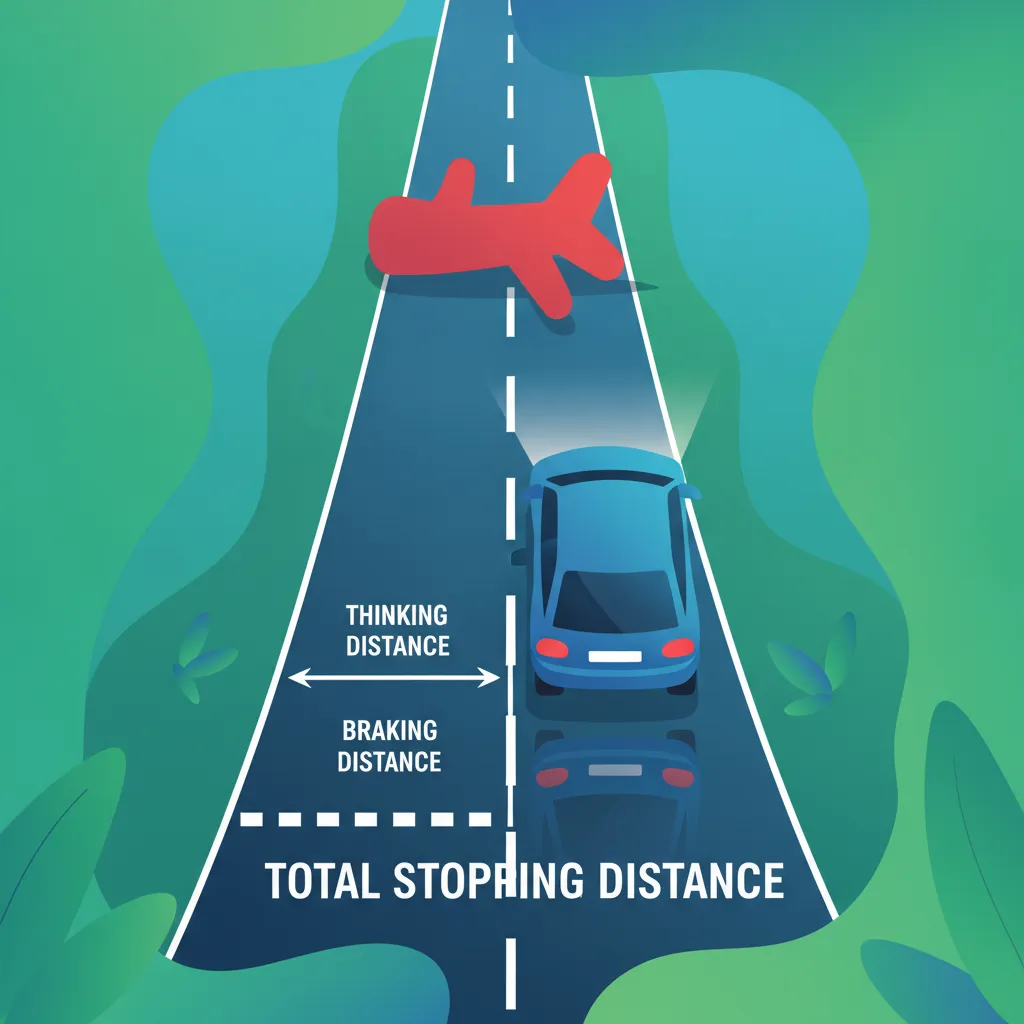
This lesson provides a detailed examination of the powerful air braking systems found on most heavy goods vehicles, including ABS and EBS. It explains the components of total stopping distance—thinking distance and braking distance—and how they are affected by speed, mass, and road conditions. The concept of brake fade, its causes, and prevention methods are also covered, along with the importance of regular brake inspections for maintaining safety.
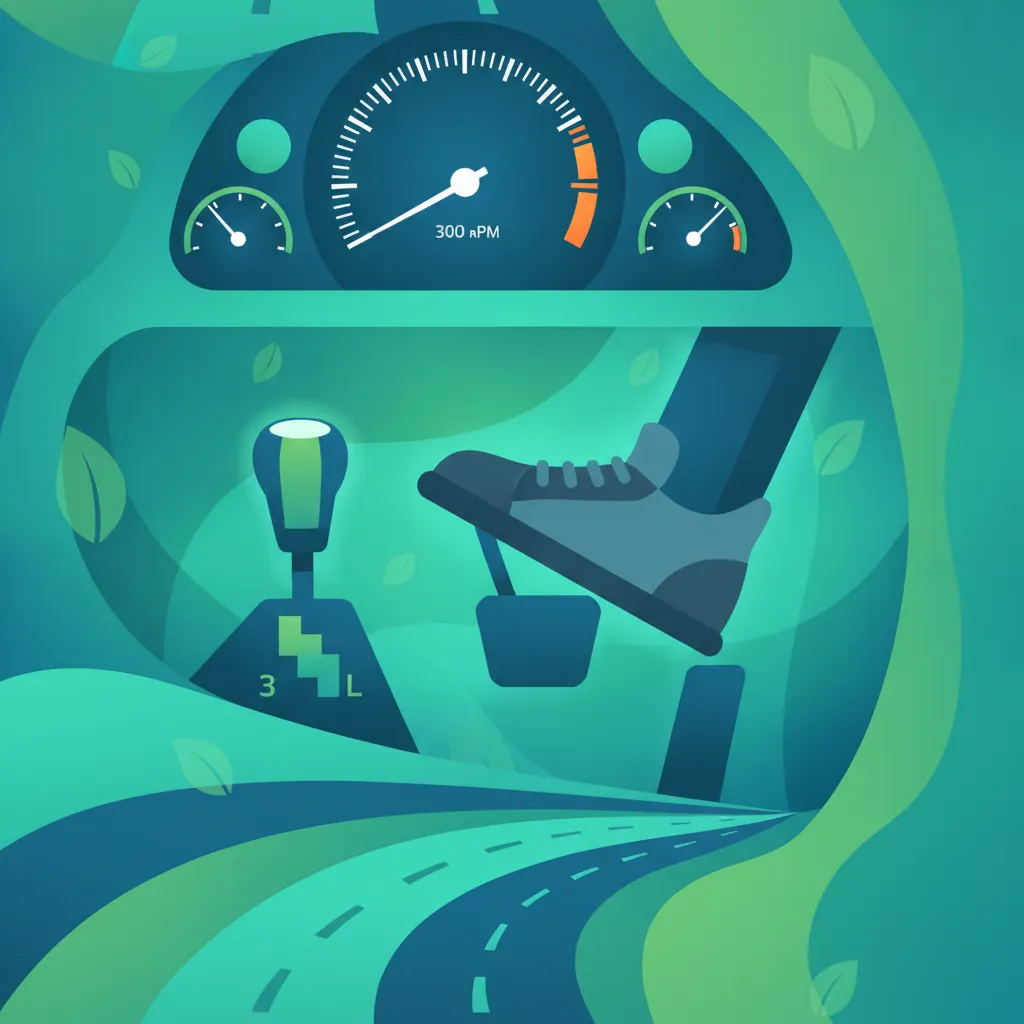
This lesson teaches essential techniques for safely navigating steep inclines and descents in a heavy vehicle. It focuses on the correct use of auxiliary braking systems, such as engine brakes and retarders, to control speed without overheating the service brakes. Proper gear selection for both ascending and descending gradients is explained in detail to ensure the driver maintains full control of the vehicle's momentum at all times, preventing dangerous situations.
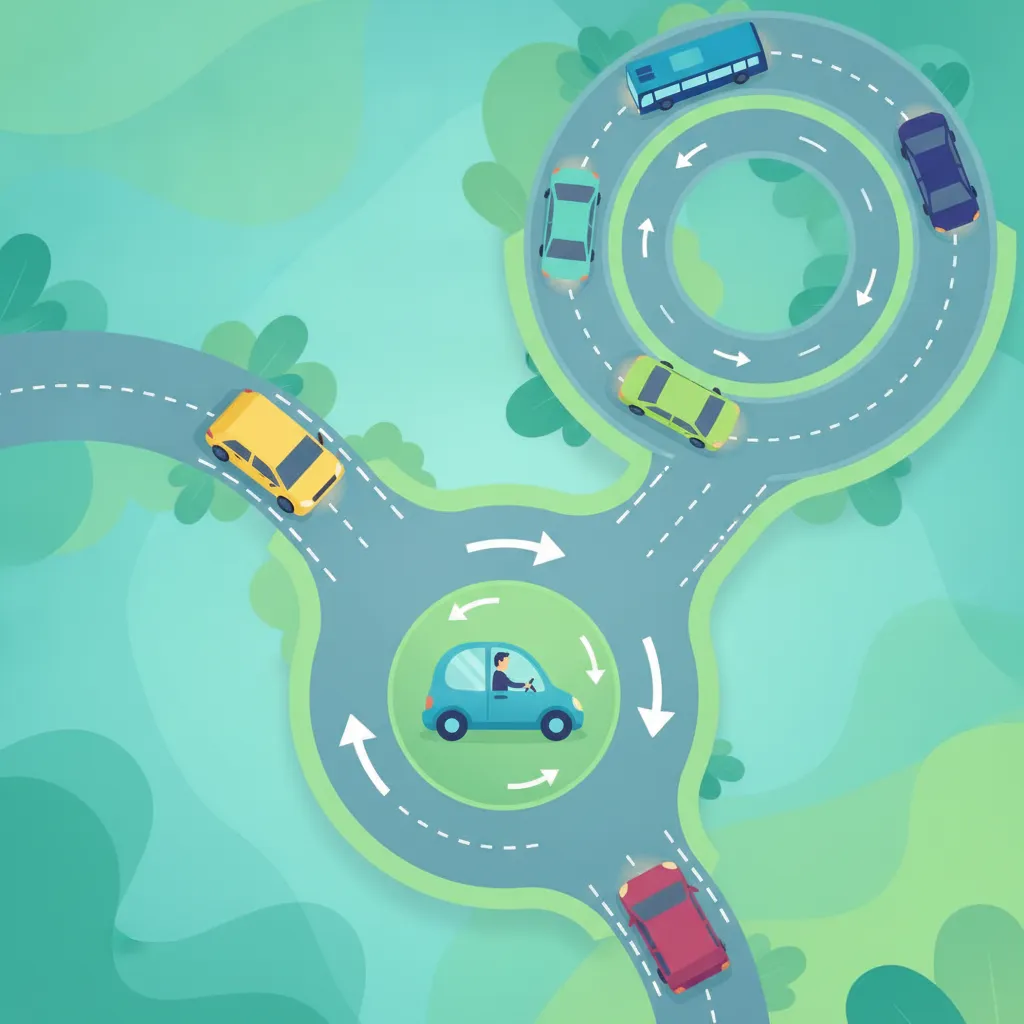
This lesson provides specific techniques for safely navigating the two main types of roundabouts in Great Britain. For multi-lane roundabouts, it covers how to choose the correct lane on approach, maintain your lane while circulating, and signal your exit correctly. It also explains the unique rules for mini-roundabouts, emphasizing the importance of giving way to traffic from the right and navigating them with caution due to their small size.

This lesson provides foundational knowledge on managing the speed of a low-powered vehicle through smooth and deliberate control inputs. You will learn proper throttle control for gradual acceleration, how to decelerate using both brakes and engine braking, and the principles of timely gear selection. Achieving smoothness in these actions is key to maintaining balance, traction, and overall stability, particularly in challenging conditions.
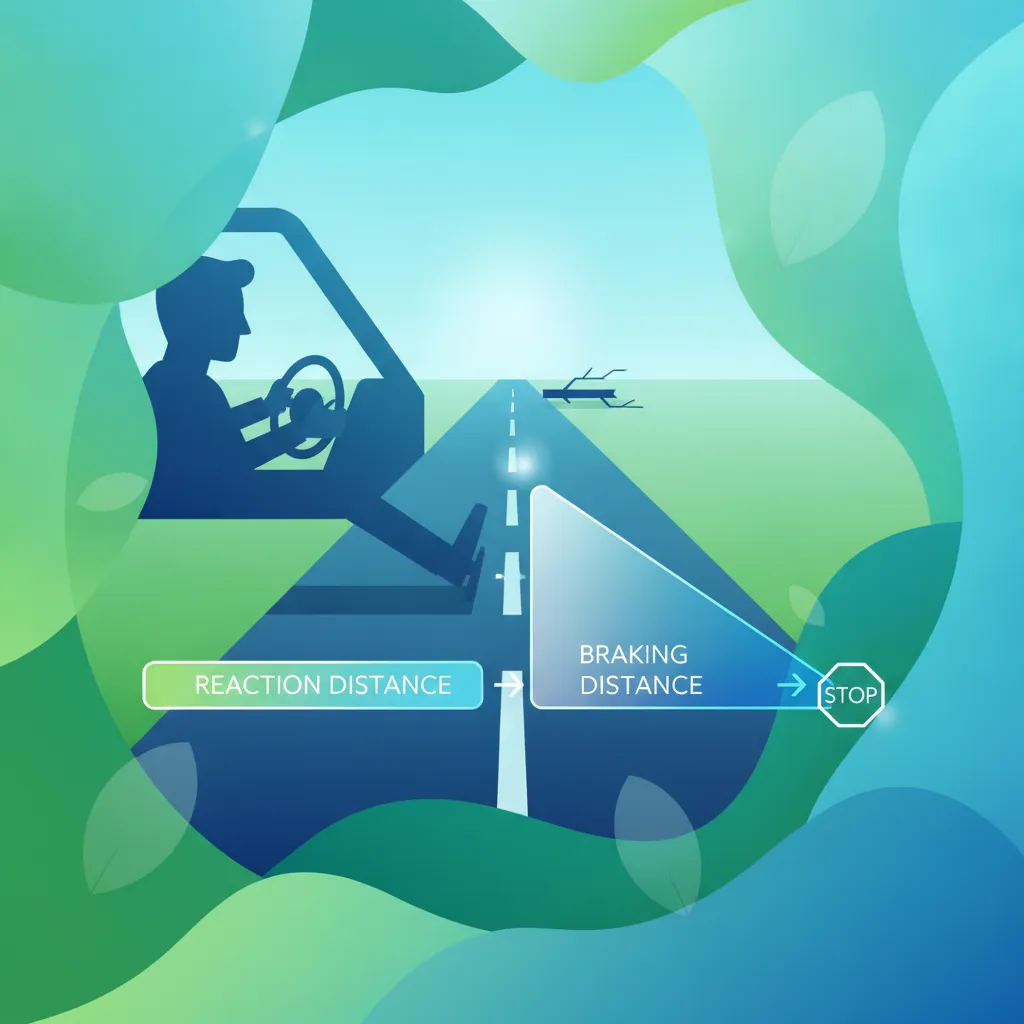
This lesson breaks down the concept of stopping distance into its two key parts. Thinking distance is the distance travelled while you react to a hazard, while braking distance is the distance the car travels after you apply the brakes. You will learn how speed, weather, and vehicle condition influence these distances.
Understand how different road surfaces like wet, gravel, or icy conditions affect braking performance for AM licence vehicles. Learn essential theory for adjusting your braking strategy to maintain grip and control.
This lesson provides essential advice for riding safely in adverse weather conditions that reduce tyre grip. You will learn how rain, ice, and wet leaves dramatically increase braking distances and affect handling. Key strategies covered include reducing speed, increasing following distances, making smooth control inputs, and anticipating slippery areas to maintain control and avoid skidding on compromised road surfaces.
This lesson provides essential advice for driving when weather conditions are poor. It explains how rain can cause aquaplaning and why you must double your following distance. You will also learn techniques for driving in icy conditions, including gentle use of controls to avoid skidding, and the correct use of lights in fog.
This lesson teaches you to interpret warning signs, which are typically triangular and designed to alert you to potential hazards ahead. You will learn the meanings of common signs indicating sharp curves, slippery surfaces, roadworks, or areas with frequent pedestrian or animal crossings. Understanding these signs is crucial for anticipating dangers and adjusting your speed and position defensively, which is especially important for vulnerable riders of AM vehicles.

This lesson equips drivers with strategies for maintaining control of a heavy vehicle during adverse weather conditions like heavy rain, ice, snow, and strong crosswinds. It covers the physics of traction loss, aquaplaning, and skidding, and explains how to use smooth inputs for steering, acceleration, and braking. The function of electronic stability control systems and other driver aids is also discussed as part of a proactive approach to safety in challenging environments.
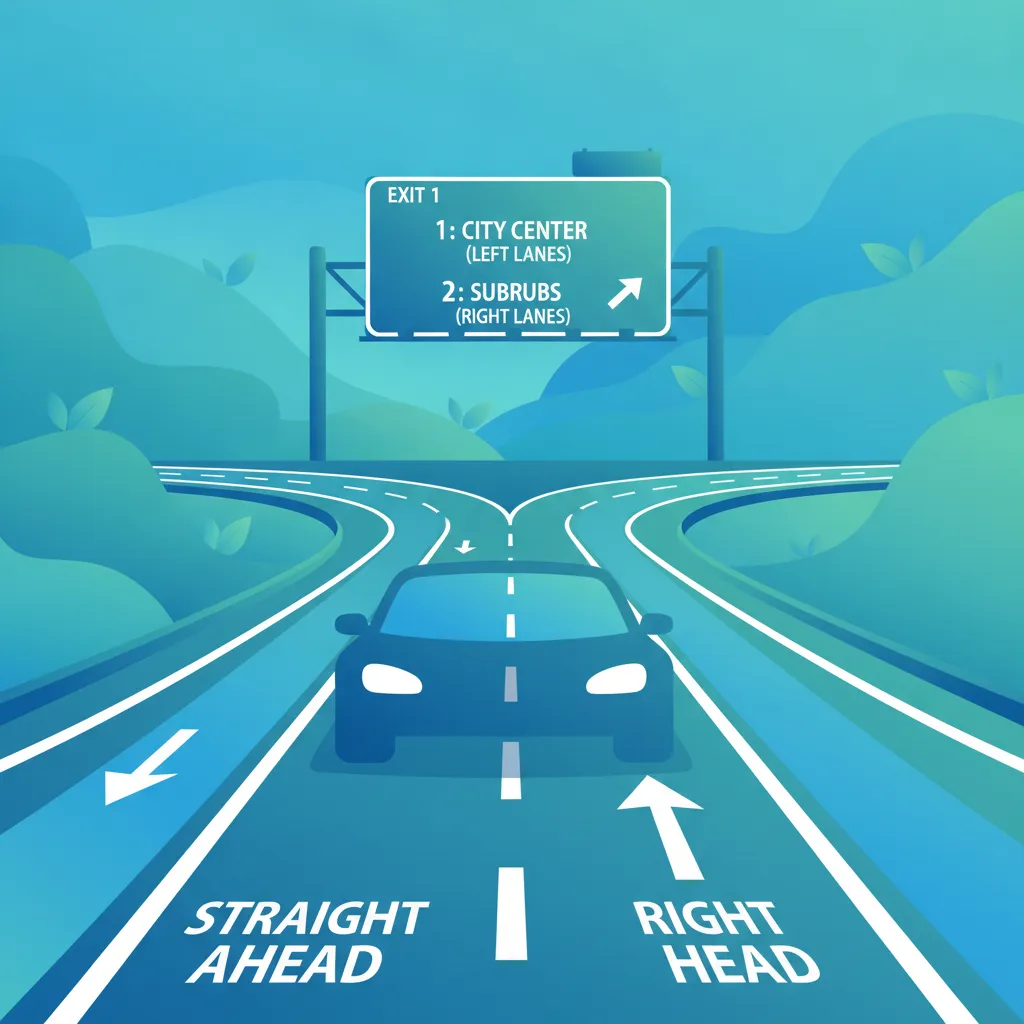
This lesson focuses on the rules conveyed by road markings, such as solid and broken white lines that dictate overtaking rules and lane boundaries. You will learn to interpret waiting and stopping restrictions indicated by yellow and red lines, and understand markings for specific road users like bus and cycle lanes. Maintaining correct lane discipline based on these markings is a fundamental skill for safe navigation and compliance with the Highway Code.
This lesson focuses on effective braking strategies, including brake modulation, ABS usage, and emergency braking procedures for large vehicles. Learners will understand how to calculate total stopping distances, taking into account perception-reaction time, vehicle mass, speed, and road conditions. The discussion also reviews brake wear, proper maintenance, and the effect of passenger load on braking performance. Mastering these concepts is crucial for reducing stopping distances and increasing safety margins.

This lesson explores the crucial concept of tyre grip and how it is affected by various road surfaces and conditions. You will learn to identify potential hazards that reduce traction, such as wet leaves, manhole covers, oil spills, and loose gravel. The content provides strategies for adjusting your riding style, including speed and lean angle, to safely navigate these surfaces and prevent a loss of control.
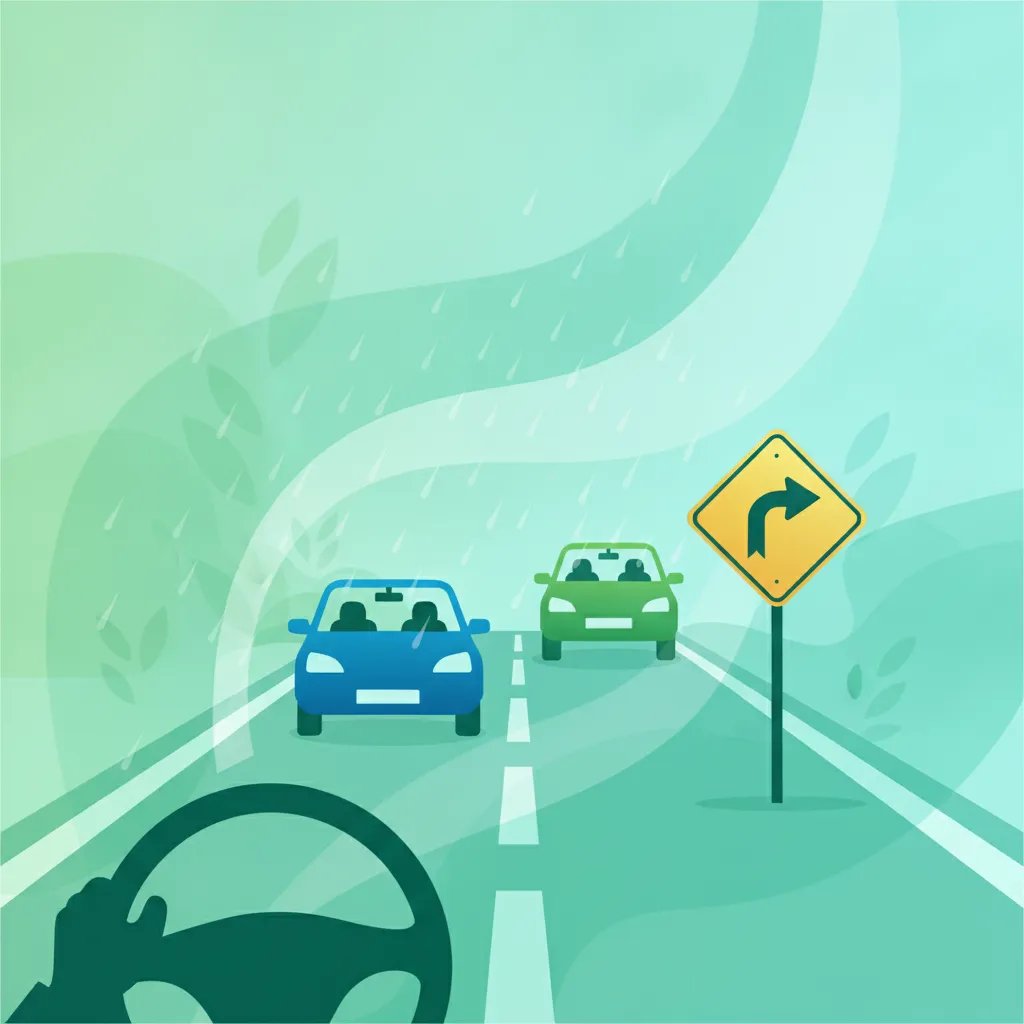
This lesson teaches a practical method for maintaining a safe distance from the vehicle in front. The 'two-second rule' provides a minimum time gap in dry conditions, which should be doubled to four seconds in the wet. Adhering to this rule gives you sufficient time to react and brake safely if the vehicle ahead stops suddenly.
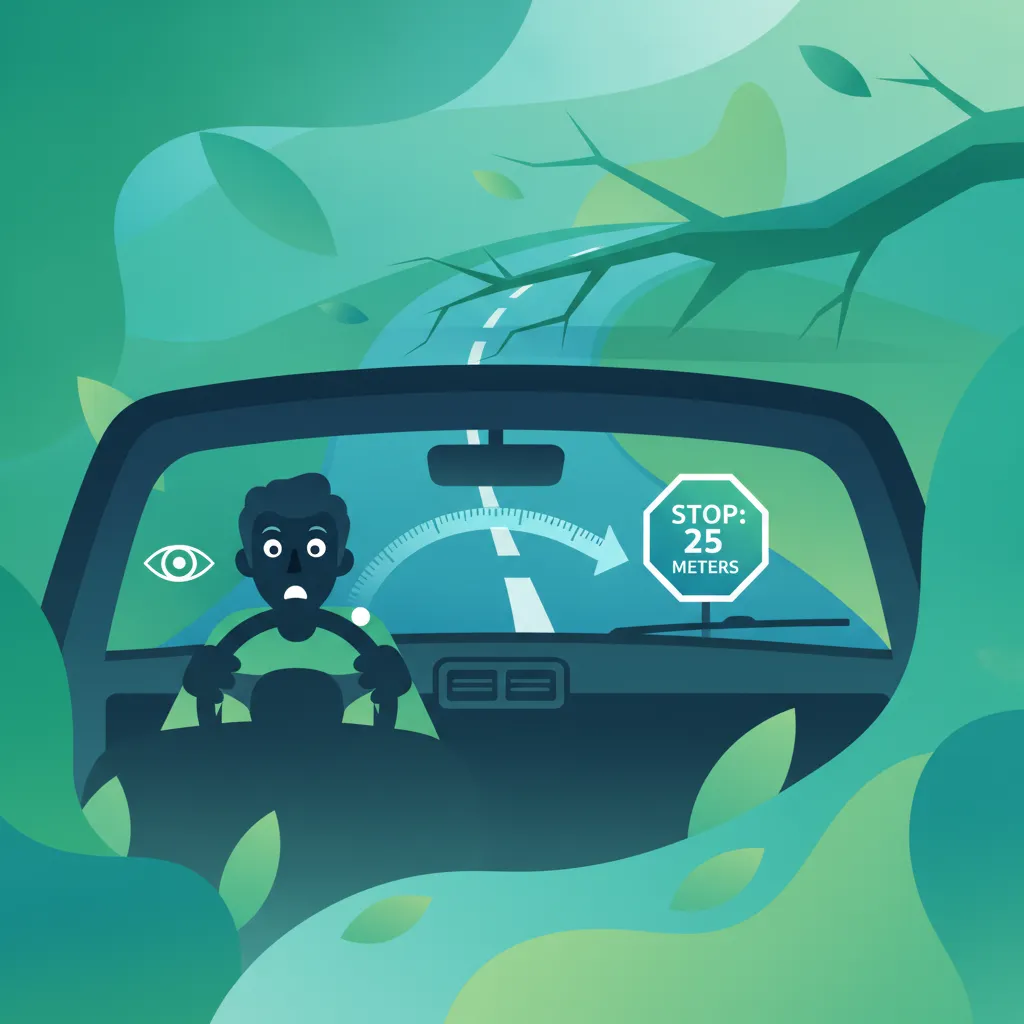
This lesson explains the components of total stopping distance: the distance travelled while you react (thinking distance) and the distance travelled while you brake. You will learn how speed dramatically increases this distance and how adverse weather or poor road surfaces can extend it further. Understanding these factors is crucial for anticipating hazards and avoiding collisions.
This lesson provides essential guidance for handling on-road emergencies. It outlines the steps to take if your vehicle breaks down, including making yourself visible and getting to a place of safety. You will also learn the basics of what to do at an accident scene, including assessing the situation, calling for help, and providing simple first aid until professional assistance arrives.
Find clear answers to common questions learners have about Braking Techniques for Low-Powered Vehicles. Learn how the lesson is structured, which driving theory objectives it supports, and how it fits into the overall learning path of units and curriculum progression in Great Britain. These explanations help you understand key concepts, lesson flow, and exam focused study goals.
You should use both brakes together for optimal, balanced stopping power. The front brake provides the majority of your stopping force, while the rear brake helps keep the vehicle stable; applying both progressively is the safest method.
Progressive braking is the technique of squeezing the brake lever or pedal gently at first and then gradually increasing pressure as the vehicle slows down. This prevents the wheels from locking up, which is a major cause of skidding.
The theory test includes questions on stopping distances, reaction times, and handling in emergencies. Understanding the physics of braking helps you answer these questions correctly and identify hazards more effectively.
Relying only on the rear brake significantly increases your stopping distance and makes it much harder to control the vehicle in an emergency. You must practice using both controls to maintain proper balance and safety.
Dive into our comprehensive question bank to find exactly what you need for your Great Britain theory test. Use our advanced filters to pinpoint specific subjects or test your knowledge on challenging areas, ensuring you're fully prepared for success.