
This lesson introduces the core principles of hazard perception, a vital requirement for the Great Britain theory test and your daily driving safety. By building on your knowledge of road signs and traffic flow, you will learn to actively scan for developing hazards and improve your anticipation of risks before they become dangerous situations.
Lesson content overview
Hazard perception is a fundamental skill for all drivers, especially those preparing for the Great Britain Category B driving theory test. It involves actively observing the driving environment, identifying potential dangers before they fully develop, and taking timely action to prevent incidents. This comprehensive guide will explore the core principles, techniques, and legal requirements of hazard perception, equipping you with the knowledge to drive safely and confidently.
Hazard perception is more than just a component of your theory test; it's a cornerstone of defensive driving and road safety. By consistently applying hazard perception skills, drivers can significantly reduce the risk of collisions and create a safer environment for themselves and other road users.
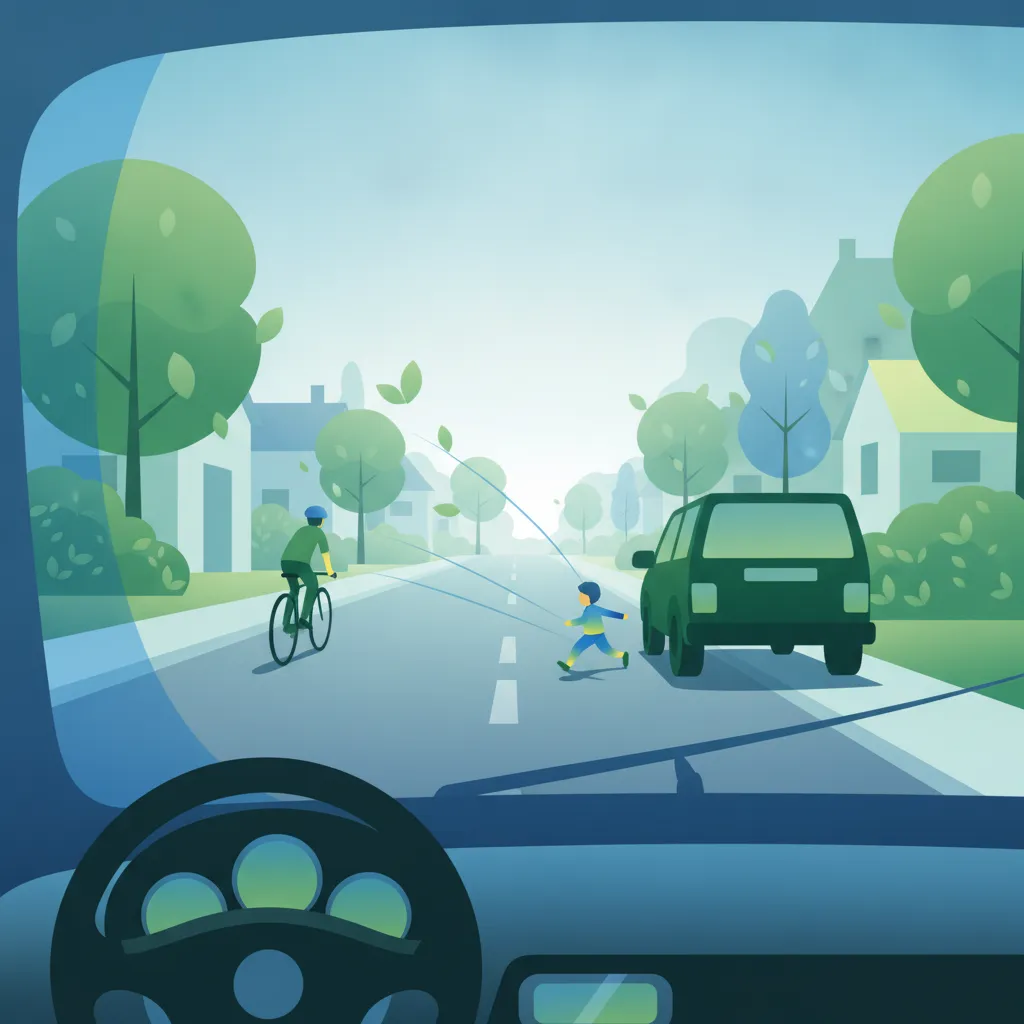
Early detection and anticipation of potential hazards are crucial for safe driving. These skills allow drivers to gain valuable extra seconds, which can be the difference between avoiding an incident and being involved in a collision. Recognising cues such as a ball rolling into the road, a pedestrian looking over their shoulder at a crossing, or brake lights ahead can prompt a timely response, such as slowing down, changing position, or preparing to stop.
The official Great Britain Category B driving theory test includes a dedicated hazard perception section. This part of the test assesses a learner's ability to identify developing hazards in real-world video clips. A developing hazard is something that might require you, as the driver, to take action, such as changing speed or direction. Success in this section demonstrates your competency in this critical skill, which is mandatory for obtaining a driving licence.
Familiarising yourself with common hazard scenarios, such as those involving vulnerable road users or complex junctions, will significantly aid your performance in the theory test and enhance your real-world driving safety.
Effective hazard perception is built upon a set of interconnected principles that guide a driver's cognitive and physical responses on the road. Mastering these principles allows for proactive rather than reactive driving.
| Principle | Definition | Purpose / Rationale | Implications |
|---|---|---|---|
| Scanning | Systematic, continuous visual sweep of the road environment using peripheral vision, mirrors, and head-turns. | Ensures early detection of hazards, preventing tunnel vision. | Drivers must maintain a scan pattern appropriate to road type and speed. |
| Identification | Recognising a potential hazard (e.g., a vehicle waiting at a junction) based on cues like speed, position, and road context. | Converts raw visual data into meaningful threat assessment. | Triggers a mental alert and decision-making process. |
| Anticipation | Predicting the future actions of road users or changes in the environment based on current observations. | Provides additional reaction time and allows proactive manoeuvres. | Influences speed adjustment, lane positioning, and braking decisions. |
| Prioritisation | Ranking detected hazards by immediacy and severity, focusing attention on the most threatening. | Manages limited cognitive resources effectively. | Directs driver response hierarchy (e.g., braking for a sudden pedestrian vs. monitoring a distant cyclist). |
| Response Timing | Executing appropriate actions (steering, braking, accelerating) within the safe response window. | Reduces collision probability by aligning driver action with vehicle capabilities. | Requires accurate perception of stopping distance and reaction time. |
| Continuous Re‑evaluation | Constantly reassessing the hazard landscape as conditions evolve. | Allows dynamic adaptation to new threats or diminishing hazards. | Prevents complacency and promotes ongoing vigilance. |
Scanning is the foundation of hazard perception. It involves systematically sweeping your eyes across the entire driving scene, rather than fixating on a single point. This includes looking far ahead, checking your mirrors frequently, glancing to the sides, and using your peripheral vision to detect movement. A proper scanning technique ensures that you gather comprehensive information about your surroundings, enabling you to detect hazards as early as possible.
Once you have scanned your environment, the next step is to identify anything that could potentially become a danger. Hazards can be categorised into static, dynamic, and emergent types. Static hazards, like parked vehicles or roadworks, are fixed objects. Dynamic hazards, such as other moving vehicles or pedestrians, are constantly changing. Emergent hazards are those that appear suddenly and unexpectedly, like a child running into the road. Recognising these different types helps you assess their potential impact.
Anticipation is the ability to predict how identified hazards might develop. This involves using current observations to forecast future events. For example, if you see a vehicle indicating to turn left, you anticipate it will slow down and change direction. If you see a pedestrian looking towards a crossing, you anticipate they might step onto the road. This predictive skill gives you vital extra time to prepare your response, allowing for smoother and safer driving.
In many driving situations, multiple hazards may be present simultaneously. Prioritisation is the skill of ranking these hazards based on their immediacy and potential severity. A primary hazard, such as a child stepping into the road, demands immediate attention and action. Secondary hazards, like a vehicle ahead indicating a turn, require monitoring but may not need an immediate drastic response. Tertiary hazards are distant or low-impact and can be managed with less immediate focus. This helps you manage your cognitive resources effectively and react appropriately to the most critical threats.
Response timing refers to the interval between detecting a hazard and initiating an appropriate driver action, such as braking or steering. This period includes your reaction time, which is the mental processing time to perceive the hazard and decide on a response (averaging around 1.5 seconds), and the time it takes to physically execute that response. Understanding stopping distance—the total distance your vehicle travels from the moment you see a hazard to when it comes to a complete stop—is crucial for calculating safe response windows.
The total distance a vehicle travels before coming to a complete stop, comprising the reaction distance (distance travelled during reaction time) and the braking distance (distance travelled while braking).
The driving environment is constantly changing, so hazard perception is not a one-time event. Continuous re-evaluation involves constantly reassessing the hazard landscape as new information appears or existing conditions evolve. This could be a micro-reassessment every few seconds while scanning or a macro-reassessment at key decision points like junctions or during lane changes. This ongoing vigilance prevents complacency and ensures you remain prepared for new or changing threats.
Developing effective hazard perception requires specific techniques and a proactive approach to driving. These skills are honed through practice and conscious application in various driving scenarios.
To become proficient in scanning, adopt a structured visual strategy:
Regularly checking all mirrors (rearview, side mirrors) and performing shoulder checks before changing lanes or manoeuvring is vital to detect hazards not visible through your forward view. The Highway Code mandates the use of mirrors when changing lane or overtaking (Rule 4).
Developing a keen eye for various hazard types is essential:
Anticipation means thinking ahead about what might happen. Practice:
When faced with multiple hazards, quickly assess and prioritise:
Your response timing directly impacts your safety. To optimise it:
A guideline for safe following distance: in dry conditions, a driver should maintain at least a two-second gap between their vehicle and the vehicle directly ahead. This gap should be increased in adverse conditions.
Never assume a hazard has passed or that the situation is stable. Continuously re-evaluate:
Hazard perception is not merely a recommended skill; it is underpinned by explicit rules and legal requirements in Great Britain. Adhering to these regulations is crucial for both safety and legal compliance.
The Highway Code provides numerous rules that directly or indirectly relate to hazard perception:
Beyond the Highway Code, the Road Traffic Act 1988 imposes a general duty of care on all drivers. Specifically, Section 1 of the Road Traffic Act 1988 states that a driver must not drive in such a manner as to cause injury to any road user. This overarching legal obligation reinforces the need for diligent hazard perception, as failing to identify and react to a hazard that subsequently causes injury could lead to legal prosecution.
As mentioned, hazard perception is a mandatory part of the Great Britain Category B driving theory test. Learners are shown video clips from a driver's perspective and must click when they spot a developing hazard. This test specifically evaluates your ability to detect early cues, proving your competence in a controlled environment before you face real-world scenarios.
Even experienced drivers can make mistakes in hazard perception. Understanding these common pitfalls helps in developing safer driving habits.
One of the most frequent errors is late scanning, where a driver focuses only on the vehicle directly ahead, ignoring their peripheral vision and mirrors. This reduces the reaction window for emerging hazards. Tunnel vision, a related issue, occurs when a driver fixates on a single hazard and neglects others, potentially missing secondary threats that could become primary.
To combat late scanning and tunnel vision, actively practice the systematic scanning techniques described earlier. Make it a conscious habit to move your eyes regularly and check all mirrors every few seconds, even when traffic seems calm.
Vulnerable road users (pedestrians, cyclists, motorcyclists) often act unpredictably. A common mistake is underestimating pedestrian intent, assuming they will wait at the curb or follow predictable paths. This can lead to serious collisions.
To avoid this, always anticipate that vulnerable users might make sudden movements. Look for cues like body language (e.g., a pedestrian looking over their shoulder, a child running near the road) and be prepared to stop. The Highway Code specifically advises giving extra room to vulnerable road users.
Excessive speed in poor conditions (e.g., fog, heavy rain) drastically reduces your visible distance and available stopping distance, giving you less time to react to hazards. Always reduce your speed to match visibility and road surface conditions.
Inappropriate use of mirrors, such as not checking mirrors before a lane change, is another common error. This can lead to collisions with vehicles in your blind spots. Always perform thorough mirror checks and a shoulder check (or 'lifesaver' glance) before any lateral movement.
Hazard perception is not a static skill; it must be continuously adapted to the changing conditions of the road and environment.
Weather significantly impacts visibility and vehicle handling, requiring adjustments to your hazard perception strategy.
Lighting conditions, from bright sunshine to complete darkness, demand different approaches to hazard perception.
Different road types present unique hazard profiles.
Your vehicle's state can also influence your hazard perception strategy.
Vulnerable users require specific attention and anticipation.
Hazard perception is deeply rooted in scientific principles, blending human cognition with the laws of physics and psychology. Understanding these underlying mechanisms can further enhance your driving safety.
The average reaction time of a driver is approximately 1.5 seconds. This is the inherent delay between seeing a hazard and initiating a response. While seemingly short, at 30 mph (approx. 13.4 metres/second), your vehicle will travel about 20 metres during this reaction time before you even begin to brake. Effective scanning mitigates this limitation by providing earlier visual cues, effectively "buying" you more time to react.
The physics of motion dictates that braking distance is proportional to the square of your speed. This means that if you double your speed, your braking distance quadruples. This relationship underscores the critical need for early hazard detection and appropriate speed reduction. Halving your speed, for example, reduces your braking distance to a quarter of what it was, dramatically increasing your safety margin.
Drivers tend to anticipate behaviours that align with predictable patterns (e.g., a car indicating a turn is likely to slow down). However, violations of expectancy—sudden or unexpected actions by other road users (e.g., a car suddenly changing lanes without signalling)—significantly raise the driver's cognitive load and can delay response times. Developing broad hazard perception helps you prepare for the unexpected and react more quickly to atypical situations.
DVSA research indicates a strong correlation between higher hazard perception test scores and lower on-road accident rates. This highlights the practical safety benefits of mastering this skill.
Here are key terms related to hazard perception that every Great Britain Category B learner driver should understand:
Applying hazard perception principles to real-world scenarios is key to internalising these skills. Here are some examples:
Setting: Residential street, clear daylight, 30 mph speed limit, approaching a T-junction. Scenario: You are driving towards a T-junction. To your right, a cyclist is approaching the junction from the side road. On your left, there's a parked car. Correct Behaviour:
Setting: Dual carriageway, light rain, 70 mph speed limit, approaching a motorway exit junction. Scenario: You are in the left-hand lane of a motorway. Ahead, you see a cluster of brake lights illuminate suddenly on several vehicles as you approach a busy exit junction in light rain. Correct Behaviour:
Setting: Urban road, 30 mph speed limit, school dismissal time, children present near a designated school crossing with a crossing patrol warden, wet pavement from recent rain. Scenario: You are driving past a school. It's 3:30 PM, and children are pouring out of the gates, gathering near a pedestrian crossing where a lollipop person (crossing patrol warden) is present. The road surface is wet. Correct Behaviour:
Explore all units and lessons included in this driving theory course.
Lesson content overview
Explore all units and lessons included in this driving theory course.
Explore search topics learners often look for when studying Hazard Perception Principles and Anticipation. These topics reflect common questions about road rules, driving situations, safety guidance, and lesson level theory preparation for learners in Great Britain.
Browse additional driving theory lessons that cover connected traffic rules, road signs, and common driving situations related to this topic. Improve your understanding of how different rules interact across everyday traffic scenarios.
Understand the fundamental principles of hazard perception, including systematic scanning, hazard identification, anticipation, and prioritisation. Learn how these skills are vital for safe driving in Great Britain and for passing your theory test.

Defensive riding is the practice of actively anticipating potential hazards rather than just reacting to them. This lesson teaches you how to scan for clues, predict the actions of other road users, and position yourself to avoid trouble. By developing strong anticipation skills, you can significantly reduce your risk of being taken by surprise on the road.

This lesson teaches you to interpret warning signs, which are typically triangular and designed to alert you to potential hazards ahead. You will learn the meanings of common signs indicating sharp curves, slippery surfaces, roadworks, or areas with frequent pedestrian or animal crossings. Understanding these signs is crucial for anticipating dangers and adjusting your speed and position defensively, which is especially important for vulnerable riders of AM vehicles.

This lesson teaches you to interpret warning signs, which are typically triangular with a red border. These signs are crucial for anticipating potential dangers, from changes in road layout to the presence of pedestrians or animals. By understanding these warnings, you can adjust your driving to safely navigate upcoming hazards.
This lesson focuses on developing advanced hazard perception skills and using them to manage your speed proactively. You will learn to constantly scan the road for potential dangers, anticipate the actions of other road users, and adjust your speed to give yourself more time to react. This defensive approach to speed management is fundamental to staying safe and avoiding emergency situations while riding in complex traffic environments.

This lesson focuses on the critical skill of positioning your AM vehicle safely in relation to larger vehicles and roadside hazards like parked cars. You will learn to identify and stay out of the extensive blind spots of lorries and buses, especially at junctions. The content also provides strategies for maintaining a safe 'space cushion' around your vehicle and navigating narrow gaps or filtering in traffic without compromising your safety.

This lesson synthesizes safety concepts into a proactive strategy for collision avoidance. It teaches the principles of defensive driving, which involves anticipating potential hazards created by other road users or road conditions and planning an escape route. Maintaining high levels of situational awareness, managing distractions, and leaving a significant safety margin around the vehicle are presented as fundamental techniques for minimizing risk on every journey.
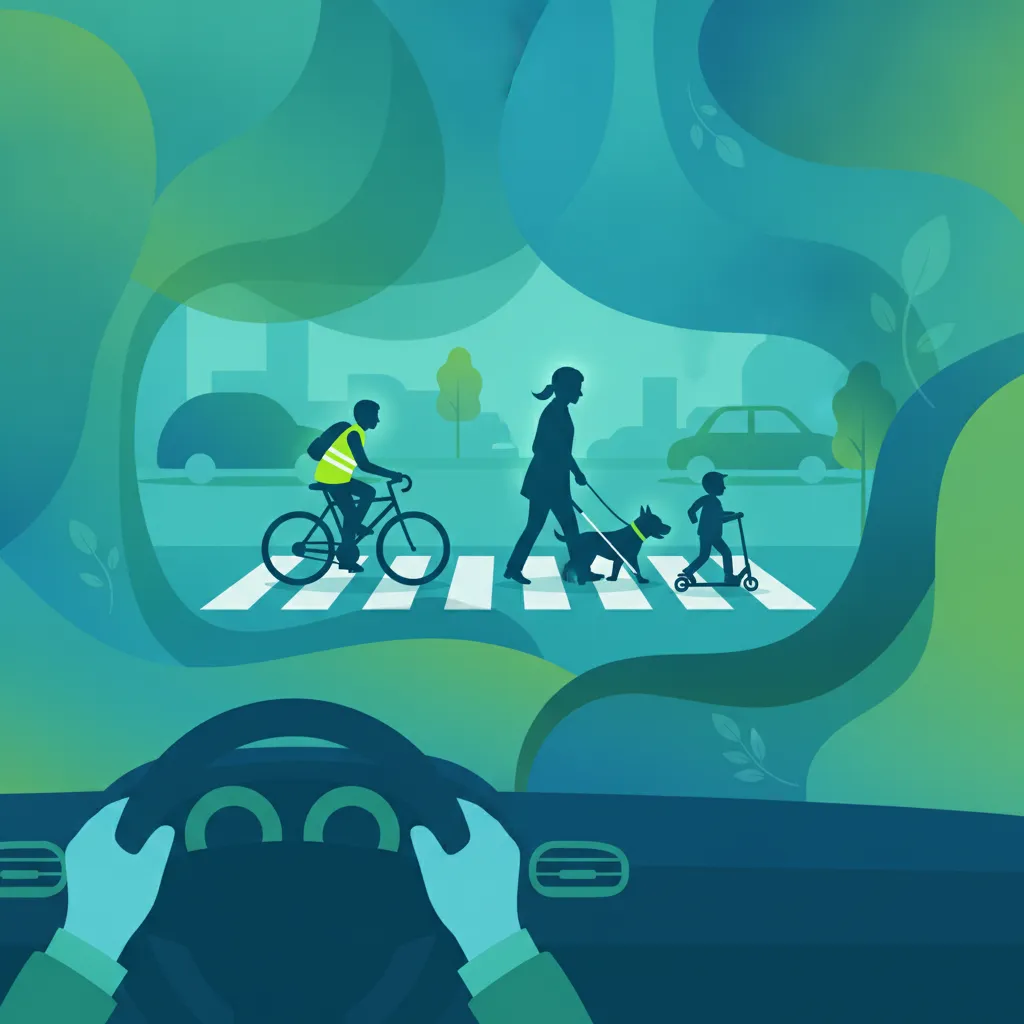
This lesson teaches drivers how to identify various types of vulnerable road users and anticipate their potential actions to prevent conflicts. It covers the specific risks associated with pedestrians, cyclists, motorcyclists, children, and elderly or disabled individuals. Emphasis is placed on heightened awareness and defensive driving techniques required to share the road safely. Understanding their perspectives and typical behaviours is key to protecting them and maintaining safety for everyone.

This lesson explains the function of warning signs, which are mostly triangular and alert road users to potential dangers ahead. You will learn to identify signs for bends, junctions, slippery surfaces, and other hazards particularly relevant to motorcyclists. Acting on these warnings allows a rider to adjust speed and position proactively, enhancing safety.

This lesson explains how to optimise your field of vision to be aware of your surroundings. It covers how to correctly adjust your interior and exterior mirrors to minimise blind spots. Crucially, it emphasizes that mirrors alone are not enough, and a direct 'head check' or 'shoulder check' is essential before manoeuvres like changing lanes or moving off.

This lesson prepares you for the specific challenges of driving in the countryside. It explains the correct procedure for overtaking horse riders: slow down and pass wide, ensuring you do not spook the animal. You will also learn how to anticipate and safely manage encounters with slow-moving tractors and other farm machinery.
Explore common errors in hazard perception, such as late scanning and misjudging vulnerable road users. Learn how to adapt your hazard awareness for different weather conditions, speeds, and road types in Great Britain.

This lesson provides essential advice for driving when weather conditions are poor. It explains how rain can cause aquaplaning and why you must double your following distance. You will also learn techniques for driving in icy conditions, including gentle use of controls to avoid skidding, and the correct use of lights in fog.
This lesson teaches you to interpret warning signs, which are typically triangular and designed to alert you to potential hazards ahead. You will learn the meanings of common signs indicating sharp curves, slippery surfaces, roadworks, or areas with frequent pedestrian or animal crossings. Understanding these signs is crucial for anticipating dangers and adjusting your speed and position defensively, which is especially important for vulnerable riders of AM vehicles.
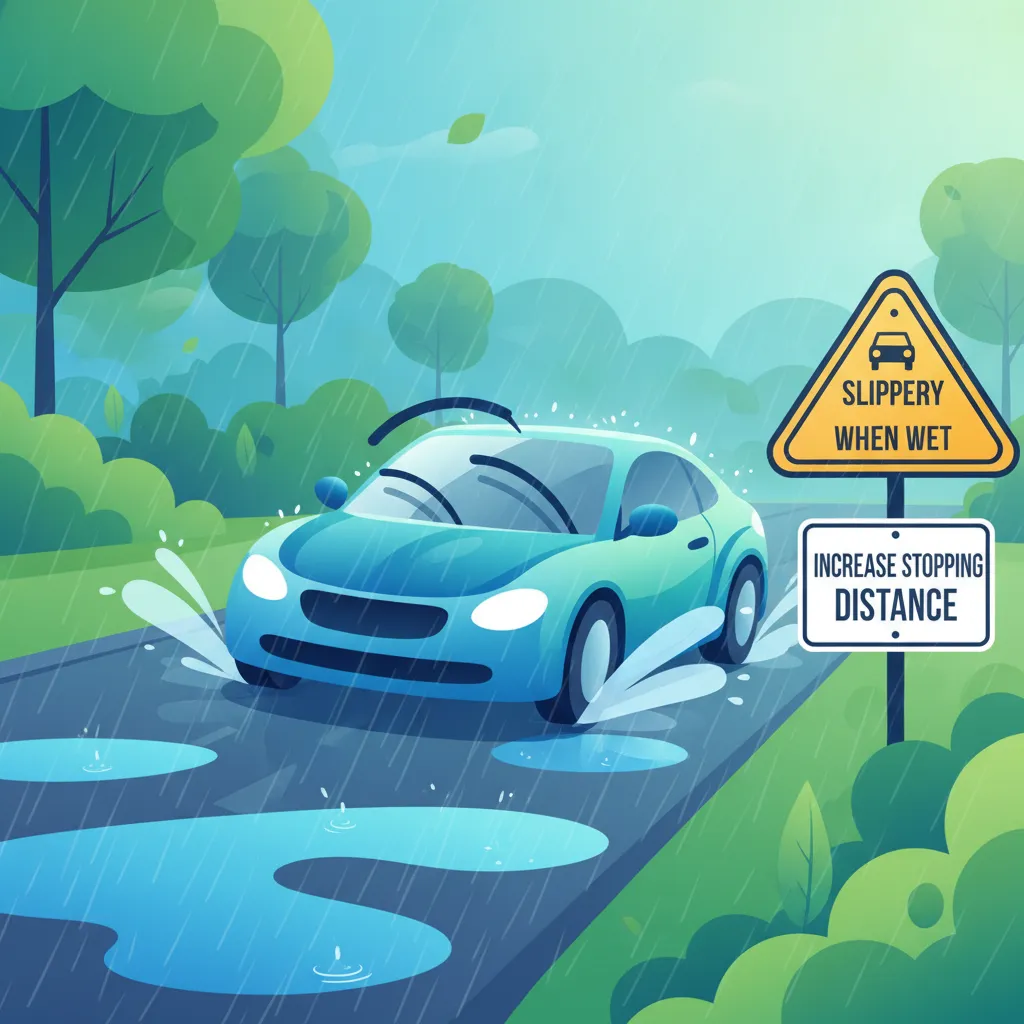
This lesson explains how different weather conditions impact the handling and stability of a large passenger vehicle. It covers the risks of aquaplaning in heavy rain, the effect of high winds on vehicle stability, and the severe reduction in visibility caused by fog. Learners will understand how ice and snow dramatically increase stopping distances and require extremely gentle control inputs to prevent skidding. Strategies for adapting speed and increasing following distances are emphasized.

This lesson provides essential advice for riding safely in adverse weather conditions that reduce tyre grip. You will learn how rain, ice, and wet leaves dramatically increase braking distances and affect handling. Key strategies covered include reducing speed, increasing following distances, making smooth control inputs, and anticipating slippery areas to maintain control and avoid skidding on compromised road surfaces.
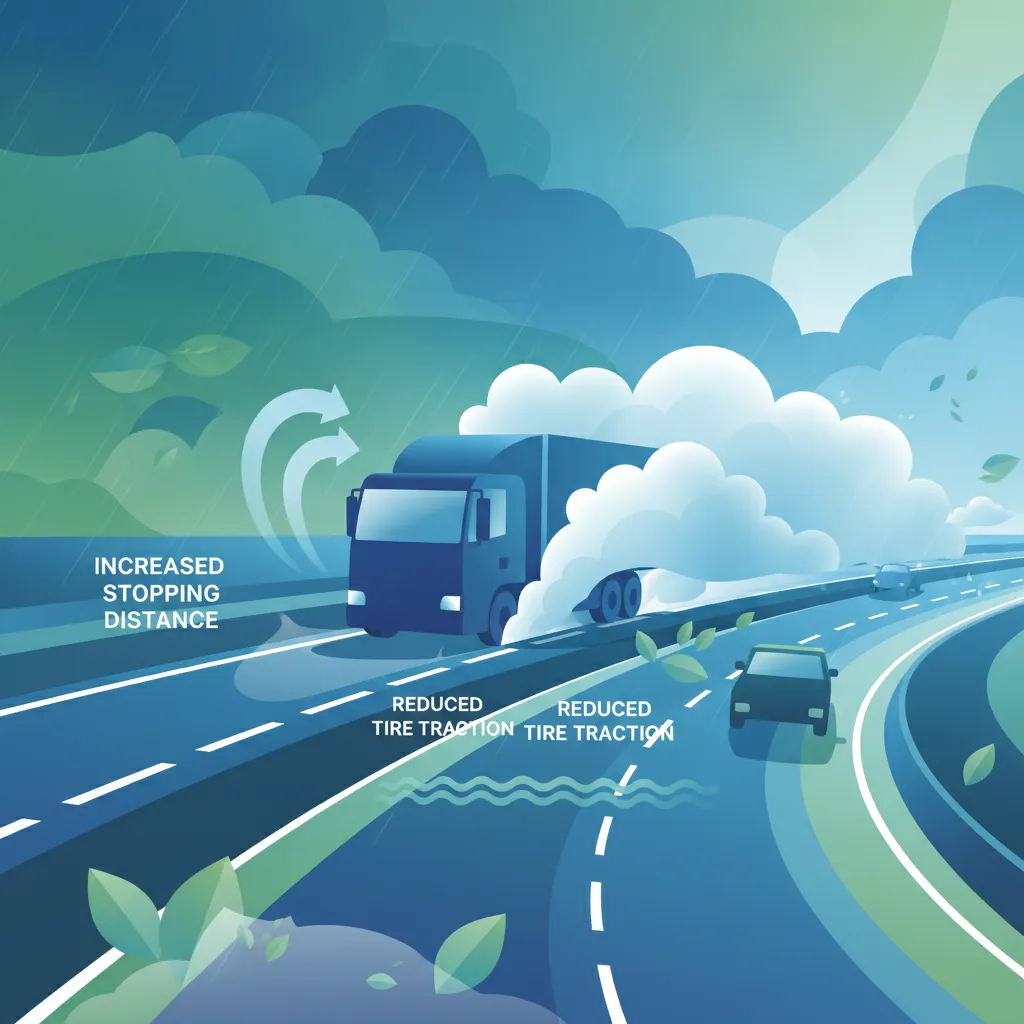
This lesson details how different adverse weather conditions uniquely affect the handling and stability of a heavy goods vehicle. It covers the increased stopping distances in rain, reduced visibility in fog, severe traction loss on ice, and the dangerous effect of strong crosswinds on high-sided vehicles. You will learn specific techniques for adjusting speed, increasing following distances, and using vehicle controls smoothly to maintain safety in challenging weather.
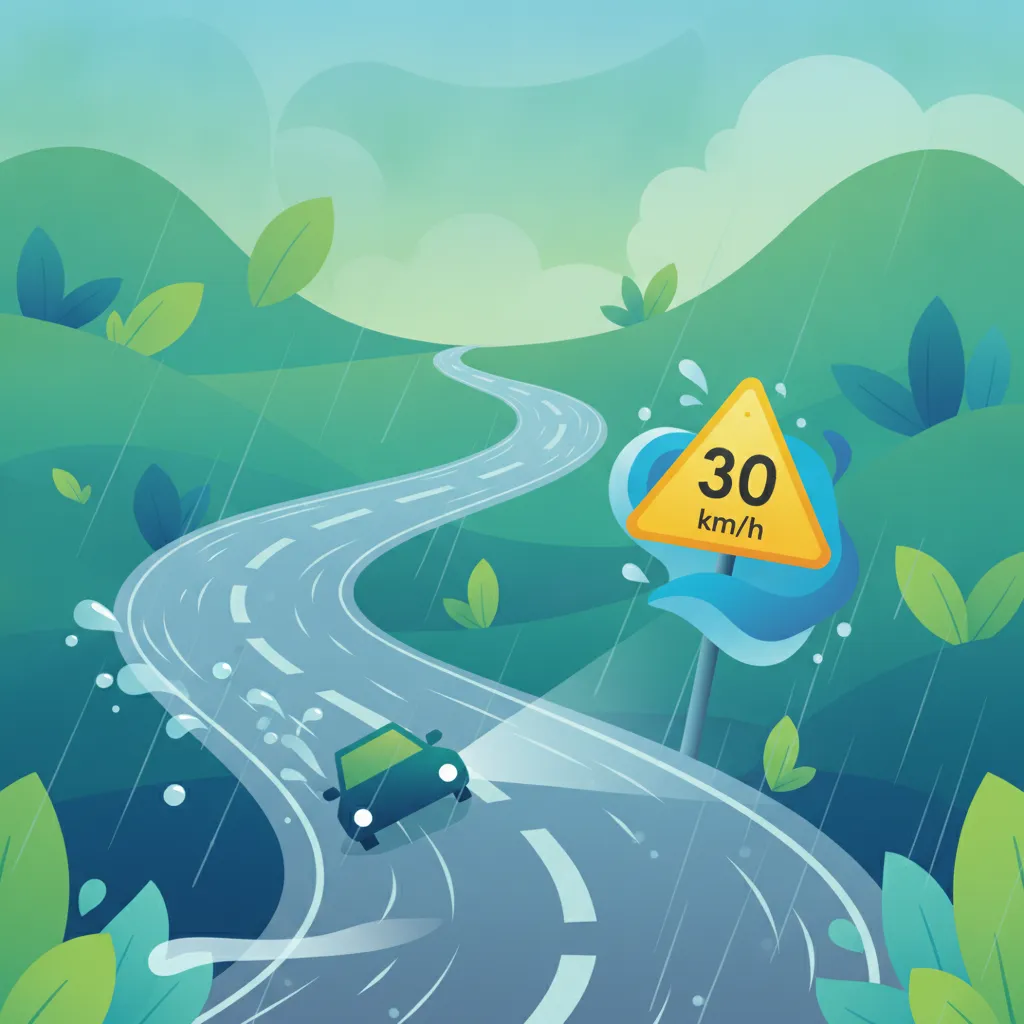
This lesson explains that safe driving often requires travelling at a speed lower than the legal limit. It covers how to adjust your speed for adverse conditions such as rain, which can double your stopping distance, or fog, which severely reduces visibility. The goal is to always be able to stop safely in the distance you can see to be clear.
This lesson prepares you for the specific challenges of driving in the countryside. It explains the correct procedure for overtaking horse riders: slow down and pass wide, ensuring you do not spook the animal. You will also learn how to anticipate and safely manage encounters with slow-moving tractors and other farm machinery.

This lesson equips drivers with strategies for maintaining control of a heavy vehicle during adverse weather conditions like heavy rain, ice, snow, and strong crosswinds. It covers the physics of traction loss, aquaplaning, and skidding, and explains how to use smooth inputs for steering, acceleration, and braking. The function of electronic stability control systems and other driver aids is also discussed as part of a proactive approach to safety in challenging environments.

This lesson explains the functions and legal requirements for all exterior vehicle lights. You will learn when it is appropriate to use dipped and main beam headlights, the specific conditions for using fog lights, and the correct application of hazard warning lights. Proper use of lighting is vital for seeing and being seen by other road users.

This lesson prepares you for the challenges of countryside driving. It emphasizes that the national speed limit on these roads is often too fast for the conditions. You will learn how to approach sharp bends, use passing places on single-track roads, and anticipate hazards like slow-moving tractors, horse riders, or mud on the road surface.
Find clear answers to common questions learners have about Hazard Perception Principles and Anticipation. Learn how the lesson is structured, which driving theory objectives it supports, and how it fits into the overall learning path of units and curriculum progression in Great Britain. These explanations help you understand key concepts, lesson flow, and exam focused study goals.
A potential hazard is something that might cause you to change speed or direction, like a child playing near the road. A developing hazard is one that is actually causing you to react, such as that child suddenly running into the road, forcing you to slow down or brake.
In the theory test, your score is based on how quickly you click when a hazard begins to develop. Identifying a hazard the moment it starts to move or react is key to getting the maximum points.
No, you must avoid clicking continuously. The exam system monitors for patterns of repetitive clicking, and if it detects this, you will score zero for that clip. You must click only when you see a genuine hazard developing.
Practice scanning 'near, middle, and far' while driving. Constantly check your mirrors and keep your eyes moving rather than fixed on the car in front; this helps you spot dangers like emerging vehicles or cyclists much earlier.
Dive into our comprehensive question bank to find exactly what you need for your Great Britain theory test. Use our advanced filters to pinpoint specific subjects or test your knowledge on challenging areas, ensuring you're fully prepared for success.