This section covers a comprehensive range of Danish warning signs (Group A), designed to alert you to potential hazards on the road ahead. By familiarizing yourself with these symbols, you'll gain crucial time to assess risks, adjust your speed, and prepare for upcoming dangers, which is essential for both passing your theory exam and ensuring your safety as a driver.
An explanation of how Danish Warning Signs road signs apply in real traffic situations in Denmark. Learn where these signs are typically placed, what drivers are expected to do when they appear, and how correct reactions help you stay safe, avoid fines, and succeed in your Danish driving theory exam.
Danish warning signs are triangular with a red border and a black pictogram on a white background, clearly indicating a potential hazard ahead. You'll encounter these signs in various situations, from rural roads where wild animals might cross (A26) or roads might narrow unexpectedly (A43.1), to urban areas where pedestrian crossings (A17) or children playing (A22) are highlighted. They are crucial before dangerous junctions (A11), roundabouts (A16), slippery roads (A31), roadworks (A39), and level crossings (A72, A73). These signs are placed at a sufficient distance before the hazard to give you time to reduce speed, improve your observation, and prepare for any necessary actions, making them fundamental for safe navigation and anticipating traffic changes.
An overview of the key learning outcomes when studying the Danish Warning Signs road sign category. Understand the main concepts, sign meanings, and traffic situations covered here so you can recognise patterns, answer theory questions more confidently, and build a solid foundation for safe driving in Denmark.
Master Denmark's essential warning road signs. Studying this group together helps you identify potential dangers like junctions, curves, or pedestrian crossings, improving your hazard perception for the Danish theory test. Understand their specific meanings and prepare effectively for real-world driving.

Prepare for a Dangerous Junction with a Non-Priority Road Ahead (A11)

Prepare for Pedestrians with the Danish A17 Warning Sign for Pedestrian Crossing

A18 Two-Way Traffic: Prepare for oncoming vehicles ahead.

Prepare for upcoming traffic signals with the A19 warning sign.

Prepare for traffic queues ahead with the A20 warning sign.

Prepare for children ahead with the UA22 'School' warning sign.

Watch out for equestrians ahead with the A23 warning sign

Prepare for loose chippings ahead with the A33 warning sign.

Prepare for falling rocks with the A34 Rockfall warning traffic sign.

Prepare for the A36 Speed Bump warning sign on Danish roads.
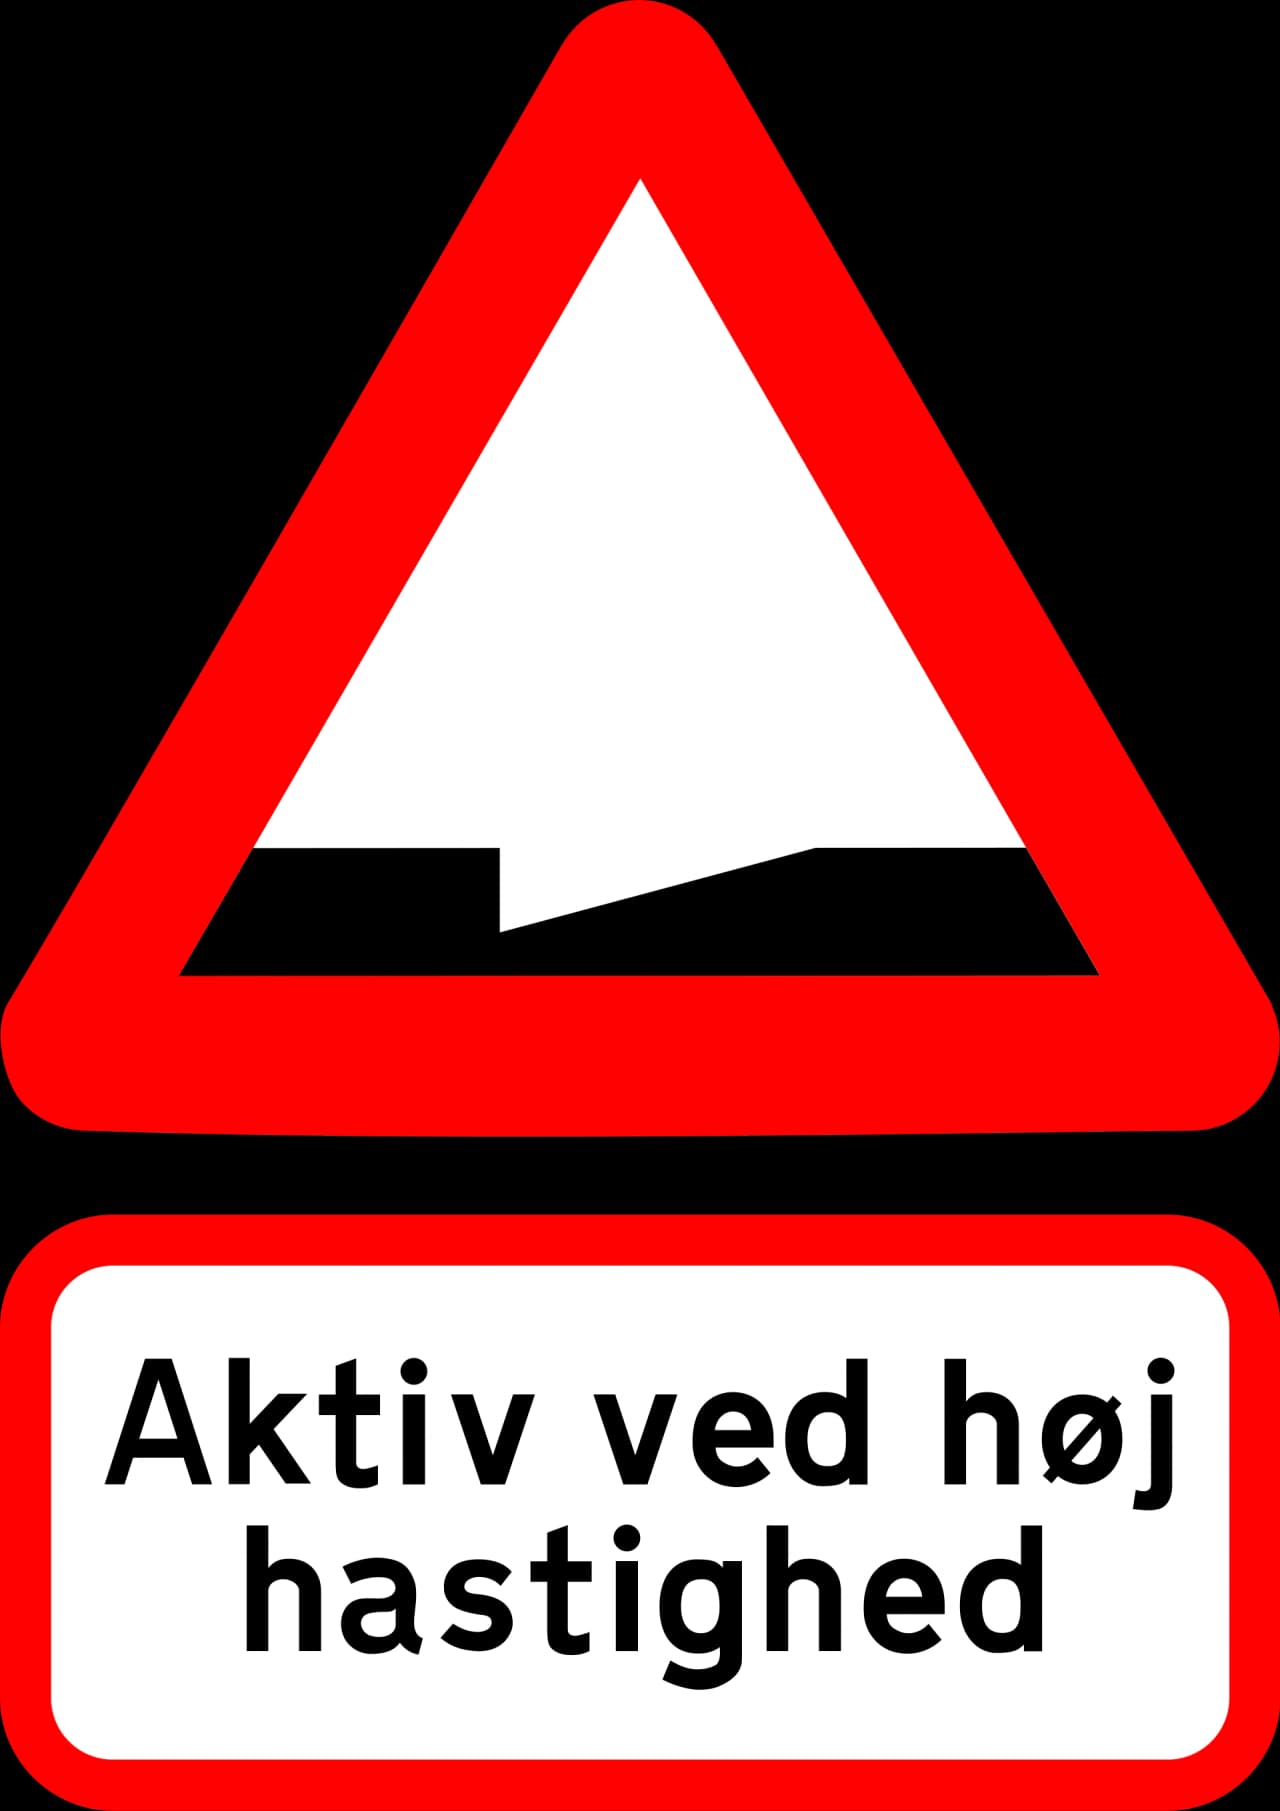
Prepare for 'Actibump' ahead with this Danish warning sign (A36.1).

Prepare for the Curve Ahead: Understanding the A41.1 'Curve to the Right' Road Sign

Prepare for a Left Curve with the A41.2 Warning Sign

Prepare for Multiple Curves Ahead, Starting with a Turn to the Right!

Prepare for a series of bends, starting with one to the left, using the A42.2 warning sign.

Understand the UA41 Recommended Speed in Curves warning sign

Prepare for the 'Road Narrows' warning sign (A43.1) in Denmark

Prepare for a Narrow Road Ahead with the UA43.1 Warning Sign

Prepare for the 'Road Narrows to the Left' warning sign (A43.2)

Prepare for a road narrowing to the right with the A43.3 warning sign.

Prepare for a Width Limit Ahead with the UA43 Warning Sign

Prepare for a steep downward gradient with the A46.1 warning sign.

Prepare for uphill climbs with the advance warning of an upward gradient road sign.

Prepare for Level Crossings Without Gates with the A72 Warning Sign

Prepare for trains with the UA72 'Watch out for trains' warning sign.

Prepare for level crossings with gates using the A73 warning sign.

Prepare for overhead electricity lines at level crossings with the UA73 warning sign.
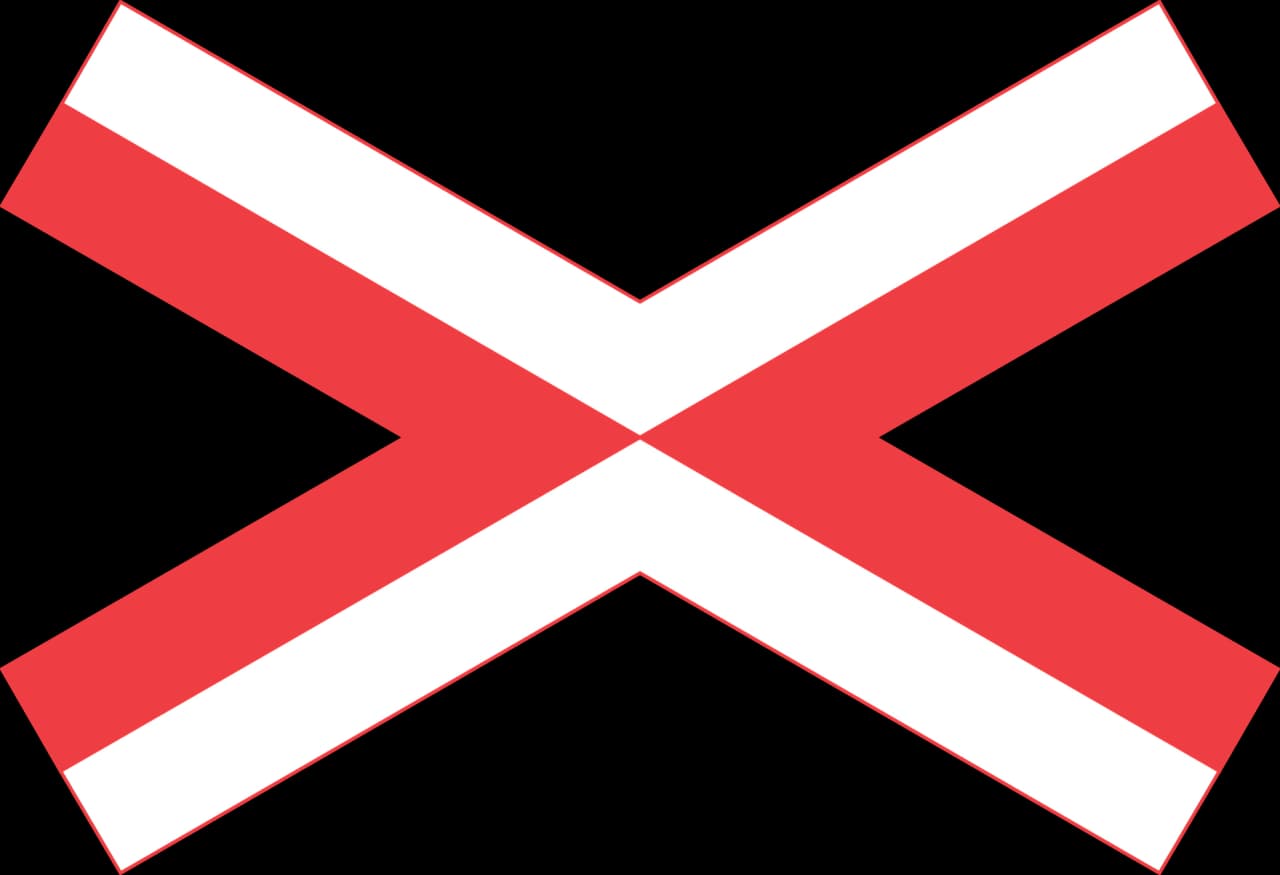
Prepare for a single track level crossing ahead with this warning sign.

Advance Warning of a Multi-Track Level Crossing Ahead

Understand the A75 'Distance to Level Crossing' warning sign in Denmark.

Prepare for an Opening Bridge Ahead with the A91 Warning Sign

Watch out for low-flying airplanes with the A96 warning sign!

Prepare for the unexpected with the Low Helicopters warning sign (A97)

Prepare for 'Other Danger' with the A99 Warning Sign

Prepare for Danger: Understand the Accident-Prone Intersection Sign (UA99)
Clear answers to common questions about the Danish Warning Signs road sign category. Use this FAQ to review tricky rules, understand how these signs appear in exam scenarios, and remove confusion that often leads to mistakes in the Danish driving theory exam in Denmark.
The main purpose of Danish warning signs is to alert drivers to potential dangers or hazards on the road ahead. They are designed to give you advance notice so you can safely reduce your speed, improve your observation, and prepare yourself to react appropriately before reaching the hazard.
The placement distance can vary, but generally, warning signs are placed far enough ahead to allow drivers sufficient time to react. For signs indicating permanent dangers like curves or junctions, they might be placed up to 250 meters outside built-up areas and 50-100 meters inside built-up areas. For temporary dangers like roadworks, the distance may be shorter. Always be prepared to slow down as soon as you see a warning sign.
When you see a warning sign for a dangerous junction (like A11) or a sharp curve (like A41.1 or A41.2), you should immediately assess your speed and adjust it if necessary. Look ahead to understand the nature of the danger, check your mirrors for traffic behind you, and prepare to take appropriate action, such as yielding at a junction or carefully navigating the curve.
Yes, there are signs for both wild animals (A26) and domestic animals (A27). When you see these signs, you should reduce your speed and be extra vigilant, especially during dawn and dusk when animals are more active. Be prepared for animals to suddenly enter the road. If you see a wild animal, do not swerve suddenly, as this could lead to a more serious accident; brake firmly but maintain control.
Many warning signs (like A99: Other danger) can have a subpanel placed underneath them. This subpanel provides additional information about the specific danger. For example, it might specify the distance to the hazard (like A75 for level crossings), the length of the hazardous section, or the type of danger. Always read and understand the subpanel as it gives crucial context to the warning sign.
After reviewing the overall structure of Danish road sign groups, select a category to explore individual signs, their meanings, and specific rules in detail. Enhance your knowledge by practicing questions related to each sign type, preparing effectively for your Danish driving theory exam.
Danish Road Sign Groups


