Road signs often come with supplementary panels that provide crucial context. This group focuses on understanding these additional subpanels, which clarify details like distance, time, vehicle type, or specific directions. Mastering these is essential for correctly interpreting main signs, ensuring safe driving, and passing your theory exam with confidence.
An explanation of how Danish Additional Subpanels road signs apply in real traffic situations in Denmark. Learn where these signs are typically placed, what drivers are expected to do when they appear, and how correct reactions help you stay safe, avoid fines, and succeed in your Danish driving theory exam.
Additional subpanels are frequently seen alongside main traffic signs, especially in complex or dynamic traffic situations. You'll encounter them on highways, urban streets, and rural roads. For instance, a speed limit sign might have a subpanel indicating it only applies to heavy goods vehicles (U4.1, U4.2) or is valid only during specific hours (U3.3, U3.6). Similarly, warning signs about upcoming hazards might specify the distance to the hazard (U1.1, U1.2) or the interval during which it applies (U2.1, U2.2). Signs indicating restrictions, like 'no stopping,' might have subpanels specifying the duration of the restriction or exempting certain vehicle types. Understanding these subpanels is vital for complying with the exact conditions of the sign and adjusting your driving behaviour accordingly, whether it's slowing down for a specific distance or understanding a turn-specific rule after an intersection (U6.3, U6.4).
An overview of the key learning outcomes when studying the Danish Additional Subpanels road sign category. Understand the main concepts, sign meanings, and traffic situations covered here so you can recognise patterns, answer theory questions more confidently, and build a solid foundation for safe driving in Denmark.
Master Danish additional subpanels, crucial signs that modify primary directives by specifying distance, intervals, times, vehicle types, or exemptions. Studying these together with their main signs clarifies complex road rules and improves your recognition for the Danish theory test. Understand these panels to correctly interpret instructions on Danish traffic signs.

The U1.1 Subpanel: Adding Context to Road Signs in Denmark

Understand the U1.2 Distance Subpanel for Road Signs in Denmark

The U2.1 Distance Interval Subpanel: What it Means and How to Use It

The U2.2 Subpanel: How Distance and Interval Affect Other Road Signs

The U3.1 Subpanel: Understanding Time and Scope with Main Signs

The U3.2 'Day of Week' Subpanel: Adding Specificity to Road Signs

The U3.3 Additional Panel: Understanding Time Restrictions on Danish Roads

The U3.4 subpanel specifies a time limit for the main road sign it accompanies.

This U3.5 subpanel specifies when the main sign applies, like 'Wednesday'.

Understand Danish Road Signs: The U3.6 Time of Day Subpanel

This U4.1 subpanel sign specifies which vehicles or conditions apply to the main sign.

Understand the U4.2 'Type(s) of Vehicle' Subpanel for Danish Road Signs

The U5.1 Subpanel: Exemptions for Bicycles and Small Mopeds

The U5.2 Subpanel: Clarifying Exemptions for Bicycles and Small Mopeds
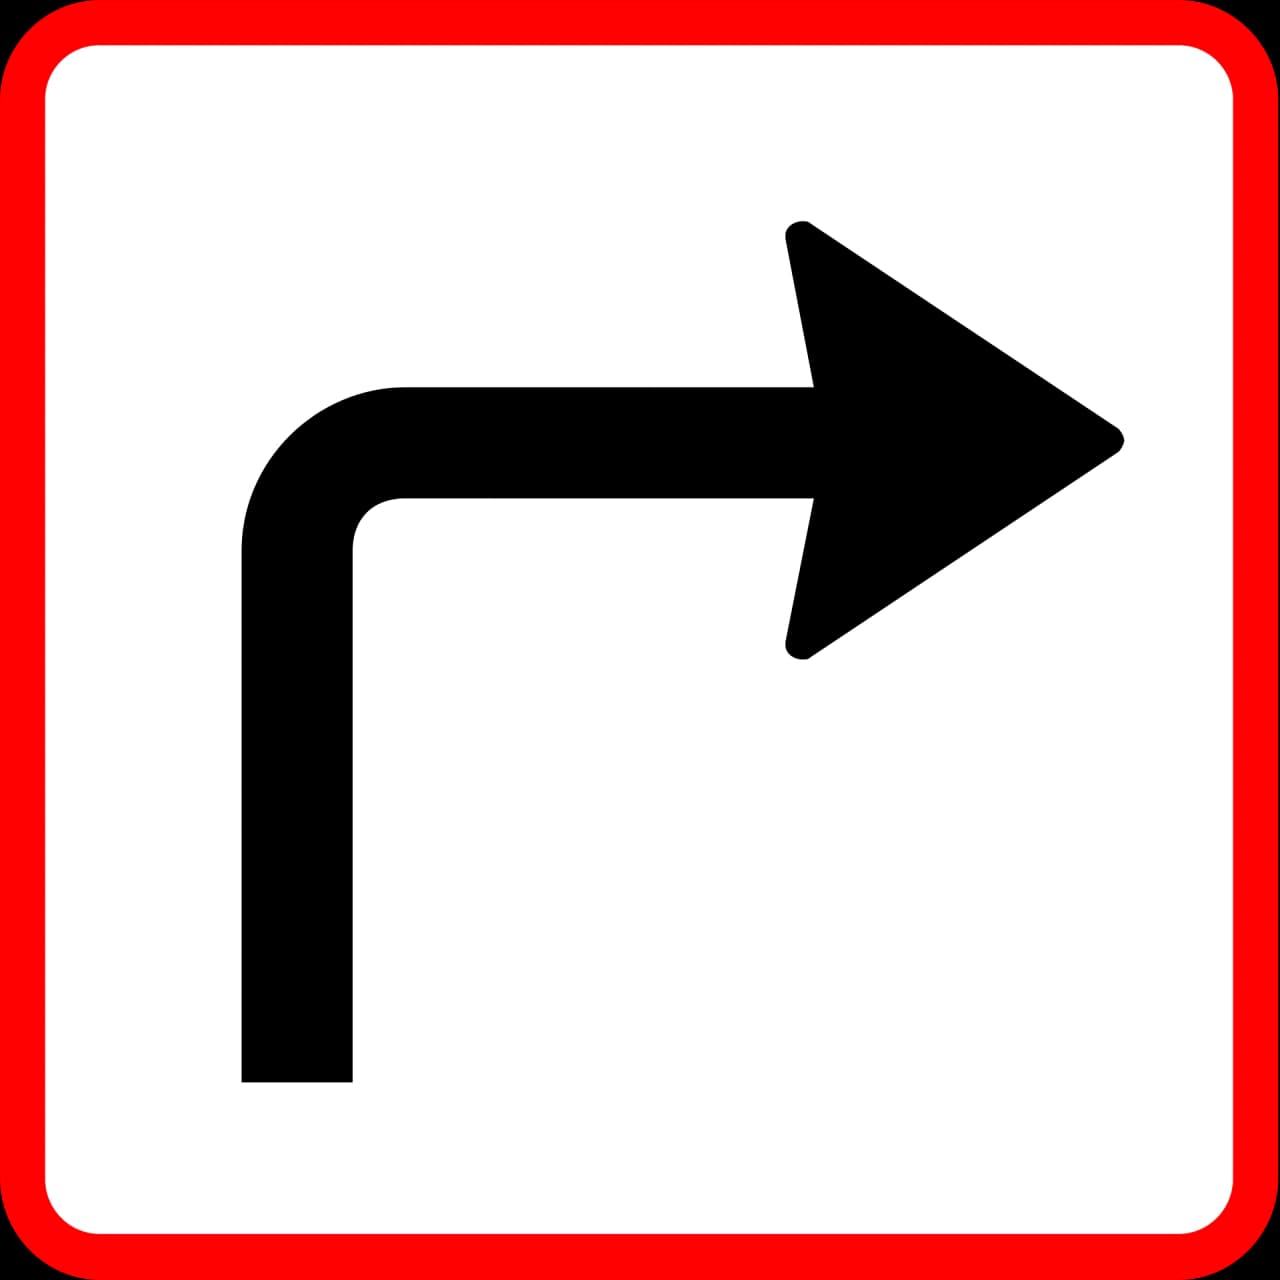
U6.3 Additional Subpanel: Modifying Main Sign Meanings

U6.4: This Subpanel Modifies the Main Sign's Meaning

U7: Right Turn on Red for Bicycles and Small Mopeds in Denmark
Clear answers to common questions about the Danish Additional Subpanels road sign category. Use this FAQ to review tricky rules, understand how these signs appear in exam scenarios, and remove confusion that often leads to mistakes in the Danish driving theory exam in Denmark.
Additional subpanels, also known as supplementary plates, provide extra information to clarify or restrict the application of the main traffic sign they are mounted below. They can specify distance, duration, times of day, days of the week, types of vehicles affected, or even directions (like after a turn).
Always read the main sign together with any subpanels. Look for information about vehicle types (e.g., 'heavy goods vehicle') or specific times/days. If a subpanel mentions specific hours or days, the main sign's instruction is only valid during those times. If it specifies a vehicle type, the rule only applies to those vehicles.
A distance subpanel (like U1.1, U1.2) tells you how far away the condition or hazard is (e.g., '500 meters'). A distance interval subpanel (like U2.1, U2.2) indicates a range over which the condition applies or begins (e.g., 'from 200 to 800 meters'). This means the hazard or restriction starts after 200 meters and continues until 800 meters.
Yes, some additional subpanels (like U6.3, U6.4) indicate that the main sign's meaning or restriction takes effect only after you make a specific turn at the upcoming intersection. You must look out for these panels to understand when the rule becomes active.
Subpanels with time or day information often use different formatting for clarity. Information in parentheses often applies to Saturdays, while information in red typically signifies Sundays or public holidays. Always check the specific formatting alongside the day or time to understand its exact applicability.
After reviewing the overall structure of Danish road sign groups, select a category to explore individual signs, their meanings, and specific rules in detail. Enhance your knowledge by practicing questions related to each sign type, preparing effectively for your Danish driving theory exam.
Danish Road Sign Groups