This lesson guides you through the crucial road edge markings used across Great Britain to regulate stopping and parking. Understanding these markings is essential for both passing your Category B theory test and ensuring you remain a responsible, legal driver in real-world traffic.
Lesson content overview
Navigating the roads of Great Britain involves more than just understanding signs and signals; it also requires a thorough knowledge of the various markings painted directly onto the road surface and along the kerbside. These markings play a crucial role in regulating traffic flow, ensuring safety, and managing parking and stopping restrictions. For Category B learner drivers, mastering the interpretation of these markings is essential for legal compliance and safe driving practices.
This lesson will delve into the specific meanings of different lines and zones you'll encounter at the edge of the carriageway, from the familiar single and double yellow lines to the stricter regulations of red lines on 'Red Routes'. We will also explore the rules for parking bays, loading zones, and hatched areas designed to separate traffic, ensuring you understand where and when you can stop, wait, or park.
Road edge markings and kerbside zones are fundamental components of traffic management in Great Britain. They serve a dual purpose: to regulate where vehicles can stop, wait, or park, and to provide clear visual separation between moving traffic and stationary vehicles or pedestrians. These markings are rooted in the Highway Code and specific UK traffic laws, aiming to create an orderly and safe road environment.
The primary goals behind these regulations include maximising the utilisation of road space without causing obstruction or compromising visibility, preventing hazardous stopping that could endanger other road users, and communicating time-based restrictions for dynamic use of kerbside areas. Additionally, they designate specific areas for particular uses, such as loading zones or bus stops.
Correctly interpreting road edge and kerbside markings is vital for several reasons. Firstly, it ensures legal compliance, helping drivers avoid fines, penalty points, or even vehicle removal. Secondly, it contributes significantly to road safety by preventing dangerous situations caused by improperly parked or stopped vehicles. For example, illegal parking near junctions can obscure visibility for turning drivers, increasing the risk of collisions.
Finally, these regulations promote efficient traffic flow. By clearly defining where vehicles can pause, they help prevent congestion and ensure that essential services, like public transport and emergency vehicles, can operate without obstruction. Ignoring these markings can disrupt entire traffic systems, leading to delays and frustration for countless road users.
The legal authority for road markings in Great Britain stems from The Traffic Signs Regulations and General Directions (TSRGD), which outlines the design and use of traffic signs and markings, and the Highway Code, which provides guidance on their interpretation and compliance. Local authorities and Transport for London (TfL) also implement specific traffic regulation orders (TROs) to enforce rules on particular roads, especially 'Red Routes'.
Understanding this legal framework highlights that these markings are not merely suggestions but binding rules, with consequences for non-compliance. Drivers are expected to be aware of these regulations as part of their driving theory knowledge and practical application.
While each marking has specific rules, certain core principles underpin all kerbside and tarmac markings. These principles help drivers understand the overall philosophy behind these regulations and make informed decisions on the road.
Road edge markings follow a clear hierarchy, indicating increasing levels of restriction:
Drivers must always respect the strictest applicable restriction. If a road has a double yellow line, for instance, it overrides any less restrictive implied permission.
Many kerbside markings incorporate time-based restrictions, allowing dynamic usage of limited space. For example, a single yellow line might prohibit waiting only during peak hours, enabling parking at other times. Conversely, double yellow lines and red lines typically indicate permanent restrictions, meaning they apply 24 hours a day, 7 days a week, unless specific signs explicitly state otherwise. Drivers must always check accompanying signage to determine the precise hours of operation for any restriction.
Beyond regulating stopping and parking, many tarmac markings provide visual separation and designate safety zones. Hatched or striped areas, for instance, are designed to keep moving traffic separate from parked vehicles, junctions, or areas with vulnerable road users. These markings help reduce collision risk and improve overall safety by guiding traffic flow and preventing encroachment into sensitive areas.
Let's explore each type of road edge and kerbside marking in detail, understanding their definitions, associated rules, and common pitfalls.
A single yellow line painted along the edge of the carriageway indicates that waiting or parking is prohibited at certain times. This is a common marking in urban and suburban areas where the demand for kerbside space fluctuates throughout the day.
The single yellow line's primary purpose is to manage congestion during specific periods, often during business hours or school drop-off/pick-up times. Outside of these restricted hours, drivers may typically park or wait. It is crucial to remember that "waiting" often includes remaining stationary in your vehicle.
The exact hours and days of the restriction for a single yellow line are always indicated by supplementary signs placed at intervals along the road. These signs usually specify "No Waiting" followed by the days and times, for example, "No Waiting Mon-Fri 8:00 - 18:00". If no sign is present, the single yellow line has no legal standing, though this is extremely rare for official markings.
A common mistake is assuming that a single yellow line restriction applies 24 hours a day, or conversely, assuming it never applies. Another error is to stop briefly with hazard lights on, believing this exempts you from the "no waiting" rule; generally, it does not. Unless the sign explicitly permits loading or passenger pick-up, any stationary activity during restricted hours is usually a violation.
Two parallel solid yellow lines painted along the edge of the carriageway signify that waiting and parking are prohibited at all times. This is a more restrictive marking than a single yellow line and is typically found on busy roads where continuous traffic flow is paramount, or where parked vehicles would create a hazard.
The presence of double yellow lines means that you cannot stop, wait, or park your vehicle at any time of day or night, every day of the year. This restriction is generally in place to ensure safety, maintain visibility, and prevent traffic congestion.
There are very limited exceptions to double yellow line restrictions:
A critical misunderstanding is believing that you can always stop on double yellow lines for a quick pick-up or drop-off, regardless of the situation. While generally permitted for a very short duration and without obstruction, if a specific 'No Loading' sign (identified by yellow dashes on the kerb) is present, then even brief stopping for loading or passenger activity is prohibited. Always be vigilant for additional kerb markings.
Red lines painted on the kerbside of designated Red Routes indicate the strictest possible stopping restriction. Red Routes are major arterial roads, primarily managed by Transport for London (TfL) in Greater London, but similar schemes exist in other cities.
Red Routes are critical for maintaining traffic flow on busy main roads. The aim is to keep them clear of parked or stopped vehicles to ensure efficient movement for all traffic, including buses and emergency services. Stopping on a red line, even for a moment, is generally prohibited.
Unlike yellow lines, Red Routes typically prohibit any form of stopping, including loading, unloading, and passenger pick-up/drop-off. However, there can be very specific, short-term exceptions explicitly indicated by accompanying signs. For example, a sign might say "Pick-up allowed for 5 minutes" or "Loading 10:00 - 16:00, Max 20 mins". These exemptions are rare and must be strictly adhered to.
Violating red line restrictions is taken very seriously. Enforcement is often carried out by CCTV cameras and dedicated enforcement officers. Penalties include significant fines, and vehicles may be towed away without warning. It is one of the most strictly enforced road markings.
Parking bays are clearly marked areas, usually with white or yellow outlines, indicating a designated space for parking. These bays are often accompanied by signs specifying ownership, time limits, or permit requirements.
Most parking bays are rectangular, delineated by solid white lines. These might be "Pay and Display" bays, requiring payment for a ticket, or "Limited Waiting" bays, allowing free parking for a specified duration (e.g., 2 hours). Always check the accompanying signs.
When using any parking bay, it is crucial to ensure:
Failure to comply will almost certainly lead to a Penalty Charge Notice (PCN).
Loading/unloading zones are specifically designated areas where vehicles can stop briefly to load or unload goods. These zones are usually marked by distinct parallel yellow or white lines on the kerbside, often accompanied by signage.
Loading zones are often distinguished by a yellow 'splayed' or 'hatched' marking on the kerb, running alongside the double yellow lines, or by a white rectangular bay with the word "LOADING" painted on the road. The accompanying signs will specify the permitted hours, vehicle types, and maximum dwell time.
It is critical to observe the stated time limits for loading zones. A typical sign might read: "Loading Zone - 8:00 - 18:00 - Maximum 15 Minutes". This means you can only stop to load/unload during those hours, and you must complete your activity and move your vehicle within the allowed maximum dwell time. The vehicle must also be actively engaged in loading or unloading; simply waiting is not permitted.
Loading zones are not for parking. They are specifically for the transfer of goods. Once loading/unloading is complete, the vehicle must be moved, even if the maximum dwell time has not been reached. Misusing a loading zone as a parking space will result in a penalty.
Hatched or striped areas are painted on the road surface adjacent to the kerb or between lanes, serving to physically separate moving traffic from other areas. These are not always for parking regulation but are crucial for traffic management.
These longitudinal parallel lines (often white or yellow) are primarily used to:
Drivers must generally avoid driving on or stopping within these striped areas.
Using hatched areas as a stopping point without explicit permission (e.g., for a loading zone) is illegal and can lead to fines and dangerous situations.
Specific marked zones along the kerbside are reserved for particular vehicles, such as buses or school transport. These markings are vital for maintaining public transport efficiency and ensuring child safety.
Bus stop bays are usually marked with a yellow box or section of road, often accompanied by a bus symbol on the tarmac and a blue sign with a white bus symbol. No other vehicle may stop or park within these bays during their operating hours, which are usually indicated on the signs or apply at all times. Obstructing a bus stop can significantly disrupt public transport schedules.
"School Keep Clear" markings consist of zigzag white lines painted on the road outside school entrances. They are often accompanied by a yellow sign stating "School Keep Clear" and specifying the hours of operation (e.g., "Mon-Fri 8am-5pm"). During these hours, no vehicle is permitted to stop or wait on the zigzags, even for a moment. This rule is in place to ensure children have an unobstructed view of the road and drivers have a clear view of children, reducing the risk of accidents.
Understanding the specific rules governing each type of kerbside marking is paramount for Category B drivers. Here's a summary of the mandatory rules:
These rules are enforced by local authorities, Transport for London (on Red Routes), and the police. Violations can lead to:
Many drivers, even experienced ones, inadvertently violate kerbside restrictions due to misunderstanding or lack of attention. Awareness of these common scenarios can help you avoid them.
The interpretation and safety implications of kerbside markings can be influenced by various contextual factors.
Poor weather conditions such as heavy rain, fog, or snow can significantly reduce the visibility of road edge markings. In such situations, drivers must exercise extra caution and rely more heavily on road signs and their knowledge of the rules. Reflective paint used for many markings helps at night, but in very low visibility, even these can be obscured. Reduced visibility increases the risk of inadvertently stopping in prohibited zones.
During special events, roadworks, or emergencies, temporary signs and markings (e.g., orange or temporary yellow lines) may be in place. These temporarily override standard kerbside restrictions. Always obey temporary signage, as it is paramount for safety and event management. For example, a temporary "No Stopping" sign might be erected for a parade route.
The design and enforcement of road edge markings are deeply rooted in principles of safety, efficiency, and fairness for all road users.
Understanding road edge markings and kerbside zones is critical for passing your driving theory test and becoming a safe, responsible driver in Great Britain.
Here's a quick recap of the hierarchy and key zones:
Always look for and obey accompanying signs, as they provide critical detail, especially for time-based restrictions and specific exemptions. Failure to comply with these rules can result in fines, penalty points, or even the removal of your vehicle, in addition to creating dangerous situations for other road users. By diligently observing these markings, you contribute to a safer and more efficient road network for everyone.
Explore all units and lessons included in this driving theory course.
Lesson content overview
Explore all units and lessons included in this driving theory course.
Explore search topics learners often look for when studying Road Edge Markings, Kerbside Zones, and Tarmac Markings. These topics reflect common questions about road rules, driving situations, safety guidance, and lesson level theory preparation for learners in Great Britain.
Browse additional driving theory lessons that cover connected traffic rules, road signs, and common driving situations related to this topic. Improve your understanding of how different rules interact across everyday traffic scenarios.
Understand the stringent regulations of Red Routes in Great Britain. Learn the specific rules about stopping, parking, and loading on these major roads to avoid fines and ensure traffic flow.
This lesson details how to safely navigate junctions controlled by traffic signals. It explains the meaning of filter arrows, which allow you to proceed in a specific direction even if the main light is red. You will also learn about respecting advanced stop lines for cyclists and how to approach a junction when the traffic lights are not working.
This lesson examines the unique rules and restrictions governing buses and coaches, focusing on bus lane priority, time-based restrictions, and loading zone limitations. Learners will explore the criteria for using bus-only routes and understand the legal consequences of non-compliance. The content also reviews signage indicating bus gate operation and areas where passenger vehicles are prohibited from stopping or loading outside of designated zones, ensuring lawful and efficient urban navigation.
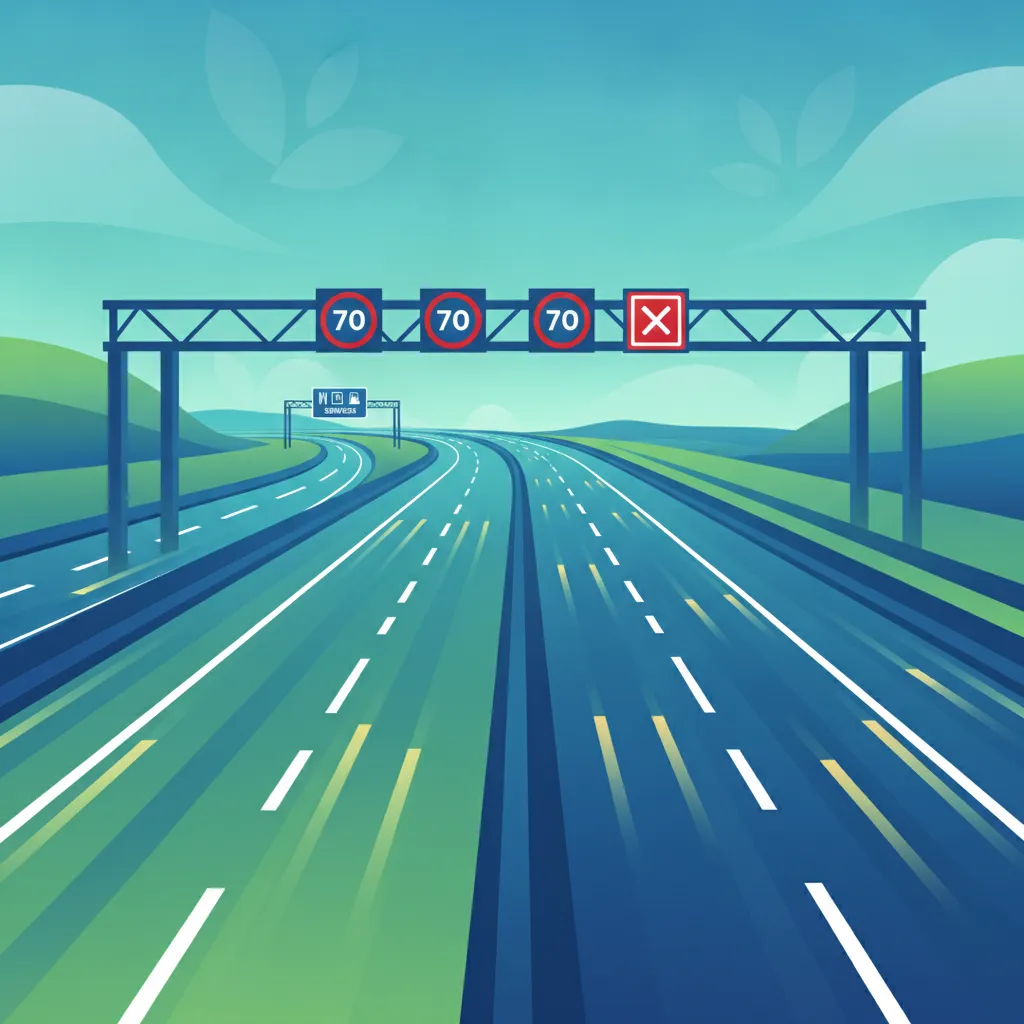
This lesson covers the unique aspects of motorway driving, from joining and leaving the carriageway to the strict lane discipline of keeping to the left unless overtaking. It explains the features of smart motorways, such as variable speed limits and the meaning of a Red X symbol above a lane. The safe procedure for handling a breakdown is also a key topic.

This lesson addresses the critical importance of child safety in school transport zones and around school buses. It covers the specific regulations, such as 20 mph speed limits and stopping restrictions indicated by zigzag lines. Learners will focus on the unpredictable nature of children and the need for heightened vigilance and readiness to stop unexpectedly. The content also includes procedures for the safe transport of pupils, ensuring their security both inside and outside the vehicle.
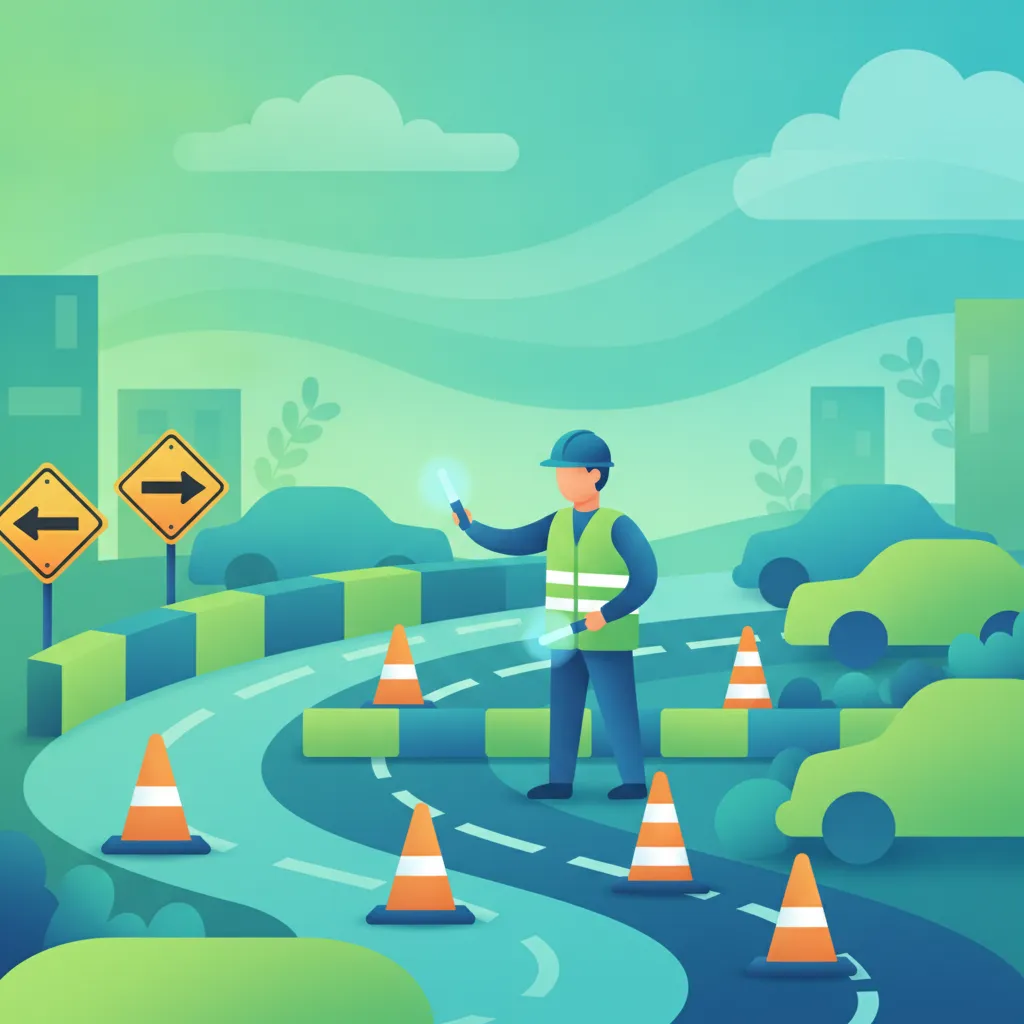
This lesson explains how to drive safely through areas where roadworks are taking place. It stresses the importance of obeying all temporary signs, especially mandatory speed limits, which are in place for your safety and the safety of road workers. You will learn about navigating narrow lanes, contraflow systems, and how to follow official diversion signs.
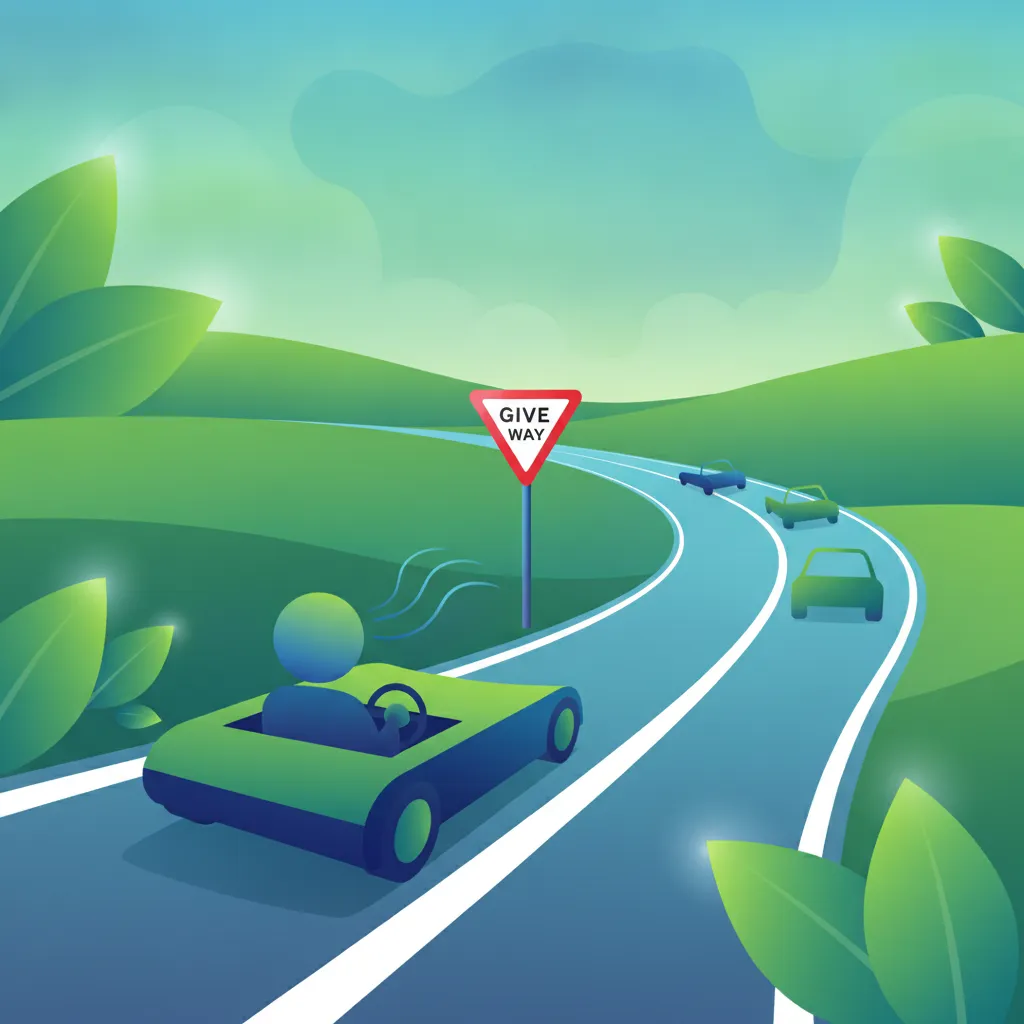
This lesson covers the explicit priority instructions given by signs and markings at junctions. It explains that at a 'Give Way' line, you must yield to traffic on the major road but can proceed if it is safe. At a 'Stop' sign, you must come to a complete halt before the line, assess the traffic, and only proceed when safe.
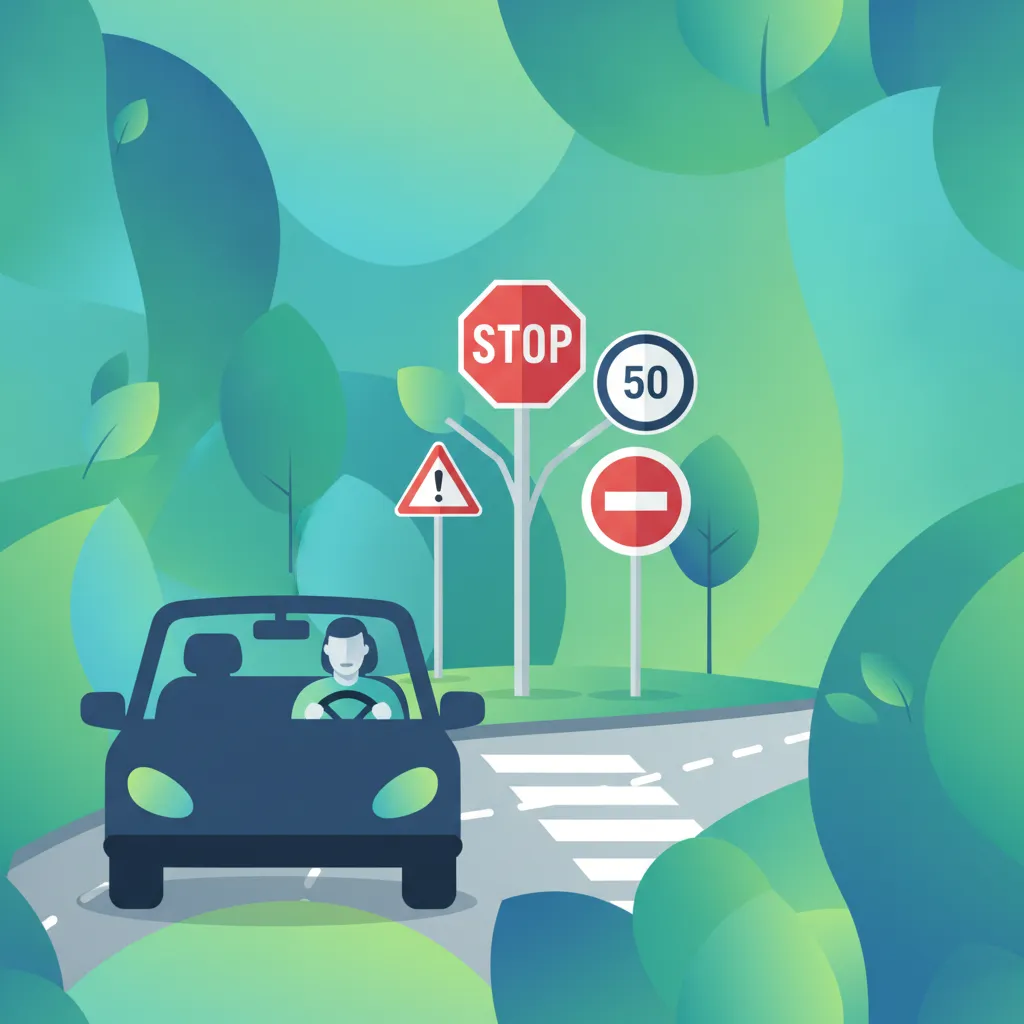
This lesson focuses on regulatory signs, which are legally enforceable and must be obeyed. It explains the difference between prohibitory signs, such as 'No Entry' or speed limits, and mandatory signs, like 'Turn Left'. Understanding the design and meaning of these signs is fundamental to safe and lawful driving in the UK.

This lesson provides guidance on where and how to park your vehicle legally and safely. It covers common manoeuvres like parallel parking and reversing into a bay, as well as specific rules for parking on a hill or at night. You will also learn to recognise locations where stopping is prohibited, such as on zig-zag lines or in clearways.
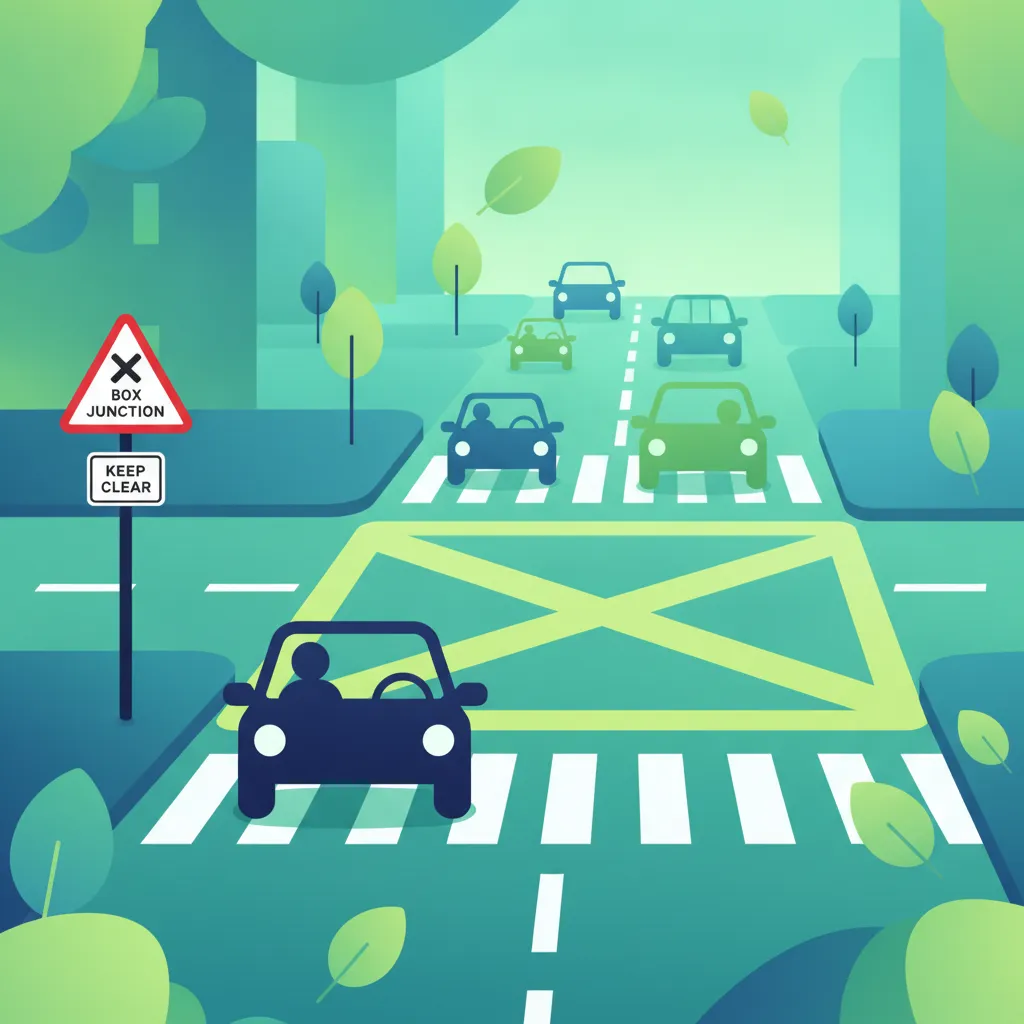
This lesson focuses on the markings that control traffic at intersections. It explains the primary rule of a yellow box junction: do not enter unless your exit is clear. You will also learn the difference between the solid white 'Stop' line and the broken 'Give Way' line, which dictate your priority over other traffic.
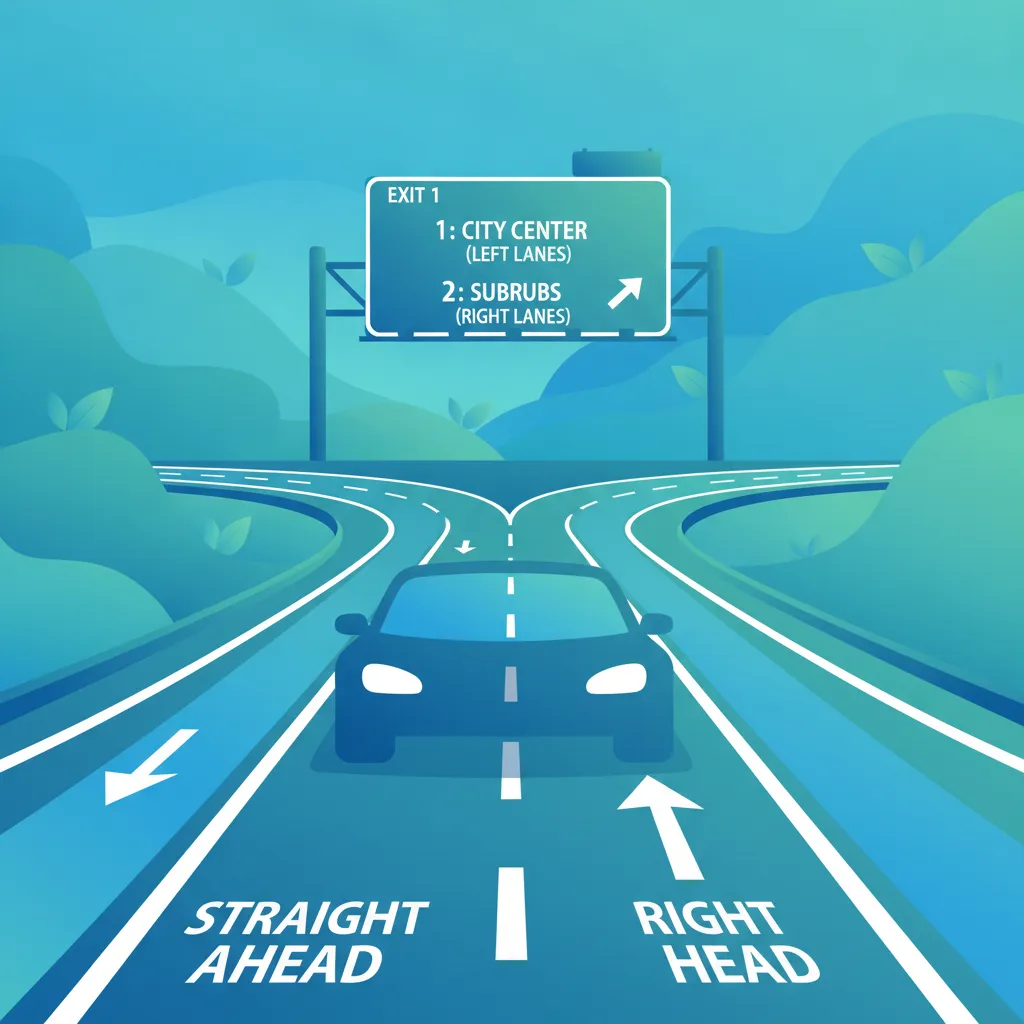
This lesson focuses on the rules conveyed by road markings, such as solid and broken white lines that dictate overtaking rules and lane boundaries. You will learn to interpret waiting and stopping restrictions indicated by yellow and red lines, and understand markings for specific road users like bus and cycle lanes. Maintaining correct lane discipline based on these markings is a fundamental skill for safe navigation and compliance with the Highway Code.
Master the rules for using designated parking bays, loading zones, and hatched areas in Great Britain. This lesson covers compliance with time limits, permit requirements, and safe loading practices.
This lesson provides guidance on where and how to park your vehicle legally and safely. It covers common manoeuvres like parallel parking and reversing into a bay, as well as specific rules for parking on a hill or at night. You will also learn to recognise locations where stopping is prohibited, such as on zig-zag lines or in clearways.
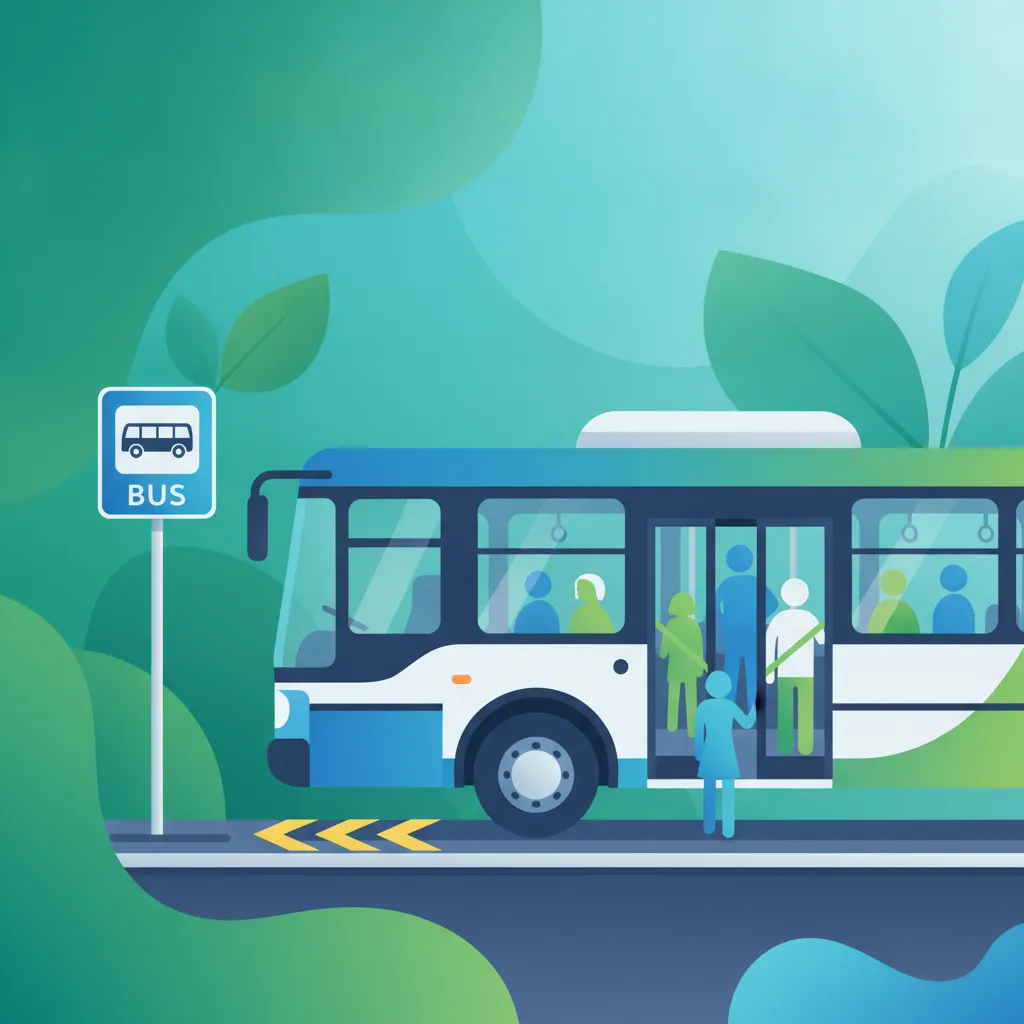
In this lesson, learners will study the specific signage and markings related to bus stops and designated passenger loading zones. Topics include correct stop approach, positioning the bus for safe boarding and alighting, and the proper use of these areas. Learners will also examine the legal expectations for passenger loading zones, including restrictions on stopping outside these zones and best practices for managing passenger flow safely and efficiently during busy periods.
This lesson examines the unique rules and restrictions governing buses and coaches, focusing on bus lane priority, time-based restrictions, and loading zone limitations. Learners will explore the criteria for using bus-only routes and understand the legal consequences of non-compliance. The content also reviews signage indicating bus gate operation and areas where passenger vehicles are prohibited from stopping or loading outside of designated zones, ensuring lawful and efficient urban navigation.
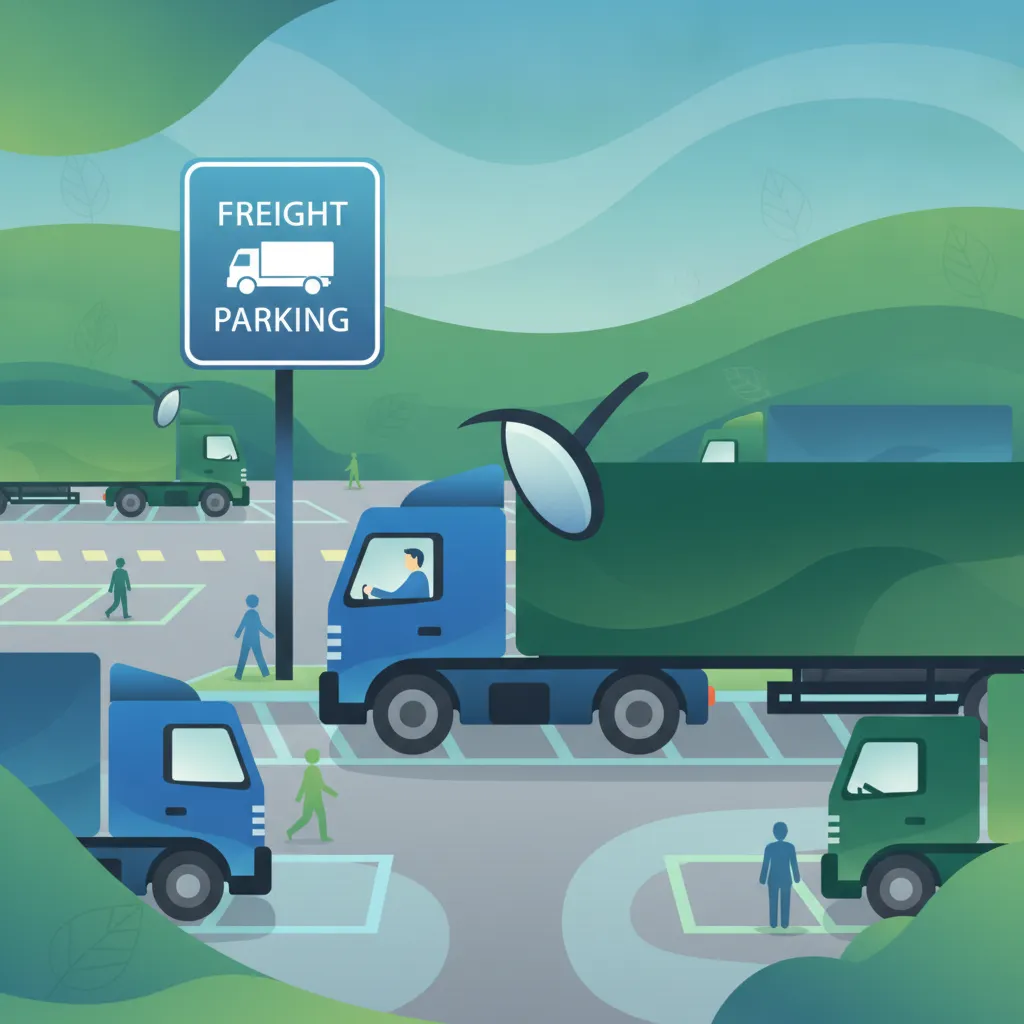
This lesson covers the specific procedures for operating within busy bus terminals and service areas. It details the protocols for approaching and parking in allocated bays, managing the safe flow of passengers, and communicating with station staff. The content emphasizes the need for extreme caution and low-speed manoeuvring due to high pedestrian traffic. It also reviews pre-departure checks and communication protocols necessary for efficient and safe terminal operations.
This lesson addresses the established best practices for making deliveries in busy urban environments. It covers how to use designated loading bays safely, the protocols for kerbside deliveries, and the importance of adhering to local time restrictions. Managing the interaction with the public, using hazard warning lights correctly, and ensuring the safety of pedestrians and other road users during the delivery process are key components of professional conduct.

This lesson covers the principles of safe loading to prevent items from shifting or falling and causing a hazard. It explains that any load must be securely fastened and must not obstruct your view. You will also learn how overloading or distributing weight incorrectly can dangerously affect the vehicle's steering, braking, and overall stability.

This lesson focuses on the critical skill of positioning your AM vehicle safely in relation to larger vehicles and roadside hazards like parked cars. You will learn to identify and stay out of the extensive blind spots of lorries and buses, especially at junctions. The content also provides strategies for maintaining a safe 'space cushion' around your vehicle and navigating narrow gaps or filtering in traffic without compromising your safety.
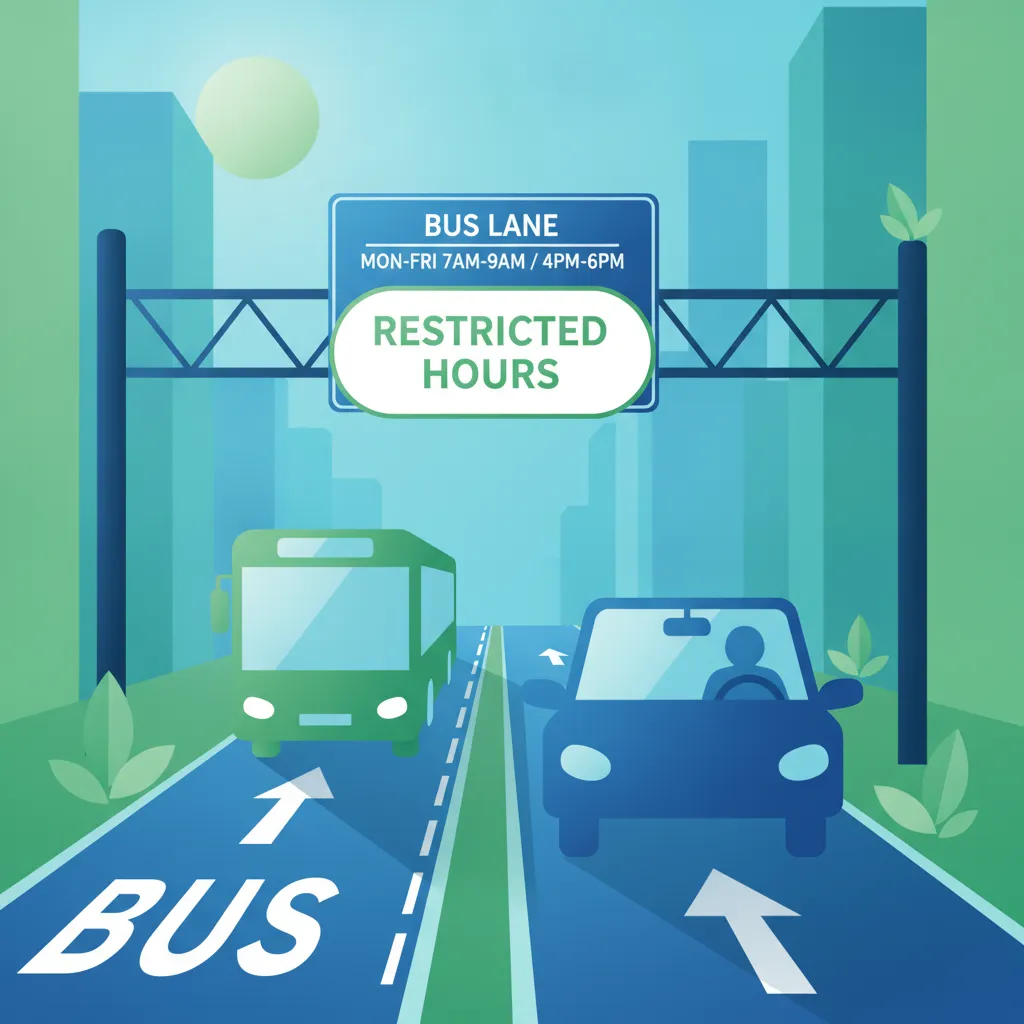
This lesson covers the importance of maintaining correct lane discipline when driving a large passenger vehicle. It details how to position your vehicle safely within a lane on various road types, including multi-lane carriageways and motorways. You will learn the specific rules governing bus lanes, including how to interpret markings, adhere to operating times, and understand the exemptions and penalties associated with their use to ensure legal and efficient driving.
This lesson addresses the growing number of environmental access restrictions in urban areas, such as Low Emission Zones (LEZ), Ultra Low Emission Zones (ULEZ), and congestion charging. Learners will understand the vehicle emission standards (Euro standards) required for entry and how to check their vehicle's compliance. It covers the practicalities of planning routes that account for these zones to avoid significant financial penalties and support cleaner air initiatives.

This lesson addresses the unique challenges of operating a large goods vehicle in congested urban and city environments. It focuses on techniques for navigating narrow streets, making tight turns, and safely accessing delivery points while being highly aware of vulnerable road users like pedestrians and cyclists. The importance of exceptional observation, low-speed control, and clear communication with other road users is heavily emphasized to minimize risk in these complex settings.
Find clear answers to common questions learners have about Road Edge Markings, Kerbside Zones, and Tarmac Markings. Learn how the lesson is structured, which driving theory objectives it supports, and how it fits into the overall learning path of units and curriculum progression in Great Britain. These explanations help you understand key concepts, lesson flow, and exam focused study goals.
No, double yellow lines indicate that waiting is prohibited at any time, except for very limited exemptions like boarding or alighting from a vehicle, provided the process is done quickly.
A red line indicates a 'Red Route', which usually carries stricter enforcement than standard yellow lines, often prohibiting stopping entirely to keep traffic moving on busy urban routes.
Yes, loading bays are designated for specific vehicles to load or unload goods for a limited time. You must check the nearby signage to see if you are permitted to park there and for how long.
White zig-zag lines indicate an area where you must not park or stop, primarily to ensure clear visibility for children crossing the road near schools.
Dive into our comprehensive question bank to find exactly what you need for your Great Britain theory test. Use our advanced filters to pinpoint specific subjects or test your knowledge on challenging areas, ensuring you're fully prepared for success.