
This lesson explores the essential principles of weight distribution for Category C goods vehicles. You will learn how balancing your load across axles is critical for maintaining vehicle stability, braking efficiency, and overall road safety as you prepare for your DVSA theory exam.

Lesson content overview
Operating a heavy goods vehicle (HGV), classified under a Category C licence in Great Britain, demands a thorough understanding of load distribution. Proper weight distribution is not just a regulatory requirement; it is fundamental to the safety, stability, and operational efficiency of your vehicle and crucial for road safety. This lesson explores the core principles that govern how cargo weight should be allocated within a goods vehicle, ensuring compliance with legal limits and maintaining optimal vehicle performance on the road.
Incorrect load placement can severely compromise a vehicle's handling characteristics, increase stopping distances, accelerate tyre wear, and significantly raise the risk of incidents like rollovers or loss of control. By mastering these principles, drivers can prevent axle overloading, enhance steering response, and ensure predictable braking, safeguarding themselves, their cargo, and other road users.
For professional goods vehicle drivers, correctly distributing the load is a non-negotiable aspect of every journey. It directly impacts several critical areas of vehicle operation and legal compliance. Ignoring these principles can lead to serious consequences, including fines, vehicle damage, and potentially life-threatening accidents.
A properly distributed load ensures the vehicle's centre of gravity (CG) remains within manufacturer-specified limits. This is vital for maintaining stability, especially during cornering, braking, and acceleration. An unbalanced load can cause the vehicle to pull to one side, become difficult to steer, or make it prone to rolling over, particularly on bends or uneven surfaces.
Load distribution directly affects how braking forces are transmitted through the axles to the road. An overloaded front axle, for example, can lead to reduced steering control during heavy braking, while an overloaded rear axle can diminish the effectiveness of the front brakes. Correct distribution ensures that all tyres maintain optimal contact with the road, leading to more efficient and shorter stopping distances.
Each axle on a goods vehicle has a specific maximum permissible load (MPL). Exceeding these limits, even if the overall Gross Vehicle Weight (GVW) is within limits, places immense stress on tyres, suspension components, and the vehicle structure. This can lead to premature tyre failure, costly mechanical breakdowns, and significant safety risks.
In Great Britain, strict regulations govern the maximum weights that goods vehicles can carry on individual axles and overall. These limits are designed to protect road infrastructure from excessive wear and tear and to ensure safety for all road users. Non-compliance can result in substantial fines, vehicle impoundment, and penalty points on a driver's licence. Regular checks of load distribution are a mandatory part of pre-journey inspections.
Achieving safe, legal, and efficient operation of a Category C vehicle hinges on understanding and applying several core principles of load distribution. These principles ensure that cargo weight is allocated correctly across the vehicle's structure.
Axle load balance refers to the precise allocation of cargo weight such that each axle carries weight within its individual allowable limit. This is critical for preventing axle overload, maintaining the integrity of tyres and suspension, and adhering to legal weight restrictions. Drivers must carefully calculate and monitor the weight on each axle, as exceeding these limits can lead to enforcement actions and an increased risk of mechanical failure.
Even lateral distribution means spreading the load across the full width of the vehicle, avoiding any significant left or right bias. This symmetrical loading helps to maintain balanced tyre pressures, enhances steering response, and reduces uneven wear on the inner or outer tyres. An off-centre load can cause the vehicle to pull to one side, requiring constant steering correction, and significantly increases the likelihood of a rollover, especially during turns or on cambers.
Longitudinal distribution involves placing the load fore-aft (front-to-back) to keep the vehicle's overall centre of gravity within a specified range relative to the wheelbase. This careful placement controls pitch during acceleration and braking, improves stability on gradients, and prevents overloading of either the front or rear axles. Loads placed too far forward or rearward can lead to front or rear axle overload, unstable braking, and dangerous "tail-lift" or "nose-down" responses.
The centre of gravity (CG) is the theoretical point where the entire weight of the vehicle and its load is considered to act vertically downwards. Managing the CG involves positioning cargo to keep this point within manufacturer-specified limits. A lower CG significantly reduces the rollover risk, maintains predictable handling, and optimises braking performance. Conversely, a high or rearward CG dramatically elevates the risk of overturning, especially during sudden manoeuvres or on uneven terrain.
The Maximum Permitted Load (MPL), also known as Gross Vehicle Weight Rating (GVWR) or Design Weight, is the total mass (vehicle plus cargo, driver, passengers, and fuel) that a Category C vehicle is legally allowed to carry. This limit is stipulated by the vehicle’s type approval and national regulations. Ensuring that the total vehicle mass does not exceed the MPL prevents damage to road infrastructure, complies with DVSA regulations, and guarantees safe operation. Exceeding the MPL can result in substantial fines, restrictions, and compromised vehicle performance and safety.
Effective load distribution relies on understanding several key concepts that underpin the calculations and practical decisions made by professional drivers.
Axle load capacity defines the maximum weight an individual axle can legally support. This limit is expressed in kilograms or tonnes and is determined by the vehicle's design and road regulations. It is crucial for drivers to ensure that cargo loading does not cause any single axle to exceed its specific capacity. This applies to both the front axle (steering axle) and the rear axles (driving axles, which can be single or tandem configurations).
While a vehicle's Gross Vehicle Weight Rating (GVWR) provides an overall limit, it does not guarantee compliance for individual axles. Each axle must be checked separately. For example, a 7.5-tonne rigid truck might have a front axle capacity of 3.5 tonnes and a rear axle capacity of 5 tonnes. A load of 2 tonnes in the cabin area and 4 tonnes on the chassis would be compliant in this scenario, assuming it's positioned correctly.
A Load Distribution Diagram (LDD) is an essential schematic representation that illustrates the longitudinal position of the centre of gravity (CG) relative to the vehicle’s axles. It serves as a visual and computational tool for drivers to verify that the CG lies within safe limits and that axle loads are balanced. LDDs can be static, showing the vehicle at rest, or dynamic, taking into account considerations during motion. Using a suitable LDD is often a requirement for proper load planning as part of pre-journey inspections. Relying solely on a simple weight totalsheet without considering CG positioning is a common misunderstanding that an LDD helps to correct.
As previously mentioned, the Centre of Gravity (CG) is the single point where the total weight of the vehicle and its entire load is considered to act vertically downwards. Understanding and managing both the longitudinal (fore-aft) and lateral (left-right) CG is critical for vehicle stability. A higher CG significantly increases the probability of rollover, particularly during cornering, braking, or acceleration. Drivers must consider cargo height; stacking items higher directly elevates the CG. For instance, placing pallets of goods on low floor panels is safer than stacking them on top of a raised cargo rack, as it keeps the CG lower.
The Maximum Permitted Load (MPL), also known as the Gross Vehicle Weight (GVW), is the total legal mass a Category C vehicle is allowed to carry. This includes the vehicle's kerb weight, fuel, driver, passengers, and the cargo itself. This limit is stipulated by the vehicle's type approval certificate and national regulations, such as the Road Vehicles (Construction and Use) Regulations 1986. A common error is not accounting for all components of the vehicle's weight, including fuel, driver, and any accessories, when calculating the available cargo allowance. For example, a 12-tonne GVW rigid lorry with a kerb weight of 8 tonnes (including a full tank of fuel and driver) has an MPL of 4 tonnes for additional cargo.
Load distribution calculations involve determining how cargo weight will be split between axles based on the precise placement of the cargo. This process often uses formulas in conjunction with a Load Distribution Diagram. Such calculations empower drivers to verify compliance with axle load limits before physically loading the vehicle and identify potential overload scenarios.
A basic formula for calculating axle loads, assuming a known total load, wheelbase, and the distance of the centre of gravity (CG) from one axle, is:
Rear Axle Load = (Total Load × Distance of CG from Front Axle) / Wheelbase
Conversely, the front axle load can be calculated. It is crucial to remember that these are static calculations, and dynamic factors will affect actual load distribution during motion.
Load transfer, also known as dynamic load shift, is the temporary change in axle loads that occurs during vehicle motion. This shift happens during braking, acceleration, or cornering, altering the static distribution of weight. For instance, during heavy braking, weight is transferred forward, significantly increasing the load on the front axle. Conversely, during acceleration, weight shifts rearward.
Drivers must consider dynamic load transfer when planning static loads to ensure that no axle exceeds its capacity, even under extreme operational conditions. A common misunderstanding is assuming static loads guarantee safety; under heavy braking, the front axle can be temporarily loaded beyond its static capacity. For example, heavy braking can increase the front axle load by up to 30% of the vehicle's total mass.
Operating Category C vehicles in Great Britain is subject to stringent regulations concerning load distribution and overall weight. Adherence to these rules is legally mandatory and enforced by authorities such as the DVSA (Driver and Vehicle Standards Agency) and the police.
All Category C vehicles operating on any UK road must ensure that the weight on each individual axle remains within its maximum permissible limit. These limits are specific to the vehicle's design and configuration and are incorporated into UK law from directives like EU Directive 96/53/EC. Exceeding axle limits can lead to tyre overload, premature wear of road surfaces, and severe loss of vehicle control. For example, a driver must use a Load Distribution Diagram to confirm that the front axle load does not exceed 3.5 tonnes and the rear axle load does not exceed 5.0 tonnes before commencing a journey.
The total mass of the vehicle, including its tare weight, fuel, driver, passengers, and cargo, must never exceed the vehicle’s Maximum Permitted Load (MPL). This rule applies to all rigid and articulated vehicles carrying cargo. It is primarily regulated by The Road Vehicles (Construction and Use) Regulations 1986 (as amended) and DVSA guidance. A driver should calculate the vehicle's kerb weight (e.g., 8 tonnes), add fuel (0.5 tonnes), and occupant weight (0.2 tonnes) to determine the remaining cargo allowance (e.g., 3.3 tonnes), and then load accordingly.
Cargo, especially items weighing over 300 kg, must be evenly distributed across the full width of the vehicle. This means avoiding any significant left or right bias in load placement. This principle, explicitly stated in Highway Code Rule 151, reduces lateral pull on the steering, minimises uneven tyre wear, and is critical for preventing rollover risk. Cargo pallets should be placed centrally, not stacked entirely towards one side of the vehicle.
Highway Code Rule 151 (excerpt): "You must ensure your load is secure and does not ... cause the vehicle to be unstable." Uneven lateral distribution directly contributes to instability.
When loading cargo, particularly tall or dense items, the overall centre of gravity (CG) of the vehicle and its load must remain within the manufacturer's specified limits. This is a crucial factor checked during vehicle inspections and is essential for maintaining predictable handling and reducing rollover susceptibility. Placing cargo on a low deck, ensuring the CG height remains below a certain threshold (e.g., 1.2 metres for many rigid vehicles), is good practice.
Before each journey involving cargo, drivers are legally obligated to perform pre-journey load checks. This is a mandatory requirement under Highway Code Rule 150. These checks ensure compliance with all weight limits and confirm the safety and security of the load before departure. A driver must inspect the load, verify weight distribution using an LDD or calculations, and sign off on a checklist.
Operating a vehicle that exceeds its axle load limits or overall Maximum Permitted Load will incur severe penalties. These penalties are enforced under the Road Traffic Act 1988 and aim to deter unsafe loading practices and ensure compliance. Drivers caught overloading can face substantial fines, points on their licence, and potentially have their vehicle impounded until the load is adjusted. Repeated offences can lead to more severe consequences, including license suspension.
Even experienced drivers can sometimes make errors in load distribution. Understanding common violations and their consequences is key to maintaining safety and compliance.
Why Wrong: This practice causes severe front axle overload, leading to significantly increased steering effort, reduced steering control, and a higher risk of front tyre failure. Correct Behavior: Distribute cargo behind the front axle while ensuring the overall longitudinal centre of gravity remains within the vehicle's wheelbase limits.
Why Wrong: This raises the vehicle's overall centre of gravity (CG) unnecessarily, dramatically increasing the rollover risk, especially when navigating bends or roundabouts. Correct Behavior: Always place heavier items low on the cargo deck to keep the CG as low as possible. Lighter items can then be secured on top.
Always load heavier items at the bottom and lighter items on top to maintain a low centre of gravity, significantly enhancing vehicle stability.
Why Wrong: Placing all cargo on one side of the vehicle (e.g., the left side) induces a lateral pull, causing the vehicle to drift or pull towards the loaded side. This also leads to uneven tyre wear and can be dangerous on high-speed roads as it requires constant corrective steering. Correct Behavior: Centre cargo across the full width of the vehicle or load symmetrically on both sides to maintain lateral balance.
Why Wrong: Failing to account for dynamic load transfer means that during hard braking, the front axle can be overloaded beyond its capacity, risking tyre failure, loss of control, and increased stopping distances. Correct Behavior: Factor dynamic load transfer into your static load planning. Ensure the front axle has sufficient capacity to handle an additional 30% or more of the vehicle's mass during heavy braking without exceeding its limit.
Why Wrong: Adding "personal items," tools, or unexpected extra goods without recalculating the total mass can push the vehicle beyond its Maximum Permitted Load (MPL) and inadvertently overload axles. Correct Behavior: Include all items (driver, passengers, fuel, tools, ancillary equipment, personal belongings) in your total weight calculation before determining the available cargo allowance.
Why Wrong: If cargo is not properly secured, it can shift abruptly during acceleration, braking, or cornering. This sudden movement can drastically alter the centre of gravity, destabilising the vehicle and potentially causing a crash. Correct Behavior: Use appropriate securing methods such as lashing, blocking, chocking, and shoring, as detailed in lessons on cargo security. Regularly check cargo security during longer journeys.
Why Wrong: While individual axles in a tandem set have their own limits, the combined load on the tandem unit also has an overall limit. Exceeding this combined limit overstresses the axle assembly, potentially leading to tyre bursts, suspension damage, and enforcement actions. Correct Behavior: Ensure the combined load on a tandem rear axle unit stays within the manufacturer's and legal Maximum Permitted Load for that specific axle group.
Why Wrong: Starting to load high cargo on an uneven or sloping road surface amplifies any initial side tilt. This significantly compromises the vehicle's lateral stability before the journey even begins. Correct Behavior: Always load and unload cargo on a level, stable surface. Re-check load distribution after loading, especially if the vehicle moves from an uneven to a level surface.
Why Wrong: After making a partial delivery, the remaining cargo's distribution may become unbalanced, potentially shifting the centre of gravity and overloading a different axle. Correct Behavior: Conduct a quick re-assessment of the load and its distribution after any unloading activity to ensure the remaining cargo is still balanced and secure.
Why Wrong: Relying on outdated or incomplete weight data can lead to underestimating the actual load, inadvertently causing overloading. Correct Behavior: Always use the most accurate and up-to-date weight data available. Cross-reference manufacturer load charts with actual weighbridge measurements when possible, especially for unusual or variable loads.
Load distribution principles must be applied with an awareness of the changing context of a journey, including environmental factors, road conditions, and the vehicle's state.
Wet or icy roads significantly reduce tyre grip, making any load shifts or imbalances much more hazardous. In such conditions, drivers should lower their speed, increase following distances, and minimise load height to reduce the centre of gravity, thereby enhancing stability and control. Reduced visibility in fog or heavy rain also demands extra caution and slower speeds to manage potential load shifts.
Any vehicle instability caused by an unbalanced load – such as swerving, excessive body roll, or reduced braking efficiency – poses a direct threat to vulnerable road users like cyclists and pedestrians. Maintaining proper load distribution is a key component of responsible and considerate driving, reducing the risk of collisions.
The relationship between load distribution and vehicle performance is a clear demonstration of cause and effect in vehicle dynamics.
When a load is correctly distributed, it leads to:
Conversely, improper load distribution can result in:
DVSA statistics indicate that inadequate load distribution and overloading contribute to a significant percentage of HGV axle failures and serious road incidents. Never underestimate its importance.
To solidify your understanding, consider how these principles apply in real-world driving situations.
Setting: A 2-tonne rigid truck is making multiple deliveries in a busy city centre on a dry day. The truck needs to carry a mix of heavy and light pallets. Rule/Decision Point: The driver must apply the Load Distribution Diagram (LDD) principles to ensure the front axle load does not exceed 2.8 tonnes and the rear axle load does not exceed 4.0 tonnes. Correct Behavior: The driver strategically places 0.5 tonnes of lighter cargo slightly forward of the front axle and 1.5 tonnes of heavier cargo behind it, carefully centring the load laterally. This keeps the overall CG balanced and within specified limits, respecting individual axle capacities. Incorrect Behavior: The driver places all 2.5 tonnes of cargo (including some items added for the next leg) entirely behind the front axle, significantly overloading the rear axle to 5.0 tonnes, exceeding its legal limit. Explanation: Correct placement distributes the weight appropriately across axles, preventing overload and ensuring stable handling during frequent city stops and turns. Incorrect placement risks tyre failure and reduced braking effectiveness.
Setting: A 12-tonne articulated lorry is climbing a 5% grade on a motorway during peak traffic. Rule/Decision Point: The driver needs to ensure the overall centre of gravity (CG) of the vehicle and trailer remains within 40% of the wheelbase from the front axle to maintain stability and traction. Correct Behavior: The cargo was loaded low on the trailer deck and centrally, maintaining the longitudinal CG at 2.1 metres on a 5.5-metre wheelbase. This ensures adequate traction and stability while climbing. Incorrect Behavior: Heavy cargo was stacked high on the trailer's rear deck, moving the CG rearward beyond 2.5 metres. This increases the load on the rear axle and significantly raises the risk of trailer sway, particularly on a gradient, and reduces front axle grip. Explanation: Proper CG management is vital on gradients to prevent loss of traction, trailer sway, and potential rollovers. A rearward and high CG can lead to instability and reduced braking efficiency.
Setting: A 6x2 rigid vehicle is travelling on a damp, winding country road at night, carrying a moderately heavy, mixed load. Rule/Decision Point: Due to wet conditions and reduced visibility, the driver must reduce speed, confirm tyre pressures, and verify load distribution to prevent instability during dynamic manoeuvres. Correct Behavior: The driver reviews their load distribution calculations, confirming the front axle is at 3.2 tonnes and the rear axles at 4.5 tonnes (well within limits). They reduce speed to 40 mph, maintain a safe following distance, and ensure smooth steering inputs. Incorrect Behavior: The driver assumes the load is still perfectly balanced from the previous leg and travels at 60 mph. During an emergency brake for an animal in the road, the dynamic load transfer causes severe front axle overload, leading to a front-wheel skid on the wet surface. Explanation: Proper load distribution, combined with appropriate speed and defensive driving, is crucial in adverse conditions to prevent loss of control caused by unexpected load shifts or reduced grip.
Load distribution is a cornerstone of safe and compliant professional goods vehicle operation under a Category C licence in Great Britain. It fundamentally requires balancing cargo weight across all axles, both longitudinally (fore-aft) and laterally (side-to-side), to adhere strictly to individual axle load capacities and the overall Maximum Permitted Load (MPL).
Key aspects include:
The overarching safety rationale for these principles is to prevent axle overload, excessive tyre wear, loss of steering control, extended stopping distances, increased rollover risk, and severe legal penalties. Mastering load distribution provides the foundational knowledge for effective cargo securing, proficient CG management, thorough pre-journey inspections, and the ability to safely respond to unexpected load shifts on the road.
Explore all units and lessons included in this driving theory course.
Lesson content overview
Explore all units and lessons included in this driving theory course.
Explore search topics learners often look for when studying Load Distribution Principles. These topics reflect common questions about road rules, driving situations, safety guidance, and lesson level theory preparation for learners in Great Britain.
Browse additional driving theory lessons that cover connected traffic rules, road signs, and common driving situations related to this topic. Improve your understanding of how different rules interact across everyday traffic scenarios.
Understand the specific UK laws and DVSA regulations governing load distribution for Category C vehicles. This lesson covers axle limits, maximum permitted loads, and penalties for non-compliance, crucial for safe and legal goods vehicle operation on Great Britain roads.
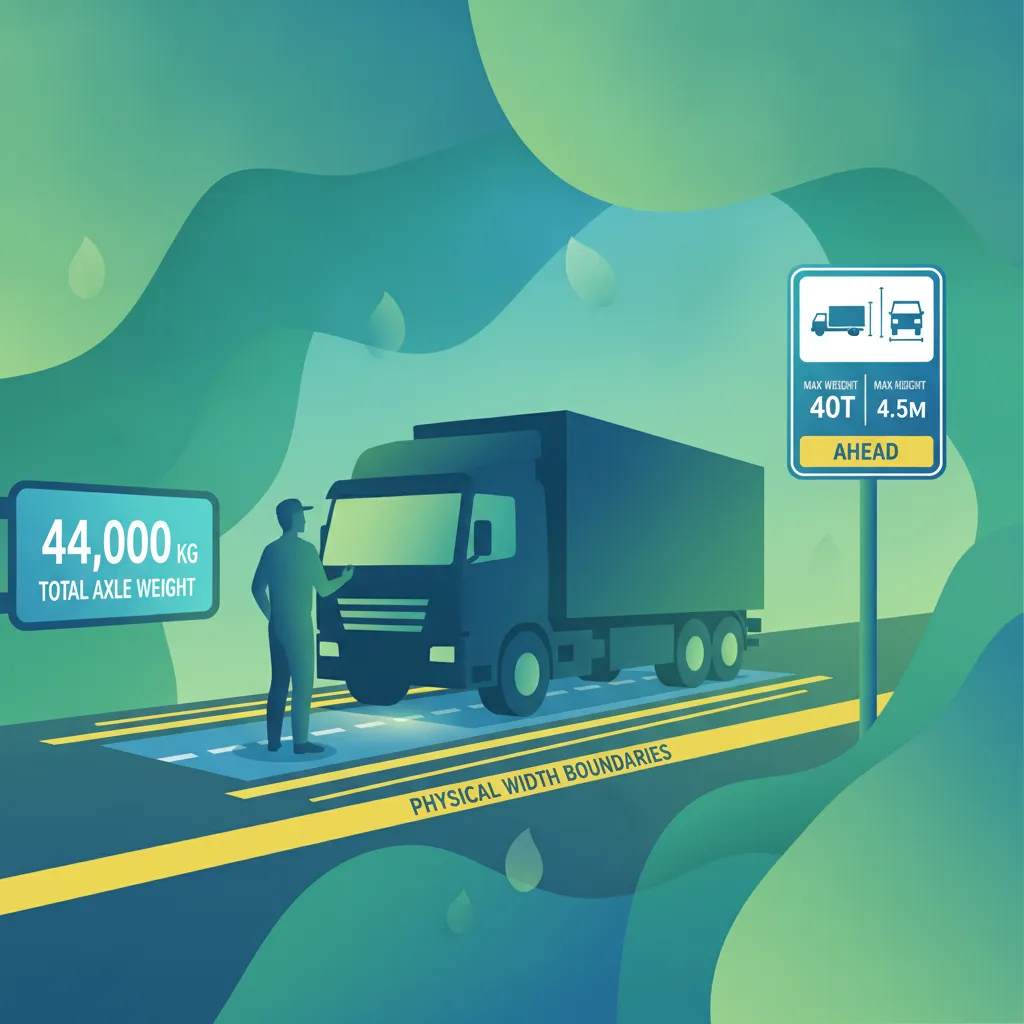
This lesson introduces the statutory limits governing the dimensions and mass of goods vehicles in Great Britain, including gross vehicle weight and individual axle loads. It explains how to calculate a vehicle's loaded weight to ensure it remains within legal parameters, preventing penalties and safety risks. Understanding these regulations is crucial for preventing damage to road infrastructure and ensuring the vehicle's stability and safe operation on every journey.

This lesson offers a deep dive into the specific regulations concerning weight, width, and axle load restrictions for goods vehicles. It covers how to read and comply with the associated road signs to avoid overloading weak bridges and entering restricted areas. Learners will understand the importance of correct load assessment and the serious penalties for non-compliance, which are enforced through DVSA roadside inspections and weighbridges.

This lesson provides a clear overview of the primary goods vehicle licence categories: C1, C, C1E, and CE. It explains the specific vehicle types, weight thresholds, and axle configurations permitted for each classification. You will learn about the DVSA's regulatory framework, including the essential age and medical fitness criteria for eligibility, as well as the steps for obtaining a full licence. Understanding these legal definitions is fundamental for ensuring compliance and safety.

This lesson addresses the serious danger of driver fatigue, a major cause of incidents involving commercial vehicles. It details the complex EU and GB domestic rules on drivers' hours, including driving limits and required rest periods. Learners will be taught to recognize the physical and mental signs of fatigue and understand the importance of taking quality rest to maintain alertness and ensure their own safety and that of others.

This lesson focuses on the specific rules and best practices for driving HGVs on motorways in Great Britain. It covers mandatory speed limits for goods vehicles, lane discipline including restrictions on using the outside lane, and procedures for safely joining and leaving the motorway. The lesson also includes up-to-date information on driving on smart motorways, including understanding the signs and using emergency refuge areas correctly.

This lesson covers the principles of safe loading to prevent items from shifting or falling and causing a hazard. It explains that any load must be securely fastened and must not obstruct your view. You will also learn how overloading or distributing weight incorrectly can dangerously affect the vehicle's steering, braking, and overall stability.
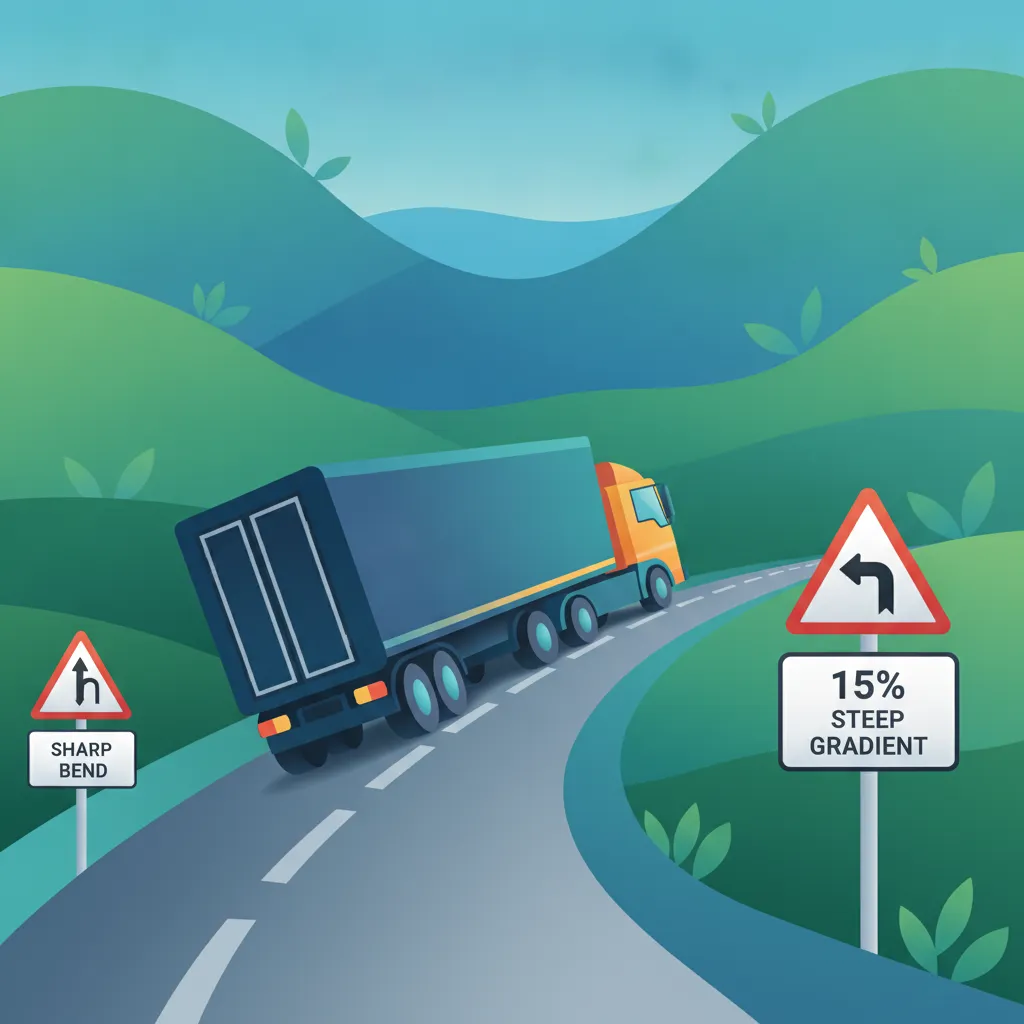
This lesson focuses on the principles of effective speed management for heavy goods vehicles, which extends beyond simply obeying the statutory speed limits. It covers how to adapt speed based on vehicle weight, load stability, road gradients, and prevailing traffic and weather conditions. You will also learn about the function of mandatory speed limiters and how intelligent use of speed and cruise control can significantly improve fuel efficiency and safety.

This lesson provides a detailed focus on the specific road signs that directly affect drivers of large goods vehicles. You will learn to accurately interpret mandatory signs for weight, height, and width restrictions, as well as signs indicating lane usage and prohibited routes. Understanding these signs is not optional; it is a legal requirement for avoiding fines, preventing accidents, and ensuring the safe passage of your vehicle through the road network.

This lesson covers the critical legal requirement for accurate record-keeping in the transport industry. It provides detailed instruction on the correct use of both analogue and digital tachographs to record driving time, breaks, and other work. You will also learn about other essential documents that must be carried, such as load manifests and delivery notes, and the importance of keeping these records accurate and available for inspection by enforcement authorities.

This lesson reinforces the vital safety rule of maintaining an adequate following distance from the vehicle ahead. It explains why the standard 'two-second rule' must be extended for heavy vehicles, especially in poor weather or when heavily laden, to account for longer stopping distances. You will learn practical methods for judging a safe gap in various traffic situations, creating a crucial safety buffer to react to unforeseen hazards.
Explore how load distribution impacts heavy goods vehicle dynamics in various driving conditions. This lesson examines scenarios involving different road types, weather, and braking situations to illustrate the cause-and-effect relationship for Category C drivers.
This lesson focuses on the specific rules and best practices for driving HGVs on motorways in Great Britain. It covers mandatory speed limits for goods vehicles, lane discipline including restrictions on using the outside lane, and procedures for safely joining and leaving the motorway. The lesson also includes up-to-date information on driving on smart motorways, including understanding the signs and using emergency refuge areas correctly.
This lesson covers the principles of safe loading to prevent items from shifting or falling and causing a hazard. It explains that any load must be securely fastened and must not obstruct your view. You will also learn how overloading or distributing weight incorrectly can dangerously affect the vehicle's steering, braking, and overall stability.

This lesson addresses the unique set of challenges that rural roads present to HGV drivers. It covers how to safely navigate narrow and winding lanes, the importance of anticipating hazards like slow-moving agricultural machinery, mud on the road, and wildlife. You will learn how the national speed limit applies to your vehicle on these roads and why it is often necessary to travel at a much lower speed to ensure safety.

This lesson addresses the unique challenges of operating a large goods vehicle in congested urban and city environments. It focuses on techniques for navigating narrow streets, making tight turns, and safely accessing delivery points while being highly aware of vulnerable road users like pedestrians and cyclists. The importance of exceptional observation, low-speed control, and clear communication with other road users is heavily emphasized to minimize risk in these complex settings.
This lesson offers a deep dive into the specific regulations concerning weight, width, and axle load restrictions for goods vehicles. It covers how to read and comply with the associated road signs to avoid overloading weak bridges and entering restricted areas. Learners will understand the importance of correct load assessment and the serious penalties for non-compliance, which are enforced through DVSA roadside inspections and weighbridges.
This lesson addresses the serious danger of driver fatigue, a major cause of incidents involving commercial vehicles. It details the complex EU and GB domestic rules on drivers' hours, including driving limits and required rest periods. Learners will be taught to recognize the physical and mental signs of fatigue and understand the importance of taking quality rest to maintain alertness and ensure their own safety and that of others.
This lesson introduces the statutory limits governing the dimensions and mass of goods vehicles in Great Britain, including gross vehicle weight and individual axle loads. It explains how to calculate a vehicle's loaded weight to ensure it remains within legal parameters, preventing penalties and safety risks. Understanding these regulations is crucial for preventing damage to road infrastructure and ensuring the vehicle's stability and safe operation on every journey.
This lesson focuses on the principles of effective speed management for heavy goods vehicles, which extends beyond simply obeying the statutory speed limits. It covers how to adapt speed based on vehicle weight, load stability, road gradients, and prevailing traffic and weather conditions. You will also learn about the function of mandatory speed limiters and how intelligent use of speed and cruise control can significantly improve fuel efficiency and safety.

This lesson analyzes the significant impact that large goods vehicles have on overall traffic flow, particularly in congested urban areas and on narrow roads. It discusses how their size can contribute to lane blockages, reduced overtaking opportunities, and bottlenecks at junctions. Learners will study strategies to minimize these effects, such as careful lane selection, maintaining steady speeds, and allowing adequate space, to promote safer and more efficient traffic movement for everyone.

This lesson addresses the unique challenges of driving a large vehicle on rural roads. It provides techniques for positioning the vehicle through sharp bends and on narrow lanes, and for safely navigating unmarked or uncontrolled junctions. Learners will be taught to anticipate hidden hazards common in the countryside, such as slow-moving farm vehicles, animals on the road, and concealed entrances. The correct use of passing places and strategies for meeting oncoming traffic are also covered.
Find clear answers to common questions learners have about Load Distribution Principles. Learn how the lesson is structured, which driving theory objectives it supports, and how it fits into the overall learning path of units and curriculum progression in Great Britain. These explanations help you understand key concepts, lesson flow, and exam focused study goals.
Even distribution ensures that the weight is spread across the axles according to design limits. This prevents overloading, improves steering response, and ensures that braking force is applied effectively across all wheels, which is vital for vehicle stability.
Placing heavy loads too high or off-centre raises the vehicle's centre of gravity, significantly increasing the risk of rolling over when cornering. Keeping the load as low and as central as possible is key to maintaining control.
The test focuses on your understanding of the principles and the risks of incorrect loading. You should know how weight distribution influences vehicle dynamics and why specific safety limits must be adhered to.
Yes, an poorly balanced load can reduce the effectiveness of your braking system and lead to longer stopping distances. It can also cause wheels to lock up or lose traction more easily in adverse conditions.
Dive into our comprehensive question bank to find exactly what you need for your Great Britain theory test. Use our advanced filters to pinpoint specific subjects or test your knowledge on challenging areas, ensuring you're fully prepared for success.