
This lesson teaches you how to identify and react to height restrictions on bridges, tunnels, and overhead structures. Mastering these rules is essential for Category C drivers to avoid bridge strikes and ensure safe route planning across Great Britain.
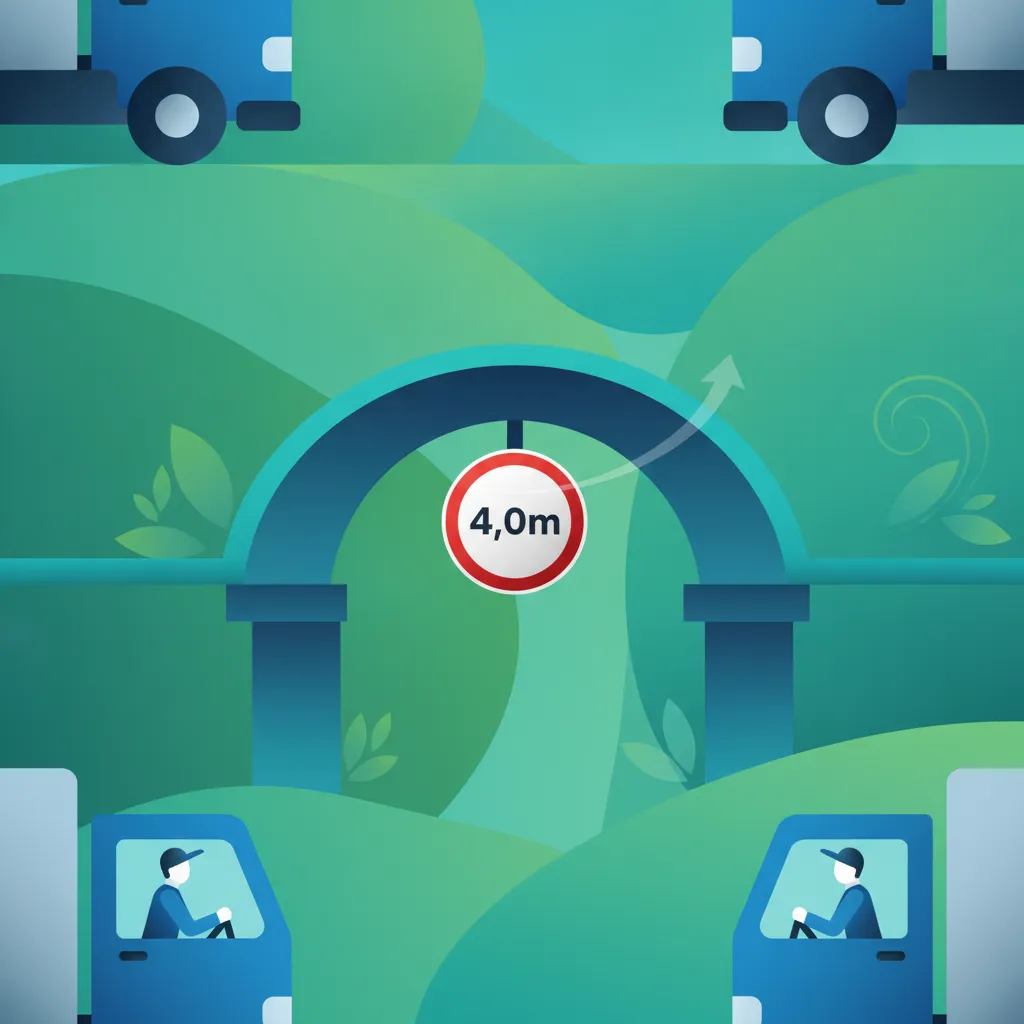
Lesson content overview
For professional drivers operating Category C goods vehicles in Great Britain, understanding and adhering to height restrictions for bridges, tunnels, and other overhead structures is a fundamental aspect of safe and legal operation. Failure to respect these limits can lead to severe consequences, including catastrophic vehicle damage, prolonged road closures, substantial legal penalties, and significant risks to other road users. This lesson equips you with the essential knowledge for interpreting warnings, knowing your vehicle's precise height, and using this information for effective route planning to prevent bridge strikes.
Before any journey, a professional driver must have an accurate understanding of their vehicle's total height. This isn't just a static measurement; it encompasses dynamic variations that can impact the actual clearance required for safe passage under overhead structures.
The static height provides a baseline measurement for your goods vehicle. This is the height of the vehicle without any cargo. However, once loaded, the loaded height becomes the primary consideration. It is the height of your vehicle after all cargo has been secured, and it is usually greater than the unladen height.
The maximum vehicle height for a Category C vehicle on public highways in Great Britain is generally 4.95 metres, as stipulated by the Road Vehicles (Construction and Use) Regulations 1986, unless a lower limit is indicated by specific signage. This regulatory limit is a broad guideline; specific restrictions often impose much lower clearances.
It is crucial not to rely solely on the static or even loaded height of your vehicle when assessing clearance. Several factors can cause a vehicle's height to change dynamically while in motion:
To account for these dynamic variations, professional drivers must add a safety margin, typically 100 to 150 millimetres (0.10 to 0.15 metres), to their measured loaded height. This adjusted figure should be used for all clearance assessments. For instance, a lorry with a loaded height of 4.2 metres should be assessed as 4.3 to 4.35 metres for clearance purposes to ensure a safe passage. Neglecting this dynamic allowance is a common cause of bridge strikes.
Always know your vehicle's exact loaded height and add a minimum 100mm safety margin for dynamic variations before comparing it to any posted height restriction. This figure is your absolute maximum effective height.
Road signs indicating height restrictions are critical visual warnings that professional drivers must recognise and obey without fail. These signs are standardised to ensure immediate recognition and understanding.
The primary height restriction sign in Great Britain is a circular sign with a red border, displaying the maximum permissible height in metres. The height figure is presented with a decimal point and two digits (e.g., 3.10 m), or one digit if the centimetres are zero (e.g., 4.0 m). It is imperative to read these signs accurately; misinterpreting "3.10 m" as "3.1 m" (which some might mistakenly assume means "3.100 m") could lead to a disastrous miscalculation. The actual clearance is precisely 3.10 metres, or 310 centimetres.
Treat every digit on a height restriction sign as precise. A sign showing '3.10 m' means exactly 3.10 metres, not 'approximately 3.1 metres'. A small difference can be the difference between safe passage and a costly collision.
In addition to permanent signs, temporary height restriction signs are often used during roadworks, construction projects (like the HS2 rail project), or other temporary structural changes. These signs are typically yellow or orange with black text and symbols, or a standard red circle sign on a temporary stand. They legally override any permanent signs for the duration of the works. Drivers must treat these temporary limits as absolute and follow any indicated diversions.
To provide drivers with ample time to react and plan alternative routes, advance warning signs are commonly used. These signs typically show the height restriction symbol along with a distance, such as "300 yards" or "1/4 mile," indicating how far ahead the restriction is. This early notification allows drivers to safely slow down, consider their options, and execute a diversion if necessary.
Some height restrictions may be conditional, applying only under specific circumstances. While less common for physical height limits, a conditional sign might indicate a restriction that applies only during certain hours, to specific vehicle types (beyond the general Category C), or when other conditions (e.g., temporary structures for an event) are in place. Always read the entire sign and any accompanying plates carefully.
Effective pre-journey planning is a cornerstone of professional driving, especially when dealing with height constraints. It significantly reduces the risk of encountering unexpected low bridges or tunnels.
Modern navigation systems designed specifically for Heavy Goods Vehicles (HGVs) are invaluable tools. These systems allow drivers to input their vehicle's specific dimensions, including overall height, weight, and length. The navigation software then uses this information to filter routes, avoiding roads or structures that cannot accommodate the vehicle's size.
While these systems are highly recommended, they are not infallible. Databases of height restrictions may not always be perfectly up-to-date, especially concerning recent temporary changes or newly identified hazards. Drivers must still maintain vigilance and verify physical signs. Regularly updating your navigation device's firmware and maps is essential to ensure it has the latest available restriction data.
Even with advanced navigation, a professional driver should understand manual route planning principles for height constraints. This involves:
Know Your Vehicle: Accurately measure your vehicle’s height when unladen and when fully loaded, including any attachments or load extensions. Add your dynamic height allowance (e.g., 100-150mm).
Consult Maps and Databases: Use up-to-date physical maps or online resources that specifically mark height restrictions for goods vehicles. Many local authorities and railway network operators provide these resources.
Verify with Authorities: For particularly complex or critical routes, consider cross-referencing information with local highway authorities or Network Rail, especially for bridges over railway lines.
Plan Contingencies: Identify alternative routes in case a planned route reveals an unexpected or unpassable height restriction.
Choosing the "shortest" or "fastest" route without checking for clearance is a common misunderstanding that can lead to hazardous situations. A professional driver has a legal and ethical duty of care to plan routes that accommodate their vehicle's dimensions.
Vigilance while driving is just as important as pre-journey planning. Conditions can change, and temporary restrictions may appear without notice in navigation systems.
Several environmental and road conditions can subtly reduce the effective clearance of an overhead structure:
Always be more cautious than necessary when approaching a height restriction, especially in adverse weather or on challenging road surfaces. The posted height is the absolute maximum, not a target.
Not all overhead structures have a uniform clearance across their entire width.
Drivers must be continuously aware of their surroundings and prepared to stop and reassess if a height restriction appears unmanageable or if conditions dictate a greater safety margin.
Ignoring height restrictions is not only dangerous but carries significant legal and financial penalties for both the driver and their operating company.
Professional drivers operating goods vehicles are bound by specific legislation and guidelines:
The consequences of a bridge strike are severe and multifaceted:
Understanding common mistakes helps in adopting best practices to ensure continuous safety and compliance.
For professional goods vehicle drivers, managing height restrictions is more than just obeying a rule; it's about anticipating risks, precise measurement, diligent planning, and continuous awareness. Your actions directly impact not only your safety and the integrity of your vehicle and cargo but also the safety of other road users and the vital infrastructure of Great Britain.
The Driver and Vehicle Standards Agency (DVSA) consistently highlights bridge strikes as a preventable issue, with a significant number involving Category C vehicles. This underscores the need for thorough preparation and adherence to best practices. By integrating knowledge of your vehicle's dimensions, understanding signage, utilising intelligent route planning tools, and maintaining situational awareness, you uphold your professional responsibility and contribute to safer roads for everyone.
This lesson covers the essential knowledge Category C drivers need to safely navigate height restrictions in Great Britain. Key concepts include the difference between static and dynamic vehicle height, with a mandatory 100-150mm safety margin added to measured height for clearance assessments. Drivers must accurately interpret standard height restriction signs (circular red border, precise metric values) and recognise that temporary signs override permanent ones during roadworks. Thorough pre-journey planning using HGV-specific navigation and manual route verification is critical, as GPS data can be outdated. The lesson emphasises that bridge strikes carry serious legal, financial, and professional consequences, making prevention through preparation and vigilance the professional driver's responsibility under Highway Code Rule 148 and associated legislation.
A short set of high-value points that capture the most important learning from this lesson.
Always know your vehicle's exact loaded height and add a 100-150mm safety margin to account for dynamic factors like suspension movement, road camber, and temperature effects.
Height restriction signs are circular with red borders showing precise metres; read all digits carefully, including every number after the decimal point.
Pre-journey route planning using HGV-specific navigation and physical maps is essential before every journey to identify and avoid height-restricted structures.
Temporary height restriction signs legally override permanent ones and must be obeyed without exception during roadworks or construction.
Bridge strikes carry severe consequences including criminal penalties, civil liability, vehicle downtime, and reputational damage for drivers and operators.
Explore all units and lessons included in this driving theory course.
The maximum height for Category C vehicles on public highways in Great Britain is 4.95 metres under the Road Vehicles (Construction and Use) Regulations 1986 unless a lower limit is signposted.
Highway Code Rule 148 is mandatory: drivers must not exceed the height indicated by any height restriction sign.
Temperature expansion can reduce bridge clearance by 2-3cm in extreme heat, and snow or ice on the road can effectively raise the vehicle's effective height.
Advanced warning signs show a distance before the restriction, giving drivers time to slow down and consider alternative routes safely.
Arch bridges often have lower clearance at their edges than at the centre; always assume the lowest point is the limiting factor.
Misreading height signs by ignoring the decimal precision; '3.10 m' means exactly 3.10 metres, not approximately 3.1 metres or 3.100 metres.
Relying solely on sat-nav systems without verifying against physical road signs, since navigation databases may not reflect recent or temporary restrictions.
Neglecting to add a dynamic height allowance, assuming static or loaded height alone is sufficient for clearance calculations.
Attempting to 'squeeze through' a restriction or using vehicle lowering systems to gain clearance, which is dangerous and may violate safety regulations.
Failing to account for road camber, which tilts vehicles and can make one side significantly higher than the other, affecting clearance on marginal structures.
Lesson content overview
A short set of high-value points that capture the most important learning from this lesson.
Always know your vehicle's exact loaded height and add a 100-150mm safety margin to account for dynamic factors like suspension movement, road camber, and temperature effects.
Height restriction signs are circular with red borders showing precise metres; read all digits carefully, including every number after the decimal point.
Pre-journey route planning using HGV-specific navigation and physical maps is essential before every journey to identify and avoid height-restricted structures.
Temporary height restriction signs legally override permanent ones and must be obeyed without exception during roadworks or construction.
Bridge strikes carry severe consequences including criminal penalties, civil liability, vehicle downtime, and reputational damage for drivers and operators.
Explore all units and lessons included in this driving theory course.
The maximum height for Category C vehicles on public highways in Great Britain is 4.95 metres under the Road Vehicles (Construction and Use) Regulations 1986 unless a lower limit is signposted.
Highway Code Rule 148 is mandatory: drivers must not exceed the height indicated by any height restriction sign.
Temperature expansion can reduce bridge clearance by 2-3cm in extreme heat, and snow or ice on the road can effectively raise the vehicle's effective height.
Advanced warning signs show a distance before the restriction, giving drivers time to slow down and consider alternative routes safely.
Arch bridges often have lower clearance at their edges than at the centre; always assume the lowest point is the limiting factor.
Misreading height signs by ignoring the decimal precision; '3.10 m' means exactly 3.10 metres, not approximately 3.1 metres or 3.100 metres.
Relying solely on sat-nav systems without verifying against physical road signs, since navigation databases may not reflect recent or temporary restrictions.
Neglecting to add a dynamic height allowance, assuming static or loaded height alone is sufficient for clearance calculations.
Attempting to 'squeeze through' a restriction or using vehicle lowering systems to gain clearance, which is dangerous and may violate safety regulations.
Failing to account for road camber, which tilts vehicles and can make one side significantly higher than the other, affecting clearance on marginal structures.
Explore search topics learners often look for when studying Bridge, Tunnel and Height Restrictions. These topics reflect common questions about road rules, driving situations, safety guidance, and lesson level theory preparation for learners in Great Britain.
Browse additional driving theory lessons that cover connected traffic rules, road signs, and common driving situations related to this topic. Improve your understanding of how different rules interact across everyday traffic scenarios.
Explore advanced considerations for managing height restrictions on UK roads. Learn about dynamic height variations, conditional signage, and specific scenarios to prevent costly bridge strikes. Essential for professional Category C drivers.
This lesson offers a deep dive into the specific regulations concerning weight, width, and axle load restrictions for goods vehicles. It covers how to read and comply with the associated road signs to avoid overloading weak bridges and entering restricted areas. Learners will understand the importance of correct load assessment and the serious penalties for non-compliance, which are enforced through DVSA roadside inspections and weighbridges.
This lesson provides guidance on how to safely and compliantly navigate through roadworks, which are a common feature of the road network. It covers the interpretation of temporary signs, strict adherence to reduced speed limits, and how to maneuver through narrow lanes and contraflow systems. The paramount importance of protecting road workers by driving with extra care and attention is a central theme of this lesson.

This lesson focuses on the specific rules and best practices for driving HGVs on motorways in Great Britain. It covers mandatory speed limits for goods vehicles, lane discipline including restrictions on using the outside lane, and procedures for safely joining and leaving the motorway. The lesson also includes up-to-date information on driving on smart motorways, including understanding the signs and using emergency refuge areas correctly.

This lesson reinforces the vital safety rule of maintaining an adequate following distance from the vehicle ahead. It explains why the standard 'two-second rule' must be extended for heavy vehicles, especially in poor weather or when heavily laden, to account for longer stopping distances. You will learn practical methods for judging a safe gap in various traffic situations, creating a crucial safety buffer to react to unforeseen hazards.
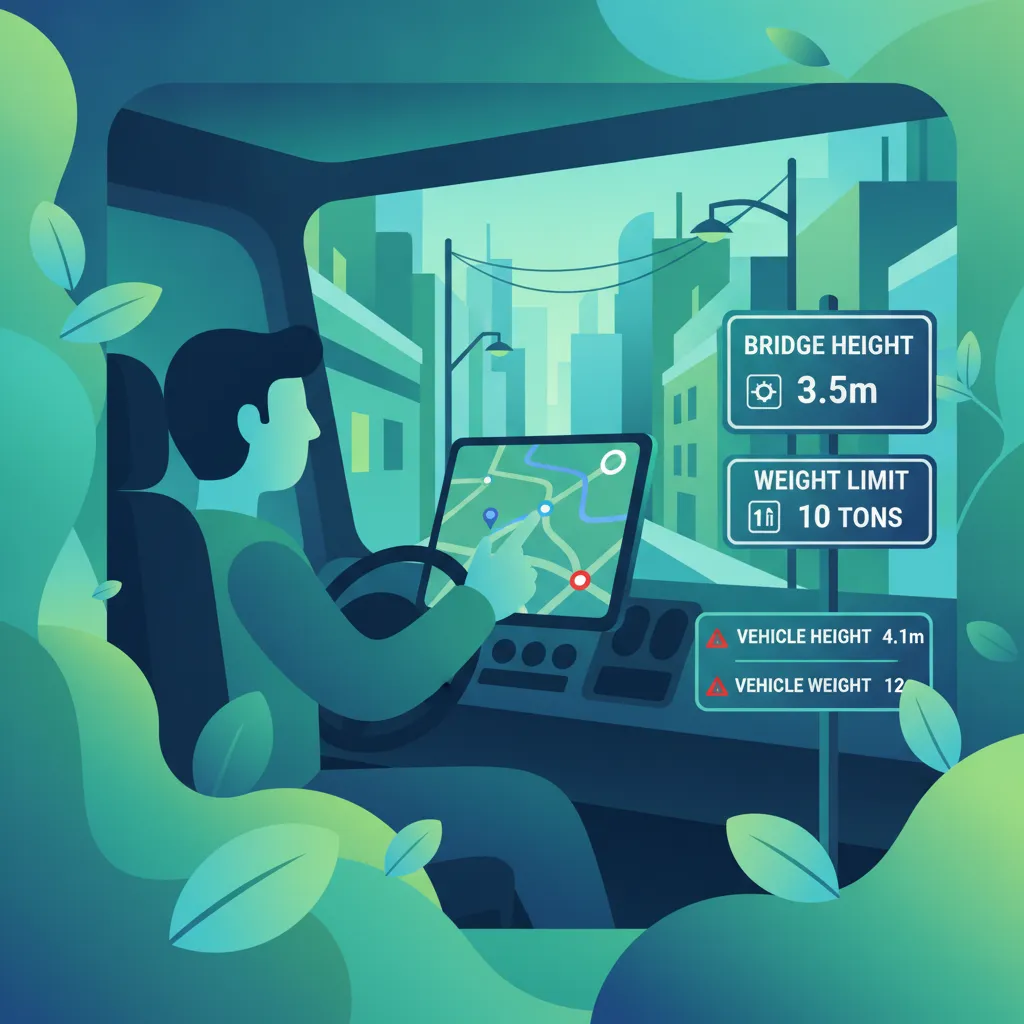
This lesson teaches a structured approach to effective route planning, a critical skill for any professional driver. It covers the use of specialized HGV navigation software and traditional maps to account for vehicle dimensions, weight limits, low bridges, and delivery time constraints. The goal is to create routes that are not only the most efficient in terms of time and fuel but are also safe, legal, and responsive to potential disruptions like roadworks or traffic.
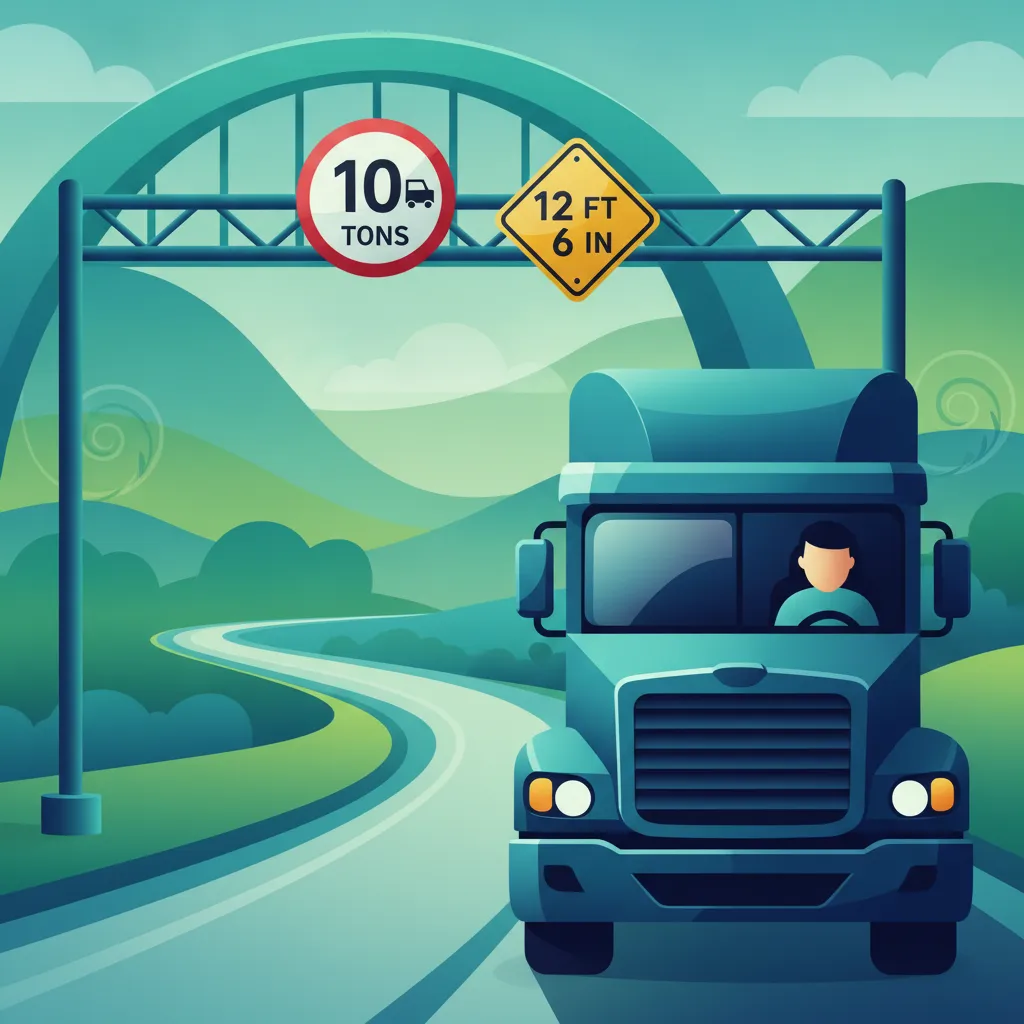
This lesson provides a detailed focus on the specific road signs that directly affect drivers of large goods vehicles. You will learn to accurately interpret mandatory signs for weight, height, and width restrictions, as well as signs indicating lane usage and prohibited routes. Understanding these signs is not optional; it is a legal requirement for avoiding fines, preventing accidents, and ensuring the safe passage of your vehicle through the road network.

This lesson addresses the serious danger of driver fatigue, a major cause of incidents involving commercial vehicles. It details the complex EU and GB domestic rules on drivers' hours, including driving limits and required rest periods. Learners will be taught to recognize the physical and mental signs of fatigue and understand the importance of taking quality rest to maintain alertness and ensure their own safety and that of others.

This lesson addresses the growing number of environmental access restrictions in urban areas, such as Low Emission Zones (LEZ), Ultra Low Emission Zones (ULEZ), and congestion charging. Learners will understand the vehicle emission standards (Euro standards) required for entry and how to check their vehicle's compliance. It covers the practicalities of planning routes that account for these zones to avoid significant financial penalties and support cleaner air initiatives.

This lesson synthesizes safety concepts into a proactive strategy for collision avoidance. It teaches the principles of defensive driving, which involves anticipating potential hazards created by other road users or road conditions and planning an escape route. Maintaining high levels of situational awareness, managing distractions, and leaving a significant safety margin around the vehicle are presented as fundamental techniques for minimizing risk on every journey.
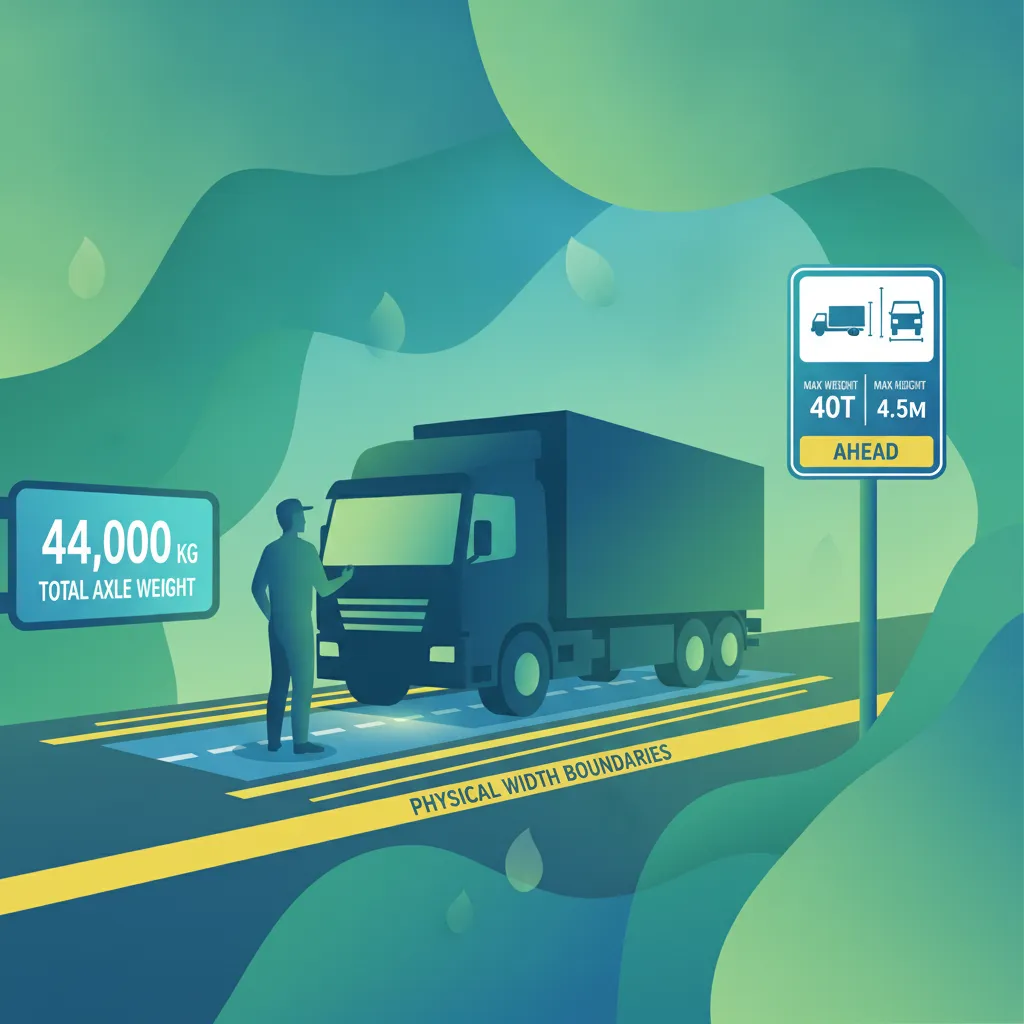
This lesson introduces the statutory limits governing the dimensions and mass of goods vehicles in Great Britain, including gross vehicle weight and individual axle loads. It explains how to calculate a vehicle's loaded weight to ensure it remains within legal parameters, preventing penalties and safety risks. Understanding these regulations is crucial for preventing damage to road infrastructure and ensuring the vehicle's stability and safe operation on every journey.
Understand typical mistakes drivers make with height restrictions on UK roads, including misinterpretation of signs and ignoring dynamic height allowances. Learn best practices to ensure compliance and avoid bridge strikes.
This lesson offers a deep dive into the specific regulations concerning weight, width, and axle load restrictions for goods vehicles. It covers how to read and comply with the associated road signs to avoid overloading weak bridges and entering restricted areas. Learners will understand the importance of correct load assessment and the serious penalties for non-compliance, which are enforced through DVSA roadside inspections and weighbridges.
This lesson focuses on the specific rules and best practices for driving HGVs on motorways in Great Britain. It covers mandatory speed limits for goods vehicles, lane discipline including restrictions on using the outside lane, and procedures for safely joining and leaving the motorway. The lesson also includes up-to-date information on driving on smart motorways, including understanding the signs and using emergency refuge areas correctly.
This lesson provides guidance on how to safely and compliantly navigate through roadworks, which are a common feature of the road network. It covers the interpretation of temporary signs, strict adherence to reduced speed limits, and how to maneuver through narrow lanes and contraflow systems. The paramount importance of protecting road workers by driving with extra care and attention is a central theme of this lesson.
This lesson reinforces the vital safety rule of maintaining an adequate following distance from the vehicle ahead. It explains why the standard 'two-second rule' must be extended for heavy vehicles, especially in poor weather or when heavily laden, to account for longer stopping distances. You will learn practical methods for judging a safe gap in various traffic situations, creating a crucial safety buffer to react to unforeseen hazards.
This lesson addresses the growing number of environmental access restrictions in urban areas, such as Low Emission Zones (LEZ), Ultra Low Emission Zones (ULEZ), and congestion charging. Learners will understand the vehicle emission standards (Euro standards) required for entry and how to check their vehicle's compliance. It covers the practicalities of planning routes that account for these zones to avoid significant financial penalties and support cleaner air initiatives.
This lesson provides a detailed focus on the specific road signs that directly affect drivers of large goods vehicles. You will learn to accurately interpret mandatory signs for weight, height, and width restrictions, as well as signs indicating lane usage and prohibited routes. Understanding these signs is not optional; it is a legal requirement for avoiding fines, preventing accidents, and ensuring the safe passage of your vehicle through the road network.

This lesson focuses on the importance of excellent lane discipline for drivers of large vehicles. It details the rules and best practices for lane selection on motorways and dual carriageways, emphasizing the need to stay in the appropriate lane and signal intentions early. Correct positioning within a lane to maximize safety margins and visibility, especially around vulnerable road users, is a key focus for maintaining professional driving standards.
This lesson addresses the serious danger of driver fatigue, a major cause of incidents involving commercial vehicles. It details the complex EU and GB domestic rules on drivers' hours, including driving limits and required rest periods. Learners will be taught to recognize the physical and mental signs of fatigue and understand the importance of taking quality rest to maintain alertness and ensure their own safety and that of others.
This lesson introduces the statutory limits governing the dimensions and mass of goods vehicles in Great Britain, including gross vehicle weight and individual axle loads. It explains how to calculate a vehicle's loaded weight to ensure it remains within legal parameters, preventing penalties and safety risks. Understanding these regulations is crucial for preventing damage to road infrastructure and ensuring the vehicle's stability and safe operation on every journey.
This lesson teaches a structured approach to effective route planning, a critical skill for any professional driver. It covers the use of specialized HGV navigation software and traditional maps to account for vehicle dimensions, weight limits, low bridges, and delivery time constraints. The goal is to create routes that are not only the most efficient in terms of time and fuel but are also safe, legal, and responsive to potential disruptions like roadworks or traffic.
Find clear answers to common questions learners have about Bridge, Tunnel and Height Restrictions. Learn how the lesson is structured, which driving theory objectives it supports, and how it fits into the overall learning path of units and curriculum progression in Great Britain. These explanations help you understand key concepts, lesson flow, and exam focused study goals.
Even on major roads, temporary structures, low bridges, or overhead gantries can pose a threat. As a Category C driver, you must always be aware of your vehicle's exact height in metres to ensure you can pass safely under any overhead obstacle.
Yes, height restriction signs are regulatory. If a bridge is marked with a specific height limit, driving a vehicle that exceeds that height is an offence that can lead to prosecution, heavy fines, and potential loss of your professional licence.
No, the height displayed on a traffic sign is the actual clearance. You should never assume there is a safety margin; always ensure your vehicle is lower than the signed clearance to account for movement or surface irregularities.
If you have added equipment or if your load increases the vehicle height, you must measure it yourself. A clear, accurate height indicator should be displayed in your cab to remind you at all times of the vehicle's highest point.
Dive into our comprehensive question bank to find exactly what you need for your Great Britain theory test. Use our advanced filters to pinpoint specific subjects or test your knowledge on challenging areas, ensuring you're fully prepared for success.