
This lesson explores the technical geometry required for safely maneuvering a large goods vehicle into loading bays and docking areas. By understanding turning radii and clearance, you will be prepared to manage complex site environments while protecting your vehicle and site personnel. This knowledge is essential for both your professional theory exam and your practical career in the logistics industry.

Lesson content overview
Operating a professional goods vehicle requires precise control and a thorough understanding of spatial relationships, especially when manoeuvring into loading bays. This lesson provides detailed instruction on the geometry involved in approaching, aligning, and safely docking goods vehicles at various types of loading and unloading areas. This includes conventional loading docks, designated loading bays, and curbside loading zones. Mastering these techniques is crucial for efficient operations, preventing damage to your vehicle, its cargo, and the loading infrastructure, and most importantly, ensuring the safety of personnel in the loading area and other road users.
The principles discussed here build upon your existing knowledge of vehicle dimensions, road space occupancy, legal limits on vehicle size, and fundamental traffic signs and road markings. Proficiency in basic vehicle handling and reversing manoeuvres is also an important prerequisite, as docking often involves intricate reversing.
Loading bays are specifically designated areas where goods vehicles can temporarily stop to facilitate the loading or unloading of cargo. The term "docking geometry" refers to the precise spatial relationship that must be established and maintained between your vehicle and the loading area. This involves three critical dimensions:
These specific dimensions and clearances are not arbitrary; they are meticulously defined by strict safety regulations, the physics of vehicle movement (such as braking distances and turning radii), and the paramount need to protect dockworkers from vehicle movement hazards. Proper docking procedures are vital not only for reducing the risk of cargo damage and improving loading efficiency but also for adhering to broader legal duties outlined in the Highway Code, the Goods Vehicle (Licensing of Operators) Regulations 1995, and the Workplace (Health, Safety and Welfare) Regulations 1992.
Mastering docking geometry involves several core principles:
Successful docking relies on a detailed understanding of the physical characteristics of loading areas and the precise techniques for positioning your vehicle within them.
A loading bay is a purpose-built area on a roadway or adjacent to a building, specifically designed for the loading and unloading of goods vehicles. Its physical dimensions and layout, including the width of the access lane, the depth from the approach road to the dock, and the height of the dock platform, directly dictate whether your vehicle can safely dock without encroaching on adjacent lanes or hazards.
Subcategories of loading bays include:
It is crucial to respect Highway Code Rule 237, which advises keeping to the left of the loading bay, and Rule 239, which prohibits blocking loading bays unnecessarily. A common misunderstanding is assuming any paved area can function as a loading bay or misinterpreting lane markings.
Dock height compatibility refers to the permissible vertical difference between the vehicle's floor (or trailer deck) and the loading dock platform. This compatibility is paramount for safe and efficient loading or unloading operations.
Ignoring even small height offsets can significantly increase the risk of load shift, damage to the vehicle's undercarriage or suspension, or injuries to workers. The Workplace (Health, Safety and Welfare) Regulations 1992 specifically require that loading equipment be compatible with the vehicle and dock heights to prevent such hazards.
Lateral clearance is defined as the minimum horizontal distance required between the outermost point of your vehicle (including mirrors, cargo overhangs, and any extending equipment) and any fixed object, curb, or adjacent traffic lane during docking.
Standard minimums generally include:
This essential clearance ensures adequate space for dockworkers, prevents damage to adjacent property, and protects vulnerable road users. Highway Code Rule 237 (keep to the left of the loading bay) and Rule 219 (give way to cyclists and pedestrians) are particularly relevant here. Drivers must avoid over-relying solely on rear-view mirrors and be vigilant about misjudging vehicle width, especially with unusual load overhangs.
Longitudinal clearance refers to the forward distance from the front of the vehicle to the entrance of the dock or any obstruction, and the backward distance from the rear of the vehicle to the dock edge or barrier when parked.
This clearance prevents collisions with dock doors, ramps, or overrunning the designated stopping point. Highway Code Rule 209 mandates stopping your vehicle for loading/unloading if safety or load size requires it, while Rule 239 prohibits blocking the loading dock unnecessarily. Never assume your vehicle can stop directly at the dock edge without a buffer zone.
Approach speed management involves meticulously controlling your vehicle's speed during the final phase of docking to achieve precise positioning safely.
The target speed for the final 10 metres before docking is often less than 5 km/h (approximately 3 mph). This significantly reduced speed provides ample reaction time to correct any alignment errors, adjust for unforeseen obstacles, or initiate an emergency stop if necessary. Maintaining cruising speed too close to the dock is a dangerous mistake, as vehicle brakes may not compensate for the lack of control. Highway Code Rule 6 stresses adjusting speed according to road conditions, traffic, and visibility, which is highly pertinent when approaching a docking area.
The effective use of docking aids and spotters is critical to enhance driver visibility and situational awareness during docking manoeuvres, particularly in areas with blind spots.
Common types of aids include:
Using these aids, especially spotters, improves situational awareness and helps mitigate risks associated with blind spots. Highway Code Rule 79, which covers the use of appropriate signals when manoeuvring, extends to communication with spotters. Employers also have a duty to provide such aids and training. Over-reliance on a single aid or ignoring spotter instructions can lead to accidents.
Ground markings and signage play a vital role in defining loading bay boundaries, regulating their use, and providing critical visual cues for positioning your vehicle.
Key markings and signs to understand include:
Correctly interpreting these markings and signs is essential for legal compliance and safe positioning. Highway Code Rule 237 reinforces keeping to the left of markings, and Rule 239 prohibits blocking loading bays unnecessarily. Misreading faded markings or assuming any blue marking is for goods vehicle loading are common misunderstandings that can lead to fines or obstruction.
The establishment and respect of safety zones for dockworkers are fundamental for preventing accidents in loading areas. These are defined buffer areas around the vehicle where dockworkers can be positioned and operate safely during loading or unloading.
These dimensions significantly reduce the risk of workers being struck by moving vehicle parts, shifting loads, or other hazards. Employers have a clear duty under the Health and Safety at Work Act 1974 to ensure a safe working environment. Drivers must never assume workers can stand directly beside a moving vehicle; all vehicle movement must cease when workers are in close proximity.
Loading bay access rights define the legal entitlement of goods vehicles to occupy designated loading bays for the purpose of loading or unloading cargo. These rights are balanced against the need to ensure efficient traffic flow and the rights of other road users.
It is a driver's obligation to ensure the vehicle does not obstruct traffic flow unnecessarily and to vacate the bay promptly once loading/unloading is complete, especially if other critical traffic is impeded. Section 212(1) of the Road Traffic Act 1988 covers obstruction offences, and Highway Code Rule 239 reiterates the need not to block loading bays or remain longer than necessary. A common misunderstanding is believing loading bays grant indefinite parking rights.
When manoeuvring into or out of a loading bay, careful interaction with adjacent traffic lanes is vital. This involves managing the spatial relationship and negotiating right-of-way with traffic using neighbouring lanes, such as through lanes or turning lanes.
Proper signalling is essential to alert other road users of your intentions, and temporary lane occupation may sometimes be unavoidable, but it must be done safely and with due consideration. Highway Code Rule 172 (give way to traffic on the highway) and Rule 213 (no waiting or stopping where prohibited) are key considerations. Drivers should never assume that traffic will automatically accommodate their large goods vehicle without clear signalling and careful observation.
Docking a goods vehicle becomes significantly more challenging under adverse conditions. These situations demand specific adjustments to standard docking procedures to maintain safety.
Compliance with traffic laws and safety regulations is not just about avoiding penalties; it's fundamental to safe and professional goods vehicle operation.
Professional Goods Vehicle Theory for Great Britain - Category C Licence requires a deep understanding of these regulations to ensure public safety and operational efficiency.
Many incidents and legal penalties arise from recurring errors in loading bay operations. Awareness of these common violations is your first step to avoiding them.
Understanding the direct links between your actions (or inactions) and their consequences is vital for mastering docking geometry.
| Cause (Correct Action) | Effect (Outcome) |
|---|---|
| Maintaining proper lateral clearance | Prevents vehicle-to-object contact, protects pedestrians and cyclists. |
| Reducing speed to ≤5 km/h before dock | Allows accurate steering corrections, reduces overshoot risk, enhances control. |
| Using spotters in low visibility | Increases driver awareness, prevents collisions with unseen obstacles. |
| Aligning vehicle centreline with dock alignment line | Ensures even load transfer, reduces risk of side impact, improves efficiency. |
| Securing load after docking | Prevents load shift during unloading, reduces worker injury risk. |
| Parking on the left side of the bay | Keeps the right lane open for traffic flow, complying with Highway Code Rule 237. |
| Holding vehicle stationary while workers cross | Eliminates risk of accidental movement into workers, safeguarding personnel. |
| Observing maximum loading duration | Keeps the bay available for other users, avoids PCNs and local authority fines. |
| Using correct ground markings for bay boundaries | Provides a reliable visual guide for correct positioning, reduces misalignment. |
| Violation / Omission | Negative Outcome |
|---|---|
| Over-speeding during approach | Overshoot dock, possible collision with curb, dock structure, or adjacent traffic. |
| Insufficient clearance from pedestrians | Risk of injuring a pedestrian or cyclist, legal liability. |
| Ignoring dock height offset | Load may tip, damage to vehicle undercarriage, significant safety hazard. |
| Parking centrally blocking traffic lane | Causes congestion, increased accident risk, legal penalties (PCN, fines). |
| Loading cargo unevenly before docking | Shifts centre-of-gravity, causing vehicle instability or swing during docking. |
| Failure to use spotters in low-light | Collision with unseen obstacles, cargo damage, injuries to personnel. |
| Exceeding allowed loading time | Fines, PCN, obstruction of other legitimate users. |
The principles of loading bay and docking geometry are intrinsically linked to several other critical areas within the professional goods vehicle theory curriculum:
Applying theoretical knowledge to real-world situations is crucial for professional drivers.
Setting: An urban arterial road with clear weather conditions. A designated loading bay is clearly marked with white dotted lines and a "No Stopping" sign, with an exception for loading.
Decision Point: The driver needs to align the goods vehicle precisely with the dock centreline, ensuring at least 1 metre longitudinal clearance at the front and 0.5 metres lateral clearance from the right-hand curb.
Correct Behaviour: The driver carefully reduces speed to 4 km/h as they approach the bay. They align the vehicle's centreline with the imaginary dock alignment line. The vehicle is brought to a controlled stop, leaving at least 1.5 metres of rear clearance from the dock face. The driver then uses their mirrors to verify adequate lateral clearance on both sides, engages the handbrake, and switches on amber hazard lights to signal loading activity.
Incorrect Behaviour: The driver maintains a speed of 20 km/h, overshoots the designated stopping line, and parks centrally within the bay, thereby blocking both lanes of the access road and causing traffic congestion.
Setting: A suburban street at dusk, enveloped in thick fog, reducing visibility to approximately 30 metres. There is a curbside loading zone clearly indicated by a yellow kerb marking.
Decision Point: The driver must adjust speed for severely reduced visibility, activate appropriate lighting, and deploy additional aids for safe positioning.
Correct Behaviour: The driver immediately lowers their speed to 3 km/h and activates the vehicle's fog lights. They utilise a qualified spotter, positioned safely at the curb, to guide the vehicle using agreed hand signals. The vehicle is stopped with a rear clearance of 2 metres from the curb, and the driver double-checks that the area around the vehicle is clear of pedestrians before engaging the handbrake.
Incorrect Behaviour: The driver attempts to manoeuvre at 15 km/h, relying solely on their standard mirrors. They fail to notice a pedestrian crossing ahead due to the poor visibility, resulting in a dangerous near-miss situation.
Setting: An industrial estate features a particularly tight loading bay, only 5 metres wide, with a trailer attached to the goods vehicle. The surface is wet from recent rain.
Decision Point: Given the restricted space and trailer, the driver must decide between a forward entry or reverse entry and carefully manage trailer swing on a slippery surface.
Correct Behaviour: Recognising the limitations, the driver opts to reverse the articulated vehicle into the bay. They extensively use the rear-view camera and continuously communicate with a spotter to guide the trailer. They maintain a lateral clearance of at least 0.6 metres on each side and proceed at an extremely low speed of 2 km/h due to the wet, low-adhesion surface. They also confirm the dock height offset is within the acceptable 100 mm tolerance.
Incorrect Behaviour: The driver attempts a forward entry, misjudging the turning circle. The trailer swings widely, causing significant damage to several adjacent parked vehicles and the loading bay structure.
Setting: A warehouse dock where the loading platform is found to be 120 mm higher than the floor of the goods vehicle.
Decision Point: The driver must assess the height compatibility and determine if this offset can be safely managed.
Correct Behaviour: The driver first consults the loading dock's specifications and the vehicle's height diagram. Confirming that the 120 mm offset is within the safe operational range (usually up to 150 mm but requiring a bridge), they then deploy a mobile ramp or dock leveller to safely bridge the height difference. Once the ramp is securely in place and aligned, the driver carefully positions the vehicle and proceeds with loading.
Incorrect Behaviour: The driver ignores the noticeable height difference, attempts to load directly without a ramp or leveller. This leads to the load tipping over during transfer, causing cargo damage and potential injury to workers.
Setting: A city centre loading bay displays clear signage stating "Maximum 15 minutes loading".
Decision Point: The driver must monitor the time spent in the bay and ensure the vehicle vacates promptly to avoid penalties and allow other users access.
Correct Behaviour: The driver sets a timer on their watch or phone upon arrival. They efficiently complete the loading within 13 minutes, well within the permitted duration. Once loading is finished, they immediately vacate the loading bay and move to a designated waiting area or depart.
Incorrect Behaviour: The driver remains parked in the loading bay for 30 minutes, having completed loading but staying to make a phone call. This blocks the bay for other goods vehicles, leading to a Penalty Charge Notice (PCN) issued by traffic wardens.
Understanding the 'why' behind the rules enhances your ability to make safe decisions in dynamic environments.
Mastering loading bay and docking geometry is a fundamental skill for any professional Category C goods vehicle driver in Great Britain. It encompasses precise vehicle positioning, strict adherence to safety protocols, and a comprehensive understanding of relevant regulations.
Key takeaways include:
Adhering to these principles will not only ensure compliance with the law but will also contribute significantly to your professional competence and the overall safety of road transport operations.
Explore all units and lessons included in this driving theory course.
Lesson content overview
Explore all units and lessons included in this driving theory course.
Explore search topics learners often look for when studying Loading Bay and Docking Geometry. These topics reflect common questions about road rules, driving situations, safety guidance, and lesson level theory preparation for learners in Great Britain.
Browse additional driving theory lessons that cover connected traffic rules, road signs, and common driving situations related to this topic. Improve your understanding of how different rules interact across everyday traffic scenarios.
Learn about common errors and potential hazards drivers face when docking goods vehicles into loading bays. Understand the consequences of incorrect procedures and how to avoid them to ensure safety and compliance.

This lesson covers the principles of safe loading to prevent items from shifting or falling and causing a hazard. It explains that any load must be securely fastened and must not obstruct your view. You will also learn how overloading or distributing weight incorrectly can dangerously affect the vehicle's steering, braking, and overall stability.
This lesson covers the specific procedures for operating within busy bus terminals and service areas. It details the protocols for approaching and parking in allocated bays, managing the safe flow of passengers, and communicating with station staff. The content emphasizes the need for extreme caution and low-speed manoeuvring due to high pedestrian traffic. It also reviews pre-departure checks and communication protocols necessary for efficient and safe terminal operations.

This lesson focuses on the legal and practical requirements for providing accessible transport for passengers with reduced mobility. It covers wheelchair access, ramp usage, and securement devices, as well as procedures for safely assisting passengers with mobility aids. The discussion highlights relevant disability legislation and the importance of proper loading and unloading protocols to protect both passengers and the driver from injury, ensuring compliance with accessibility standards in Great Britain.
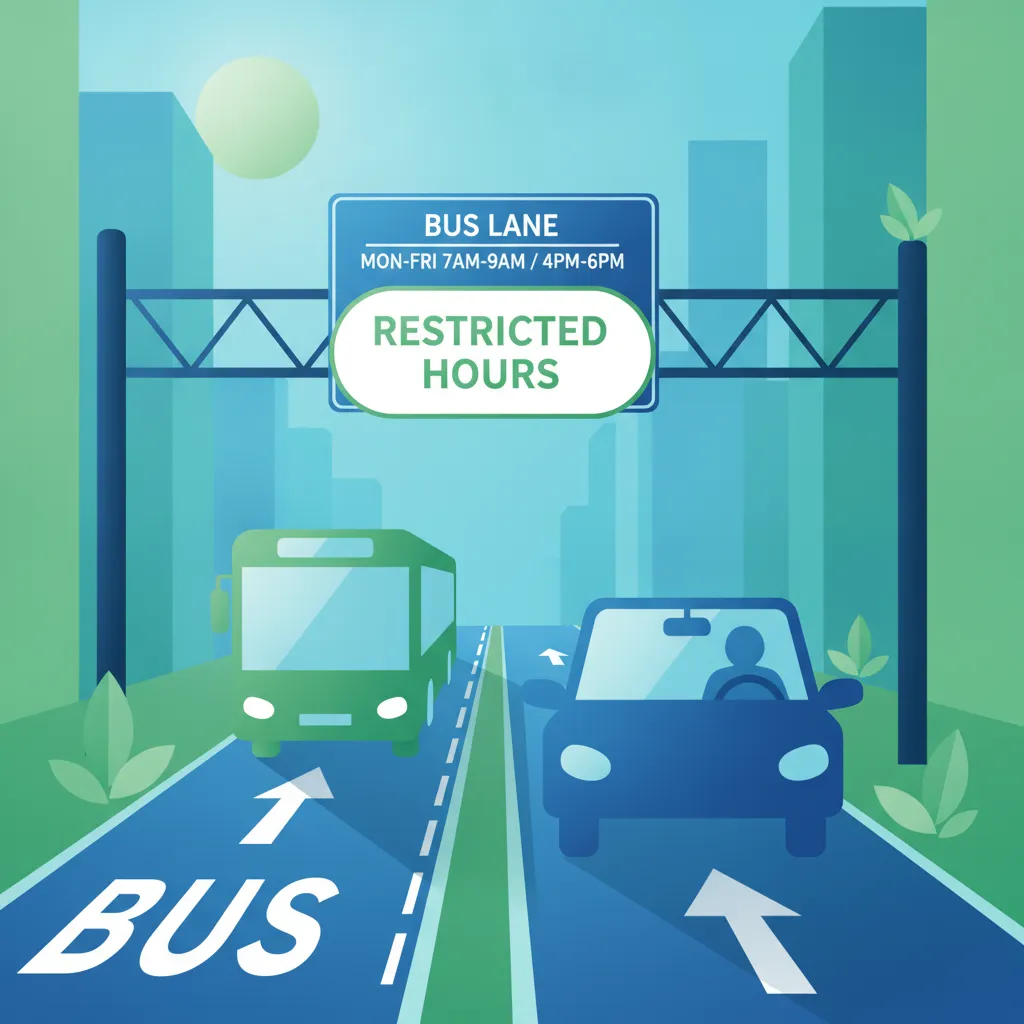
This lesson covers the importance of maintaining correct lane discipline when driving a large passenger vehicle. It details how to position your vehicle safely within a lane on various road types, including multi-lane carriageways and motorways. You will learn the specific rules governing bus lanes, including how to interpret markings, adhere to operating times, and understand the exemptions and penalties associated with their use to ensure legal and efficient driving.
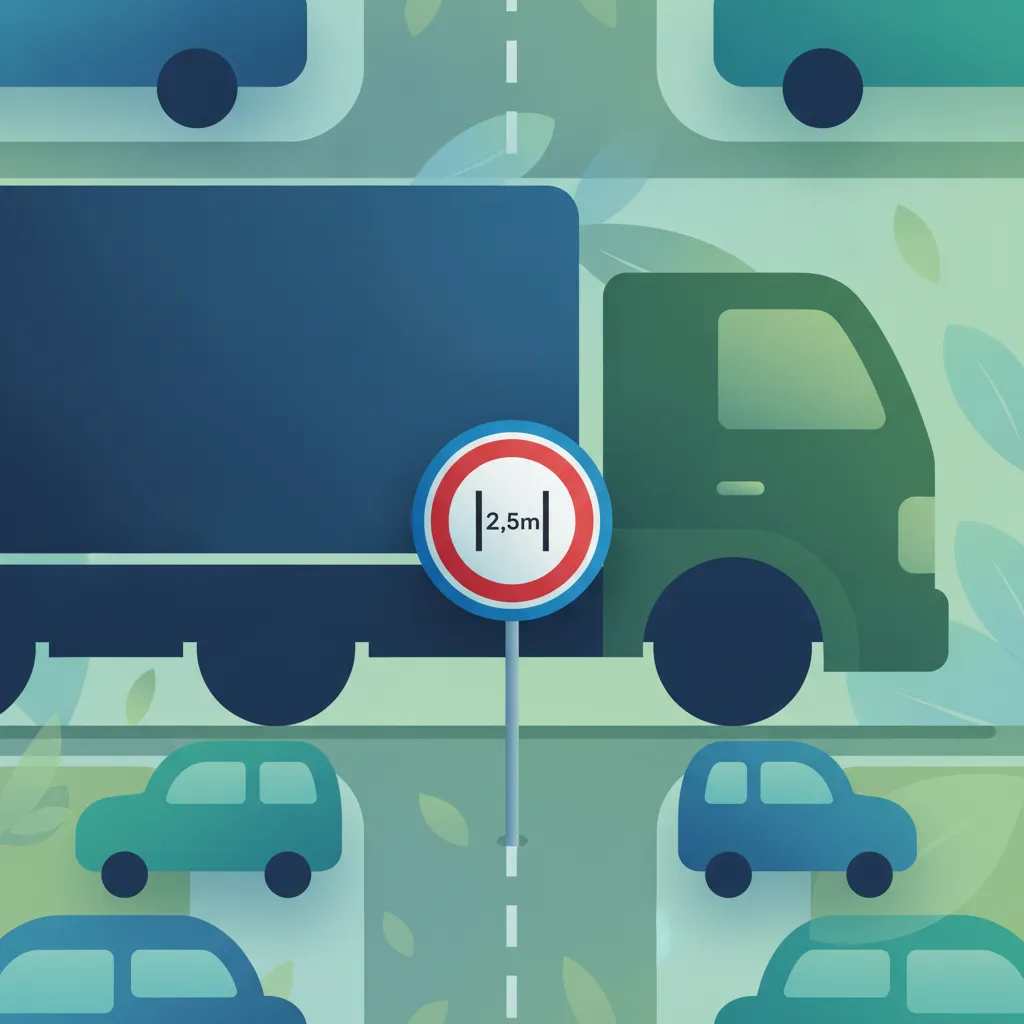
This lesson offers a deep dive into the specific regulations concerning weight, width, and axle load restrictions for goods vehicles. It covers how to read and comply with the associated road signs to avoid overloading weak bridges and entering restricted areas. Learners will understand the importance of correct load assessment and the serious penalties for non-compliance, which are enforced through DVSA roadside inspections and weighbridges.

This lesson explores safe boarding protocols, focusing on correct door operation, managing internal passenger movement, and providing assistance for passengers with reduced mobility. It emphasizes the importance of establishing safety zones near doorways, managing standing passengers during boarding, and using audible alarms. The lesson also covers the proper sequence for wheelchair boarding and the use of loading bays to ensure smooth passenger flow and minimize risks during the boarding process.

This lesson focuses on alighting strategies and correct bus stop positioning to ensure passengers can exit the vehicle safely. Learners will investigate precise kerb alignment, the use of alighting alarms, and procedures for safe passenger disembarkation. Additionally, it covers the critical need for traffic awareness during alighting, such as monitoring mirrors and surrounding traffic, using stop signs, and prioritising the safety of vulnerable road users who may be near the bus.

This lesson focuses on the importance of excellent lane discipline for drivers of large vehicles. It details the rules and best practices for lane selection on motorways and dual carriageways, emphasizing the need to stay in the appropriate lane and signal intentions early. Correct positioning within a lane to maximize safety margins and visibility, especially around vulnerable road users, is a key focus for maintaining professional driving standards.

In this lesson, learners will study the specific signage and markings related to bus stops and designated passenger loading zones. Topics include correct stop approach, positioning the bus for safe boarding and alighting, and the proper use of these areas. Learners will also examine the legal expectations for passenger loading zones, including restrictions on stopping outside these zones and best practices for managing passenger flow safely and efficiently during busy periods.

This lesson examines the physical space a goods vehicle occupies on the road and its impact on maneuvering at junctions, roundabouts, and in tight spaces. Learners will understand the concepts of tail swing and off-tracking, and how to calculate the necessary clearance for safe turns. The content emphasizes maintaining safe distances from other road users and infrastructure, which is a key component of professional spatial awareness and accident prevention.
Explore essential techniques for safely docking heavy goods vehicles under challenging conditions such as rain, fog, or low light. Understand how to adapt procedures to maintain control and prevent accidents.

This lesson details how different adverse weather conditions uniquely affect the handling and stability of a heavy goods vehicle. It covers the increased stopping distances in rain, reduced visibility in fog, severe traction loss on ice, and the dangerous effect of strong crosswinds on high-sided vehicles. You will learn specific techniques for adjusting speed, increasing following distances, and using vehicle controls smoothly to maintain safety in challenging weather.

This lesson equips drivers with strategies for maintaining control of a heavy vehicle during adverse weather conditions like heavy rain, ice, snow, and strong crosswinds. It covers the physics of traction loss, aquaplaning, and skidding, and explains how to use smooth inputs for steering, acceleration, and braking. The function of electronic stability control systems and other driver aids is also discussed as part of a proactive approach to safety in challenging environments.

This lesson explains how different weather conditions impact the handling and stability of a large passenger vehicle. It covers the risks of aquaplaning in heavy rain, the effect of high winds on vehicle stability, and the severe reduction in visibility caused by fog. Learners will understand how ice and snow dramatically increase stopping distances and require extremely gentle control inputs to prevent skidding. Strategies for adapting speed and increasing following distances are emphasized.
This lesson covers the principles of safe loading to prevent items from shifting or falling and causing a hazard. It explains that any load must be securely fastened and must not obstruct your view. You will also learn how overloading or distributing weight incorrectly can dangerously affect the vehicle's steering, braking, and overall stability.

This lesson provides essential advice for driving when weather conditions are poor. It explains how rain can cause aquaplaning and why you must double your following distance. You will also learn techniques for driving in icy conditions, including gentle use of controls to avoid skidding, and the correct use of lights in fog.
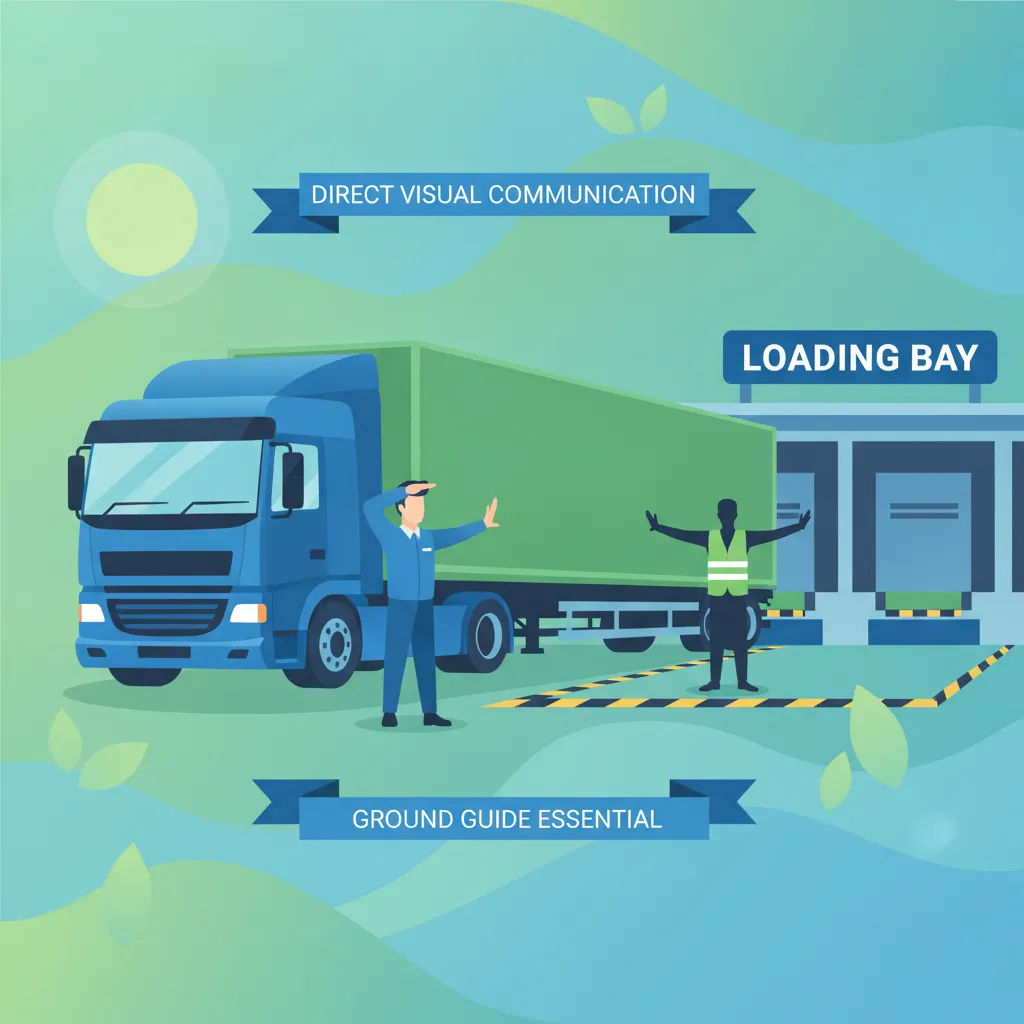
Reversing is one ofthe highest-risk maneuvers for an HGV driver. This lesson provides a structured guide to reversing safely, covering the 'get out and look' principle, effective use of all mirrors, and the use of reversing cameras and alarms. It stresses the importance of using a trained banksman (signaller) whenever possible, using agreed signals, and maintaining a slow, controlled speed throughout the maneuver to prevent accidents.

This lesson addresses the unique challenges of operating a large goods vehicle in congested urban and city environments. It focuses on techniques for navigating narrow streets, making tight turns, and safely accessing delivery points while being highly aware of vulnerable road users like pedestrians and cyclists. The importance of exceptional observation, low-speed control, and clear communication with other road users is heavily emphasized to minimize risk in these complex settings.
This lesson covers the specific procedures for operating within busy bus terminals and service areas. It details the protocols for approaching and parking in allocated bays, managing the safe flow of passengers, and communicating with station staff. The content emphasizes the need for extreme caution and low-speed manoeuvring due to high pedestrian traffic. It also reviews pre-departure checks and communication protocols necessary for efficient and safe terminal operations.

This lesson reinforces the vital safety rule of maintaining an adequate following distance from the vehicle ahead. It explains why the standard 'two-second rule' must be extended for heavy vehicles, especially in poor weather or when heavily laden, to account for longer stopping distances. You will learn practical methods for judging a safe gap in various traffic situations, creating a crucial safety buffer to react to unforeseen hazards.
This lesson focuses on the importance of excellent lane discipline for drivers of large vehicles. It details the rules and best practices for lane selection on motorways and dual carriageways, emphasizing the need to stay in the appropriate lane and signal intentions early. Correct positioning within a lane to maximize safety margins and visibility, especially around vulnerable road users, is a key focus for maintaining professional driving standards.
Find clear answers to common questions learners have about Loading Bay and Docking Geometry. Learn how the lesson is structured, which driving theory objectives it supports, and how it fits into the overall learning path of units and curriculum progression in Great Britain. These explanations help you understand key concepts, lesson flow, and exam focused study goals.
The test often includes situational questions where you must identify the safest path for a large vehicle. Understanding how your vehicle's turning circle and tail-swing interact with dock structures is crucial for avoiding collisions.
Always check for clear ground markings, the presence of a banksman, and any specific height or width restrictions. Ensure you have assessed the clearance required for your specific vehicle configuration before attempting the maneuver.
A banksman is responsible for guiding the driver into the bay. You must establish a clear line of communication, agree on hand signals, and stop immediately if you lose sight of your banksman or if the situation becomes unsafe.
Minimize speed, use your mirrors continuously to monitor clearance, and ensure your vehicle is aligned correctly before backing in. Never rush a docking maneuver, as momentum increases the risk of structural damage.
Dive into our comprehensive question bank to find exactly what you need for your Great Britain theory test. Use our advanced filters to pinpoint specific subjects or test your knowledge on challenging areas, ensuring you're fully prepared for success.