The "Restricted area (white, shaded and framed)" road marking, code 6.20, indicates a designated area on the carriageway where specific driving actions are controlled. This marking requires careful interpretation based on its placement within your lane, and in conjunction with any nearby traffic lights, upright signs, or other road markings. Always assess the full traffic situation before deciding whether you can proceed, stop, or must avoid the marked area.
This essential Swiss road marking, designated 6.20, clearly defines areas where specific driving actions are prohibited. Mastering its interpretation is crucial for accurate theory test revision and safe navigation in Swiss traffic.
This road marking is applied directly to the carriageway, so the driver reads it from the vehicle's position rather than from a roadside post. Swiss markings can control lane choice, crossing, stopping, parking, bus or bicycle priority, pedestrian protection, waiting areas, and restricted surfaces. A professional explanation should state what movement the marking permits, limits, or forbids, then connect it to any nearby upright signs or traffic lights. Official catalogue code: 6.20.
The "Restricted area (white, shaded and framed)" marking is used for restricted area on the carriageway. Drivers must read it from their lane position and combine it with nearby signs, signals, and traffic movement. Catalogue code 6.20.
Get clear, practical answers to the most common questions about the 6.20 - Restricted area (white, shaded and framed) road sign. Learn how the sign works, what rules it represents, and how it affects real driving situations. This FAQ strengthens your understanding and supports accurate decision making for the Swiss driving theory exam in Switzerland.
The 6.20 road marking indicates a specific area on the carriageway that is restricted for driving. You must interpret its meaning based on where it is in your lane and combine it with any accompanying traffic lights or upright signs. It generally means you should not enter, stop, or park in this area unless other signs explicitly permit it.
When you encounter the 6.20 marking, your reaction depends on your lane and intended manoeuvre. You must read it from your lane position and consider any supplementary signs or signals. Generally, you should avoid crossing, stopping, or parking on this marking unless other instructions permit it. Always prioritize instructions from upright signs and traffic lights.
Yes, you might be allowed to drive on or cross the 6.20 restricted area if explicitly permitted by nearby upright signs, traffic lights, or other road markings. For example, a supplementary sign might indicate that this area is for turning only, or that it's a bus lane at certain times. Always confirm permission before entering the marked zone.
A common trap is assuming the marking has no effect if no upright sign is nearby, or failing to combine its meaning with other traffic controls. Learners might also incorrectly assume they can always cross or stop on it. The theory test will check if you understand that road surface markings are instructions you must follow, often in conjunction with other traffic signals and signs.
The 6.20 marking is read from your specific lane position. Its application can be specific to one lane or multiple lanes depending on how it is applied to the carriageway. You must understand how it relates to your current lane and intended direction of travel, combining this with any visible upright signs or traffic light signals before making a decision.
A clear reference image of the 6.20 - Restricted area (white, shaded and framed) road sign used in Switzerland.

The 6.20 - Restricted area (white, shaded and framed) road sign may also be known by these alternative names or terms.
The 6.20 - Restricted area (white, shaded and framed) road sign is part of the Swiss Road Markings category, which groups together signs with similar rules and functions.
Master Swiss road signs by comparing related markings like this 'Restricted area' sign with others you've studied. Understanding subtle differences aids sign recognition and reduces errors during your theory test revision.

Understand the White Solid Security Strip Road Marking (6.01)

Understand the Double Security Strip (6.02-6.03) Road Marking

Understand the Double Strip Road Marking (6.04) and Your Lane Position
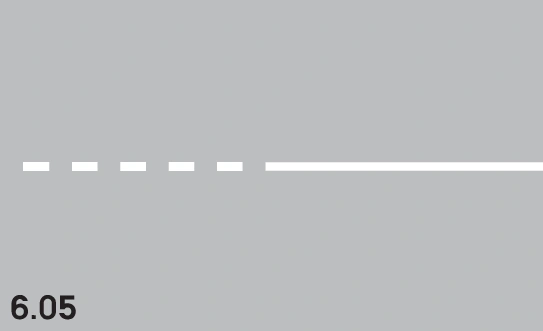
Advance Warning Strip (6.05) – Prepare for Changes Ahead on the Road

Follow the White Pre-selecting Arrows on the Roadway

Understand the Oblique Pull Arrows Road Marking (6.07)

Master the Yellow Bus Lane Marking (6.08) in Switzerland

Follow the Carriageway Guidance of Swiss Road Marking 6.09
After reviewing the full list of Swiss road signs, delve deeper into specific categories, practice recognition with quizzes, or explore detailed explanations for each sign. Continue your comprehensive preparation for the official theory driving test.
View All Swiss Road Signs