This lesson guides you through the technical aspects of braking for moped and light quadricycle riders. Building on your knowledge of vehicle control, you will learn how to adjust your stopping technique to different road surfaces and conditions, ensuring safety and exam success.
Lesson content overview
Braking is one of the most fundamental and critical skills for safe driving, especially for riders of Patente AM vehicles such as mopeds and scooters. The effectiveness of your braking directly influences your ability to avoid collisions, maintain control, and navigate varying road conditions. This lesson provides an in-depth analysis of how different road surfaces affect braking performance, the physics of tire traction, the interaction between front and rear brakes, the vital role of the Anti-lock Braking System (ABS), and the optimal progressive braking approach for maximum safety on Italian roads.
Mastering proper braking techniques is not just about stopping quickly; it's about stopping safely, maintaining vehicle stability, and understanding the limits of your vehicle and the road. This knowledge is essential for reducing collision risk and ensuring you can react appropriately in unexpected situations. It builds upon your understanding of speed management and safe following distances, providing a crucial link to vehicle control and stability, particularly when cornering or encountering adverse weather.
Effective braking relies on a combination of physics, vehicle mechanics, and skilled rider input. Grasping these foundational concepts is key to developing safe and adaptable braking habits on any road surface.
A braking technique involving a sequential and gradual increase of brake pressure, typically starting with the front brake and then adding the rear brake, to maximize tire grip and maintain stability.
Progressive braking is the cornerstone of safe and efficient deceleration. It means applying the brakes gently at first, then gradually increasing pressure as the vehicle's weight shifts forward, transferring more load onto the front wheel. This allows the tires to achieve their maximum grip potential without locking up. For Patente AM vehicles, this technique is crucial because the front brake provides the majority of the stopping power, while the rear brake helps stabilize the vehicle.
The rationale behind progressive braking is rooted in physics: when you brake, the vehicle's inertia causes its weight to shift towards the front. This weight transfer increases the grip available at the front wheel, making it capable of handling more braking force. Simultaneously, the rear wheel becomes lighter, reducing its available grip. Applying the front brake first, and then steadily increasing pressure, allows you to leverage this weight transfer effectively. This method also significantly reduces the risk of rear-wheel lock-up, which can lead to a dangerous skid and loss of control, especially on slippery surfaces.
Tire traction is the force that allows your tires to grip the road, enabling acceleration, braking, and turning. It is the fundamental factor determining how quickly and safely you can stop or change direction. The concept of the friction circle helps illustrate the limits of this traction.
A conceptual diagram illustrating the maximum combined lateral (side-to-side for turning) and longitudinal (front-to-back for acceleration/braking) forces a tire can generate before losing grip.
Imagine a circle on a force diagram. Any combination of braking, accelerating, or turning forces must stay within this circle to maintain traction. If you apply maximum braking force, you are using almost all the available longitudinal grip, leaving very little lateral grip for steering. Conversely, if you are cornering hard, most of your grip is used for lateral force, leaving little for braking or acceleration. Understanding the friction circle implies that heavy braking reduces your ability to steer effectively, and heavy steering reduces your ability to brake or accelerate. Riders must always consider the available grip to avoid exceeding the tire's limits and losing control.
A condition where a vehicle's wheel stops rotating while the vehicle is still in motion, leading to a loss of steering control and typically resulting in a skid.
Wheel lock-up occurs when the braking force applied to a wheel is so great that it overcomes the available static friction between the tire and the road surface, causing the wheel to stop rotating and slide. When a wheel locks, the tire transitions from static friction (the grip when rolling) to kinetic friction (the grip when sliding). Kinetic friction is significantly lower than static friction, meaning a locked, sliding wheel provides less stopping power and, crucially, no directional control. This loss of control can lead to dangerous skids, especially for Patente AM riders who rely heavily on balance.
Preventing wheel lock-up is paramount for safety. On vehicles without ABS, this requires careful modulation of brake pressure, releasing and reapplying the brake slightly if a lock-up is imminent. On ABS-equipped vehicles, the system automatically handles this modulation.
An electronic safety system designed to prevent wheel lock-up during heavy braking by automatically modulating brake pressure, allowing the driver to maintain steering control.
The Anti-lock Braking System (ABS) is a vital safety feature found on many modern Patente AM vehicles. Its primary function is to prevent wheel lock-up during hard or emergency braking, particularly on slippery surfaces. When ABS detects that a wheel is about to lock, it rapidly releases and reapplies brake pressure to that wheel multiple times per second. This pulsing action keeps the wheel rotating, thereby maintaining static friction and allowing the rider to retain steering control while braking maximally.
For riders, ABS means they can apply firm, continuous pressure to the brake lever during an emergency stop without fear of locking the wheels and losing control. The system will take over and optimize braking force. It is important to note that ABS does not eliminate the need for proper braking technique, nor does it defy the laws of physics – stopping distances can still be long on extremely slippery surfaces. However, it significantly enhances safety by preserving steerability.
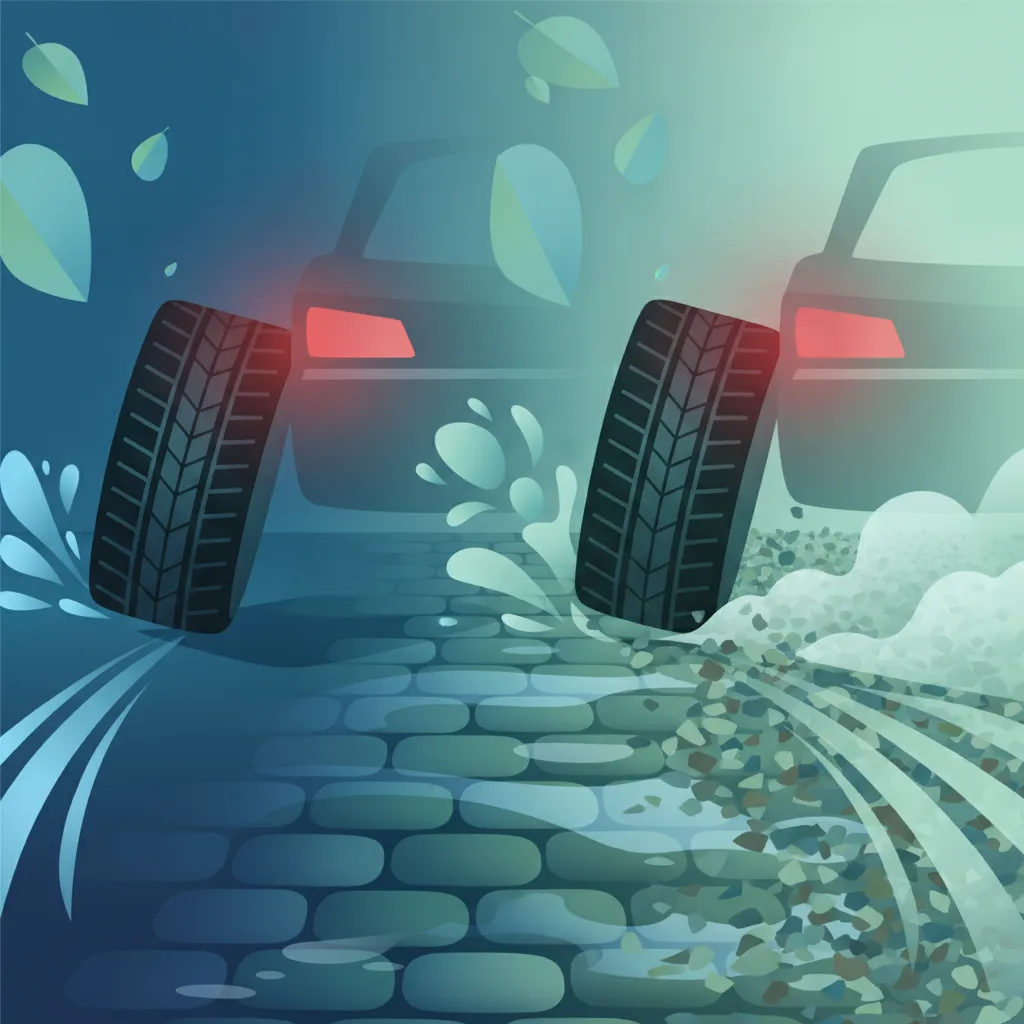
The type and condition of the road surface are the most significant factors influencing braking performance. Each surface offers a different level of friction, directly affecting your stopping distance and the braking force you can apply before losing traction.
The road surface defines how much grip your tires can achieve. Understanding these variations is crucial for adapting your braking strategy.
Always be vigilant for sudden changes in road surface, such as transitioning from dry asphalt to wet leaves, gravel, or construction areas. Anticipate these changes and adjust your speed and braking strategy accordingly.
A dimensionless ratio that represents the amount of friction between two surfaces. In driving, it quantifies the grip between tires and the road surface.
The friction coefficient (μ) is a numerical value that describes how much grip there is between your tires and the road. A higher μ means more grip and shorter braking distances; a lower μ means less grip and longer braking distances.
The μ value varies greatly depending on the surface:
Understanding the friction coefficient reinforces why stopping distances are so drastically different across various conditions. For instance, braking on ice might require more than seven times the distance needed on dry asphalt.
It is crucial for every rider to understand the difference between braking distance and total stopping distance.
The distance a vehicle travels from the moment the brakes are applied until it comes to a complete stop. It does not include the driver's reaction time.
The total distance a vehicle travels from the moment a hazard is perceived until the vehicle comes to a complete stop. It includes both the reaction distance and the braking distance.
Braking Distance is purely the physical distance your vehicle needs to stop once the brakes are engaged. It is affected by:
Stopping Distance is the sum of two components:
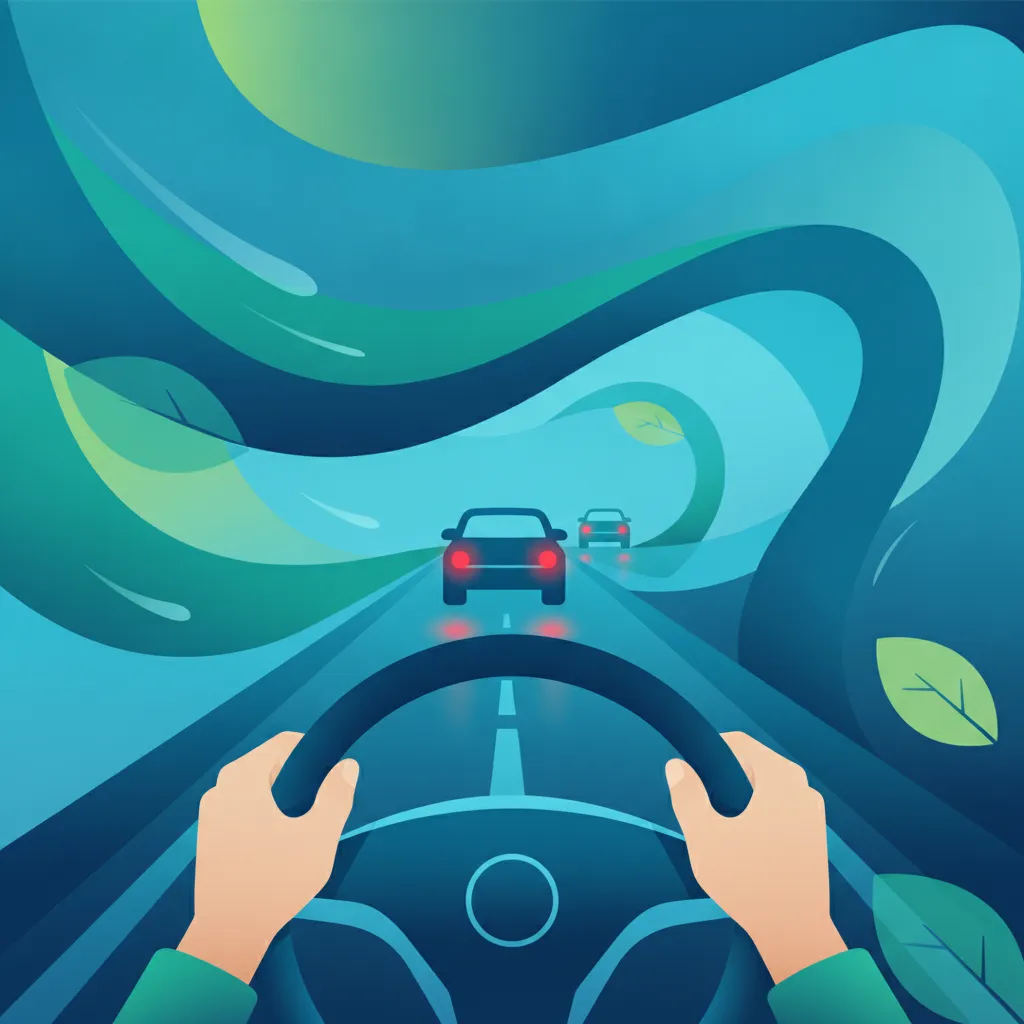
For safe driving, you must always consider the total stopping distance. This is why maintaining a safe following distance is critical – it provides the necessary buffer for both your reaction and your vehicle's braking capability under prevailing conditions.
Developing proficient braking control involves correctly balancing brake application and making the most of safety systems like ABS.
For Patente AM vehicles, achieving the right balance between the front and rear brakes is paramount for stability and efficient stopping.
Initial Phase (Gentle Front Brake): Start by applying gentle pressure to the front brake lever. This initiates weight transfer to the front wheel.
Mid-Phase (Increase Both): As weight transfers, progressively increase pressure on the front brake. Simultaneously, begin to apply pressure to the rear brake lever. The amount of rear brake should be adjusted based on surface conditions – more on slippery surfaces, less on dry.
Final Phase (Maximum Safe Pressure): Continue increasing pressure on both brakes until you achieve maximum safe deceleration, without locking either wheel. If ABS is present, apply firm, continuous pressure.
Practice progressive braking in a safe, controlled environment to develop muscle memory and an understanding of your vehicle's braking limits on various surfaces.
If your Patente AM vehicle is equipped with ABS, understanding its correct operation is vital for maximizing its safety benefits.
The Italian Codice della Strada (Highway Code) contains specific regulations that indirectly govern braking techniques by emphasizing the driver's responsibility to adapt to conditions and maintain safety. Adherence to these rules is mandatory for all Patente AM riders.
Rule Statement: The driver must adapt speed to prevailing road and weather conditions, ensuring the vehicle can be stopped safely within the visible distance and within the limits of one's own field of vision (Codice della Strada Art. 141).
This rule is foundational to safe braking. It mandates that you must always drive at a speed that allows you to react and stop safely, no matter the surface. If the road is wet, icy, or covered in gravel, your speed must be reduced accordingly to account for the increased stopping distance. Failure to do so is a common cause of collisions.
Rule Statement: While not explicitly stating "progressive braking" in a dedicated article for AM vehicles, the Codice della Strada (Art. 149) implicitly requires that drivers manage their vehicle in a manner that ensures safety and prevents skidding, which directly supports the use of progressive braking. Effective vehicle control under all conditions is a legal obligation.
Applying progressive braking is considered best practice and is essential for maintaining control and stability, especially for two-wheeled vehicles. It directly supports the legal requirement to ensure the vehicle can be stopped safely without causing danger to oneself or others.
Rule Statement: The driver must keep a safety distance from the preceding vehicle that allows the vehicle to be stopped safely if the preceding vehicle brakes suddenly, taking into account speed, road conditions, and vehicle type (Codice della Strada Art. 142 and Art. 149).
This rule is directly linked to stopping distance. You must always maintain a gap that gives you enough time to react and enough space to brake, even if the vehicle in front stops abruptly. On wet or slippery roads, this following distance must be significantly increased because your total stopping distance will be longer. Failing to do so can result in rear-end collisions, which are frequently severe for AM riders.
Rule Statement: While the Codice della Strada does not have a specific article dictating the method of using ABS, modern vehicle regulations (such as those derived from European Union UN/ECE R90) require ABS systems to function reliably. Riders of ABS-equipped vehicles are expected to operate their vehicle according to manufacturer instructions to ensure its proper function. This includes applying firm, continuous pressure to the brake lever without pumping.
Proper use of ABS is a matter of vehicle operation safety. Misusing ABS (e.g., pumping the brakes) reduces its effectiveness and can lead to longer stopping distances or loss of control, which can be legally construed as imprudent driving.
Even experienced riders can make mistakes, but understanding common pitfalls can help Patente AM riders avoid dangerous situations.
Rear-wheel lock on wet gravel:
Hard braking without ABS on ice:
Maintaining speed in heavy rain:
Using rear brake only on sandy surfaces:
Pumping brakes on an ABS-equipped scooter:
Neglecting to increase following distance on slippery roads:
Braking heavily during a turn on a low-traction surface:
Using only the front brake on a wet road:
Braking is rarely a static maneuver; it constantly adapts to the dynamic environment around you. Several factors beyond the immediate road surface influence your optimal braking strategy.
When you are near pedestrians, cyclists, or other vulnerable road users, your braking strategy must prioritize their safety.
Mastering braking techniques is a continuous process of learning and adaptation. By internalizing these key principles, Patente AM riders can significantly enhance their safety and control on Italian roads.
This lesson covers the technical and practical aspects of braking for Patente AM mopeds, emphasizing progressive braking as the cornerstone technique for maintaining control. The physics of tire traction, including the friction circle concept and friction coefficient (μ), explain why different road surfaces require adjusted braking strategies. Front brake dominance (70-80% of stopping power) combined with rear brake stabilization creates optimal stopping efficiency. ABS-equipped vehicles require firm, continuous brake pressure rather than manual pumping. Italian traffic law (Codice della Strada) mandates adapting speed and maintaining safe following distances based on road conditions, making these braking principles both a safety requirement and an exam topic.
A short set of high-value points that capture the most important learning from this lesson.
Progressive braking applies gentle front brake pressure first, then gradually increases both front and rear pressure as weight transfers forward during deceleration.
The front brake provides 70-80% of stopping power on mopeds due to weight transfer, while the rear brake primarily stabilizes the vehicle.
Different road surfaces dramatically alter the friction coefficient (μ), with ice offering 5-7 times less grip than dry asphalt.
ABS prevents wheel lock-up by automatically pulsing brake pressure, allowing you to maintain steering control during emergency stops.
Stopping distance equals reaction distance plus braking distance, and braking distance increases with the square of speed (doubling speed quadruples braking distance).
Explore all units and lessons included in this driving theory course.
On slippery surfaces (wet, gravel, ice), increase rear brake proportion slightly and apply pressure more gently to prevent lock-up.
When ABS activates, you will feel pulsation through the brake lever—this is normal; maintain firm, continuous pressure without pumping.
Total stopping distance must fit within your visible distance and field of vision according to Codice della Strada Art. 141.
Worn tires, heavy loads, and downhill gradients all increase braking distance beyond what speed alone suggests.
Heavy braking during a turn uses up lateral grip, leaving no room for steering and causing slides on low-traction surfaces.
Pumping the brakes on an ABS-equipped vehicle, which disrupts the system's automatic modulation and extends stopping distances.
Applying heavy rear brake pressure on wet gravel, which causes rear-wheel lock-up and loss of stability.
Maintaining dry-road following distances on slippery surfaces, leading to rear-end collisions when stops take longer than expected.
Using only the front brake on wet roads without rear brake assistance, risking front-wheel lock-up and loss of steering.
Braking heavily mid-corner on low-traction surfaces, exceeding the friction circle and causing the vehicle to slide out.
Lesson content overview
A short set of high-value points that capture the most important learning from this lesson.
Progressive braking applies gentle front brake pressure first, then gradually increases both front and rear pressure as weight transfers forward during deceleration.
The front brake provides 70-80% of stopping power on mopeds due to weight transfer, while the rear brake primarily stabilizes the vehicle.
Different road surfaces dramatically alter the friction coefficient (μ), with ice offering 5-7 times less grip than dry asphalt.
ABS prevents wheel lock-up by automatically pulsing brake pressure, allowing you to maintain steering control during emergency stops.
Stopping distance equals reaction distance plus braking distance, and braking distance increases with the square of speed (doubling speed quadruples braking distance).
Explore all units and lessons included in this driving theory course.
On slippery surfaces (wet, gravel, ice), increase rear brake proportion slightly and apply pressure more gently to prevent lock-up.
When ABS activates, you will feel pulsation through the brake lever—this is normal; maintain firm, continuous pressure without pumping.
Total stopping distance must fit within your visible distance and field of vision according to Codice della Strada Art. 141.
Worn tires, heavy loads, and downhill gradients all increase braking distance beyond what speed alone suggests.
Heavy braking during a turn uses up lateral grip, leaving no room for steering and causing slides on low-traction surfaces.
Pumping the brakes on an ABS-equipped vehicle, which disrupts the system's automatic modulation and extends stopping distances.
Applying heavy rear brake pressure on wet gravel, which causes rear-wheel lock-up and loss of stability.
Maintaining dry-road following distances on slippery surfaces, leading to rear-end collisions when stops take longer than expected.
Using only the front brake on wet roads without rear brake assistance, risking front-wheel lock-up and loss of steering.
Braking heavily mid-corner on low-traction surfaces, exceeding the friction circle and causing the vehicle to slide out.
Explore search topics learners often look for when studying Braking Techniques on Various Road Surfaces. These topics reflect common questions about road rules, driving situations, safety guidance, and lesson level theory preparation for learners in Italy.
Browse additional driving theory lessons that cover connected traffic rules, road signs, and common driving situations related to this topic. Improve your understanding of how different rules interact across everyday traffic scenarios.
Explore the advanced application of Anti-lock Braking System (ABS) for Patente AM vehicles. Understand how ABS works and how to use it effectively on different road surfaces to maintain optimal control and safety during braking.

This lesson provides an in-depth analysis of motorcycle braking systems, clearly defining the distinct roles of the front and rear brakes. It covers the mechanics of hydraulic disc brakes and explains the function and benefits of an Anti-lock Braking System (ABS). Learners will understand the principles of brake balance for achieving maximum stopping power and the importance of routine maintenance on pads, discs, and fluid.

This lesson explains the function of the vehicle's braking system and key active safety technologies. It details how the Anti-lock Braking System (ABS) prevents wheels from locking during hard braking, allowing the driver to maintain steering control. The content also covers Electronic Stability Control (ESC), which helps prevent skidding by automatically applying brakes to individual wheels to stabilize the vehicle.

This lesson teaches the critical skill of executing a rapid and controlled stop in an emergency. It covers the technique of applying firm, progressive pressure to the brakes to achieve maximum deceleration without locking the wheels, both in a straight line and while cornering. The content also explains how Anti-lock Braking Systems (ABS) function in these scenarios and the correct body posture to maintain stability.
This lesson teaches riders how to maintain a safe following distance using the two-second rule, which accounts for reaction time and braking distance. It covers grip management, explaining how tire condition and road surfaces like wet asphalt affect traction. Mastering these concepts is essential for anticipating hazards and preventing rear-end collisions.

This lesson focuses on auxiliary or 'endurance' braking systems designed to manage vehicle speed on long downgrades, reducing the risk of service brake overheating. It explains the operating principles of engine brakes (compression release brakes), hydrodynamic retarders, and exhaust brakes. Learners will understand when and how to use these powerful tools to maintain a safe, controlled speed and preserve the service brakes for when they are most needed.

This lesson equips riders with the correct procedures to follow in the event of a breakdown or accident. It covers how to move the vehicle to a safe location, alert other traffic, and contact emergency services using the universal 112 number. You will also learn the basics of accident scene management and the necessary steps for reporting the incident to police and insurance.

This lesson covers the techniques for executing a controlled emergency stop in a heavy goods vehicle. It explains the function of Anti-lock Braking Systems (ABS) in preventing wheel lock-up and maintaining steering control during maximum braking effort. Learners will understand how to brace for the effects of rapid deceleration and anticipate potential load shifts, focusing on bringing the vehicle to a stop as quickly and safely as possible.

This lesson focuses on the factors that determine a motorcycle's total stopping distance: perception time, reaction time, and braking distance. It provides a clear understanding of how speed exponentially increases the distance required to come to a complete stop. Learners will be able to apply principles like the two-second rule to maintain a safe and appropriate following distance in various traffic situations.

This lesson addresses the dynamics of cornering and maintaining stability on an AM vehicle, especially at lower speeds. It explains the importance of selecting an appropriate entry speed, using the correct lean angle, and smoothly accelerating out of a turn. You will also learn how factors like road camber and tire pressure affect grip and control while navigating curves.

This lesson emphasizes the rider's responsibility to ensure their vehicle is in safe, working order through regular maintenance and pre-ride checks. It outlines a simple yet effective routine for inspecting critical components like tires, brakes, lights, and mirrors. Performing these checks helps prevent mechanical failures and ensures the vehicle is always compliant and roadworthy.
Learn about frequent errors riders make when braking on various surfaces, including wheel lock-up and ABS misuse. Understand how to prevent these mistakes to ensure safe stopping and vehicle control according to Italian driving theory.
This lesson teaches riders how to maintain a safe following distance using the two-second rule, which accounts for reaction time and braking distance. It covers grip management, explaining how tire condition and road surfaces like wet asphalt affect traction. Mastering these concepts is essential for anticipating hazards and preventing rear-end collisions.

This lesson explains how to execute left turns, right turns, and U-turns safely while maintaining correct lane discipline. It covers interpreting road markings and arrows, selecting the proper vehicle position, and using signals in a timely manner. Performing shoulder checks to monitor blind spots before and during a turn is a key focus for preventing collisions.
This lesson equips riders with the correct procedures to follow in the event of a breakdown or accident. It covers how to move the vehicle to a safe location, alert other traffic, and contact emergency services using the universal 112 number. You will also learn the basics of accident scene management and the necessary steps for reporting the incident to police and insurance.

This lesson focuses on non-verbal communication techniques essential for safe riding. It covers how to use eye contact, headlights, and hand signals to convey intentions to drivers, pedestrians, and cyclists. Understanding how to interact and negotiate space in traffic through clear communication helps prevent accidents and promotes a smoother traffic flow.

This lesson addresses high-risk behaviors often associated with young and inexperienced riders. It highlights the dangers of distractions like mobile phone use, the influence of peer pressure, and the severe consequences of speeding or riding under the influence of substances. Understanding these risks is the first step toward developing a mature and responsible approach to riding.

This lesson details how to safely approach and enter intersections by correctly interpreting traffic lights, stop signs, and give-way rules. It emphasizes the importance of scanning for hazards, checking blind spots, and anticipating the actions of other road users. You will learn to adjust your speed and position your vehicle correctly to navigate crossings without incident.

This lesson provides detailed instruction on performing effective shoulder checks to supplement mirror use, ensuring a clear path before turning or changing lanes. It covers the proper and timely use of electronic indicators and hand signals to communicate your intentions to other drivers. Correct signaling is crucial for preventing misunderstandings and collisions on the road.

This lesson provides critical guidance on how to safely share the road with vulnerable users, including pedestrians, cyclists, motorcyclists, and children. It highlights the importance of increased awareness in specific areas like school zones and crosswalks. The content teaches techniques for maintaining a safe lateral distance when overtaking, checking blind spots thoroughly, and anticipating the often unpredictable movements of these users.

This lesson addresses the significant risk posed by parked vehicles, particularly the hazard of drivers opening their doors into traffic. You will learn to maintain a safe lateral distance when passing parked cars and to actively scan for signs of occupancy. This proactive approach helps prevent dangerous "dooring" incidents and ensures safe passage in urban environments.
This lesson addresses the dynamics of cornering and maintaining stability on an AM vehicle, especially at lower speeds. It explains the importance of selecting an appropriate entry speed, using the correct lean angle, and smoothly accelerating out of a turn. You will also learn how factors like road camber and tire pressure affect grip and control while navigating curves.
Find clear answers to common questions learners have about Braking Techniques on Various Road Surfaces. Learn how the lesson is structured, which driving theory objectives it supports, and how it fits into the overall learning path of units and curriculum progression in Italy. These explanations help you understand key concepts, lesson flow, and exam focused study goals.
Using both brakes ensures the most effective and stable deceleration. Relying only on one can lead to loss of control, especially on slippery surfaces where the weight distribution of the vehicle shifts quickly.
No, ABS prevents wheel lock-up during hard braking, allowing you to maintain steering control, but it does not remove the need for safe following distances or adjusting your speed according to road conditions.
Loose surfaces provide significantly less grip than dry asphalt. You must increase your following distance and apply brakes more gradually, as sudden force will cause the wheels to lose traction immediately.
Yes, the theory exam often includes scenarios testing your knowledge of how speed, road surface, and braking technique interact to determine the total stopping distance of your vehicle.
Start searching now to pinpoint exactly which Italian driving theory topics, road signs, or traffic rules you need to master. Use our advanced filters to build a custom practice session and ensure you're fully prepared for every aspect of your official driving licence exam.