
This lesson explores how to increase your visibility on the road, a vital skill for every moped rider in Iceland. By mastering the use of reflective materials, clothing, and proper light positioning, you will enhance your safety and reduce the risk of collisions. This knowledge is essential for both your theory exam and your future as a confident rider.
Lesson content overview
Riding a moped (Category AM) on Icelandic roads requires not only skill and adherence to traffic laws but also a proactive approach to safety. A crucial aspect of moped safety, especially given the vehicle's smaller profile, is ensuring that you are seen by other road users. This lesson delves into various methods to enhance your visibility, covering everything from specialized clothing and reflective gear to effective lighting and strategic road positioning. By mastering these techniques, you significantly reduce the risk of collisions and contribute to a safer riding experience for everyone.
Visibility, often referred to as conspicuity, is the degree to which you, as a moped rider, are easily noticed by others under all driving conditions. For moped riders, being highly visible is a primary preventive safety measure. Mopeds are smaller and lighter than cars, making them inherently less noticeable. This reduced conspicuity can lead to other drivers overlooking a moped, especially in complex traffic situations, at intersections, or during adverse weather.
Enhancing your visibility directly increases the detection distance and duration for other road users. This means drivers, cyclists, and pedestrians have more time to perceive your presence, understand your movements, and react appropriately. Early detection allows for greater reaction time, which is critical in preventing accidents. Statistics consistently show that riders who actively enhance their visibility are significantly less likely to be involved in collisions. Therefore, understanding and applying visibility techniques is not just recommended; it is fundamental to safe moped operation.
High-visibility, or "hi-vis," clothing is specifically designed to make a person more conspicuous. This type of apparel typically incorporates two key elements: fluorescent materials and retroreflective materials.
Fluorescent colors, such as bright yellow, orange, or lime green, are exceptionally effective during daylight and twilight hours. These colors appear brighter than other colors because they absorb invisible ultraviolet (UV) light and re-emit it as visible light, effectively having a higher brightness than ordinary pigments. This effect makes fluorescent clothing "pop" against typical road backgrounds, which are often duller in color, drawing the eye of other drivers.
When selecting hi-vis clothing, prioritize garments that offer 360-degree coverage, ensuring you are visible from all angles. This can include:
While high-visibility clothing is not legally mandated for moped riders in Iceland, it is strongly recommended as a proactive safety measure. It's a simple yet highly effective way to increase your daytime presence on the road.
Always choose fluorescent colors that contrast well with typical Icelandic weather conditions. For instance, yellow or orange stands out well against snow and grey skies.
A common mistake is assuming that any bright color provides sufficient visibility. While a bright blue or red shirt is certainly more visible than a black one, it lacks the specialized light-emitting properties of fluorescent materials, which are engineered for maximum conspicuity. Furthermore, some riders neglect the combination of fluorescent and reflective elements, which are crucial for round-the-clock protection.
Unlike fluorescent materials that glow in daylight, retroreflective materials work by reflecting light directly back to its source. This means when a vehicle's headlights illuminate a retroreflective strip on your clothing or moped, the light is bounced straight back to the driver, making you appear exceptionally bright in their field of vision. This "cat's eye" effect is paramount for nighttime visibility or in low-light conditions.
Material designed to reflect light back precisely towards its source, making it highly visible when illuminated by headlights or other light sources, especially in darkness.
Retroreflective materials come in various forms, offering flexible application options:
For optimal effectiveness, reflective elements should be strategically placed in areas most likely to be illuminated by other vehicles' headlights. This includes:
The goal is to create a full, identifiable outline of yourself and your moped from all directions. Even small strips can make a significant difference. Remember, reflective materials need to be clean to work effectively, as dirt and grime can drastically reduce their light-returning properties.
Do not rely solely on reflective materials during the day. They are primarily effective when illuminated by an external light source and do not offer the same daytime conspicuity as fluorescent colors. Conversely, fluorescent materials offer little to no visibility in darkness without the aid of reflective strips. Use both in combination for maximum safety.
Proper vehicle lighting is a cornerstone of moped visibility, both for you to see and for others to see you. Icelandic traffic law has specific requirements for moped lighting.
Daytime Running Lights (DRL) are low-intensity lights located at the front of a vehicle that automatically switch on when the engine is running. Their sole purpose is to increase the vehicle's conspicuity during daylight hours. They are not designed to illuminate the road but rather to make your moped more noticeable to other drivers, especially those approaching from the front.
Low-intensity front lights that are automatically activated during daylight hours to increase a vehicle's visibility to other road users, without illuminating the road itself.
While DRL are optional for mopeds under Icelandic law, they are highly recommended for enhanced safety. They offer a constant, attention-grabbing presence that can be easily overlooked if only relying on high-visibility clothing alone, particularly in varying light conditions or busy urban environments.
Position lights, also known as side lights or parking lights, consist of white lights at the front and red lights at the rear of your moped. They indicate the lateral dimensions of your vehicle, making its presence and width clear to other road users.
According to Icelandic traffic law, position lights must be illuminated whenever driving in reduced visibility conditions, such as fog, heavy rain, or dusk. They are distinct from headlights, which are much brighter and designed to illuminate the road ahead.
Do not confuse DRL with position lights or headlights. DRL are for daytime visibility only. Position lights are for reduced visibility when driving or when parked in low-light conditions. Headlights are for illuminating the road and for use in darkness or very poor visibility.
Headlights and tail lights are your moped's primary illumination and conspicuity tools, especially crucial during darkness and adverse weather.
Icelandic traffic law mandates that headlights must be on from half an hour after sunset until half an hour before sunrise, and during any adverse weather conditions that reduce visibility.
Using high beam inappropriately can dazzle and temporarily blind other drivers, leading to dangerous situations. It is mandatory to dim your headlights to low beam when approaching an oncoming vehicle or when following another vehicle within 50 meters.
The rear red light is crucial for visibility from behind. Icelandic traffic law stipulates that the rear red light must be illuminated whenever your moped is in motion. This ensures that following traffic can easily detect your presence and maintain a safe following distance.
A bright red light, distinct from the standard tail light, designed to make the rear of a vehicle more visible to following traffic in conditions of severe reduced visibility, such as dense fog.
Some mopeds may also be equipped with a rear fog light. This is a significantly brighter red light than the standard tail light and should only be used in very dense fog or severely reduced visibility conditions. Misusing the rear fog light in clear conditions can dazzle drivers behind you. In Iceland, the use of flashing front or rear lights while moving on public roads is strictly prohibited.
Beyond clothing and lighting, your physical position on the road plays a vital role in how visible you are to others. Strategic positioning aims to maximize your visual exposure to other drivers and minimize the time you spend in their blind spots.
A blind spot is an area around a vehicle that a driver cannot see using their mirrors. Due to their smaller size, moped riders are particularly susceptible to being "hidden" in these areas. For cars, common blind spots are typically to the rear-sides, not directly visible in the side mirrors. For larger vehicles like trucks or buses, blind spots can be extensive, encompassing large areas around the front, sides, and rear.
Riding in the correct lane position can significantly increase your visibility:
While Icelandic law does not dictate a precise lane position for mopeds, it's a generally accepted safety guideline, often referred to as the "two-meter rule" in some contexts, that riders should maintain a safe lateral distance from the edge of the carriageway, especially when being overtaken or overtaking slower traffic. This provides a safety margin and prevents you from being pushed too close to the curb or into potential hazards. More broadly, it encourages safe lateral distance when interacting with other road users.
Maintaining awareness of surrounding traffic and anticipating potential blind spots is a core component of defensive riding. If you cannot see a driver's face in their mirror, they likely cannot see you.
Iceland's unique and often rapidly changing weather demands flexible visibility tactics. Conditions like rain, fog, snow, and even sun glare can drastically affect how well you are seen.
Rain significantly reduces visibility for all road users. Wet roads reflect light differently, often creating glare that can obscure small vehicles.
Fog dramatically reduces detection distances. Special measures are required:
Snow presents similar challenges to fog, often compounded by low contrast against snowy landscapes.
While seemingly a clear weather condition, intense sun glare can be just as dangerous as fog, effectively blinding drivers.
Adhering to Icelandic traffic law is not just a legal obligation but a fundamental safety practice. Several sections of the Icelandic Road Traffic Act (§118-§122) directly address vehicle lighting and contribute to overall visibility.
Compliance with these regulations ensures your moped meets the minimum legal standards for visibility and significantly reduces your risk of being involved in an incident due to poor conspicuity.
Even experienced riders can sometimes make errors regarding visibility. Being aware of these common pitfalls can help you maintain optimal safety.
Before every ride, conduct a quick "visibility check." Ensure all lights are working, your helmet and gear are clean, and your chosen attire is appropriate for the lighting and weather conditions.
Understanding the science behind visibility reinforces the importance of these techniques.
Studies consistently demonstrate that factors like high-visibility clothing and the use of daytime running lights significantly reduce the risk of accidents for vulnerable road users like moped riders. Riders who actively engage in visibility-enhancing practices also tend to foster a more proactive and risk-aware mindset, contributing to overall safer riding habits.
Let's look at how these concepts apply in real-world situations.
In this setting, the rider should activate their Daytime Running Lights (DRL) and wear a fluorescent yellow or orange high-visibility jacket. This ensures they are easily spotted by pedestrians, cyclists, and drivers, especially those making turns or changing lanes. Relying solely on a dark helmet or jacket would make the rider blend into the urban background, increasing the risk of being overlooked.
As visibility starts to decrease due to dusk and rain, the rider must switch on their low beam headlights and rear red light, as mandated by Icelandic law. Wearing a reflective vest over their jacket would be crucial, as the wet conditions can reduce contrast. The retroreflective strips on the vest would brightly reflect the headlights of following vehicles, making the rider distinctly visible. Failing to use lights or reflective gear would drastically shorten the detection distance for others.
In such conditions, the rider must activate their position lights and, if equipped, their rear fog light. A high-visibility vest with prominent reflective tape is paramount. The reflective strips will reflect the limited light from other vehicles' headlights, making the moped's silhouette noticeable through the fog. Riding with only low beams would be insufficient, as fog tends to scatter headlight beams, diminishing their effectiveness. Reduced speed is also vital.
Mastering visibility techniques is paramount for any moped rider in Iceland. It's a multi-faceted approach combining equipment, vehicle features, and strategic riding practices.
By consistently applying these techniques, you become a more conspicuous and therefore safer moped rider, contributing to a better and more secure environment for all road users.
Moped visibility is a multi-layered safety strategy combining fluorescent clothing for daytime conspicuity with retroreflective materials for nighttime detection. Icelandic law mandates working headlights and rear red lights whenever riding in reduced visibility or darkness, while DRL enhance daytime presence. Strategic road positioning away from the curb reduces blind spot exposure. Weather conditions in Iceland—rain, fog, snow, and sun glare—require adaptive use of lighting and high-vis gear. Riders must remember that fluorescent and reflective elements serve different purposes and should be combined, and that flashing lights are prohibited while moving.
A short set of high-value points that capture the most important learning from this lesson.
Fluorescent materials work best in daylight by absorbing UV light and re-emitting it as visible light, making riders stand out against dull road backgrounds.
Retroreflective materials bounce light back to its source, creating the 'cat's eye' effect that makes riders highly visible when illuminated by vehicle headlights.
Daytime Running Lights (DRL) enhance conspicuity during daylight hours and are highly recommended even though not legally required for mopeds in Iceland.
Strategic lane positioning—riding slightly away from the curb—maximizes visibility and minimizes time spent in drivers' blind spots.
Icelandic law mandates low beam headlights from half an hour after sunset until half an hour before sunrise, and in any adverse weather reducing visibility.
Explore all units and lessons included in this driving theory course.
Fluorescent clothing is ineffective in darkness without retroreflective elements and working lights—combine both for round-the-clock protection.
Position lights indicate vehicle width and must be used in fog, heavy rain, or dusk; they are distinct from headlights and DRL.
High beam must be dimmed to low beam when within 50 meters of oncoming traffic or when following another vehicle.
Flashing lights while moving on public roads are strictly prohibited in Iceland—rear and front lights must remain steady.
If you cannot see a driver's face in their mirror, they likely cannot see you.
Relying solely on bright colored clothing at night—fluorescent materials need reflective elements and lights to be effective in darkness.
Forgetting to activate headlights and rear light during dusk or dawn transitions when ambient light is fading.
Using flashing rear lights while moving, which is illegal in Iceland and can confuse other drivers.
Positioning too close to the curb, which puts riders into drivers' peripheral blind spots and makes them easy to overlook.
Neglecting to clean lights and reflective gear—dirt, dust, and snow drastically reduce their effectiveness.
Lesson content overview
A short set of high-value points that capture the most important learning from this lesson.
Fluorescent materials work best in daylight by absorbing UV light and re-emitting it as visible light, making riders stand out against dull road backgrounds.
Retroreflective materials bounce light back to its source, creating the 'cat's eye' effect that makes riders highly visible when illuminated by vehicle headlights.
Daytime Running Lights (DRL) enhance conspicuity during daylight hours and are highly recommended even though not legally required for mopeds in Iceland.
Strategic lane positioning—riding slightly away from the curb—maximizes visibility and minimizes time spent in drivers' blind spots.
Icelandic law mandates low beam headlights from half an hour after sunset until half an hour before sunrise, and in any adverse weather reducing visibility.
Explore all units and lessons included in this driving theory course.
Fluorescent clothing is ineffective in darkness without retroreflective elements and working lights—combine both for round-the-clock protection.
Position lights indicate vehicle width and must be used in fog, heavy rain, or dusk; they are distinct from headlights and DRL.
High beam must be dimmed to low beam when within 50 meters of oncoming traffic or when following another vehicle.
Flashing lights while moving on public roads are strictly prohibited in Iceland—rear and front lights must remain steady.
If you cannot see a driver's face in their mirror, they likely cannot see you.
Relying solely on bright colored clothing at night—fluorescent materials need reflective elements and lights to be effective in darkness.
Forgetting to activate headlights and rear light during dusk or dawn transitions when ambient light is fading.
Using flashing rear lights while moving, which is illegal in Iceland and can confuse other drivers.
Positioning too close to the curb, which puts riders into drivers' peripheral blind spots and makes them easy to overlook.
Neglecting to clean lights and reflective gear—dirt, dust, and snow drastically reduce their effectiveness.
Explore search topics learners often look for when studying Visibility Techniques and Reflective Materials. These topics reflect common questions about road rules, driving situations, safety guidance, and lesson level theory preparation for learners in Iceland.
Browse additional driving theory lessons that cover connected traffic rules, road signs, and common driving situations related to this topic. Improve your understanding of how different rules interact across everyday traffic scenarios.
Understand essential Icelandic traffic laws regarding headlights, rear lights, and position lights for mopeds. Learn how proper lighting and visibility techniques enhance safety and prevent accidents on Icelandic roads.
This lesson addresses the unique challenges of riding at night, including reduced visibility and altered depth perception. It covers the correct use of lighting systems, the critical role of reflective gear, and strategies to maximize conspicuity. Riders will also learn to identify hazards specific to low-light conditions, such as animals or unlit obstacles on the road.
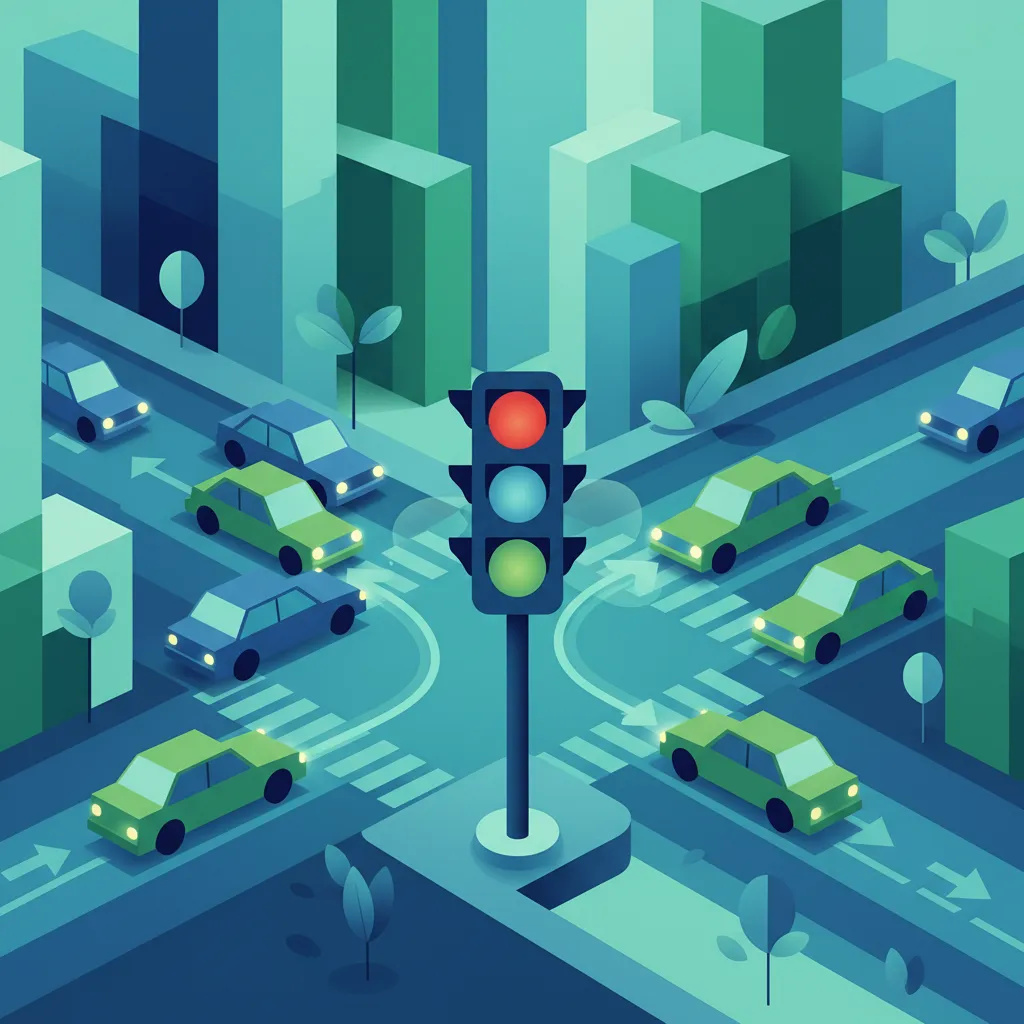
This lesson dissects the three-color traffic light system, detailing the meaning of red, amber, and green signals, including flashing lights and directional arrows. It explains how signal timing impacts moped riders and the legal requirement to obey all signals at intersections. Proper interpretation is crucial for navigating signalized junctions safely and avoiding conflicts with other traffic.
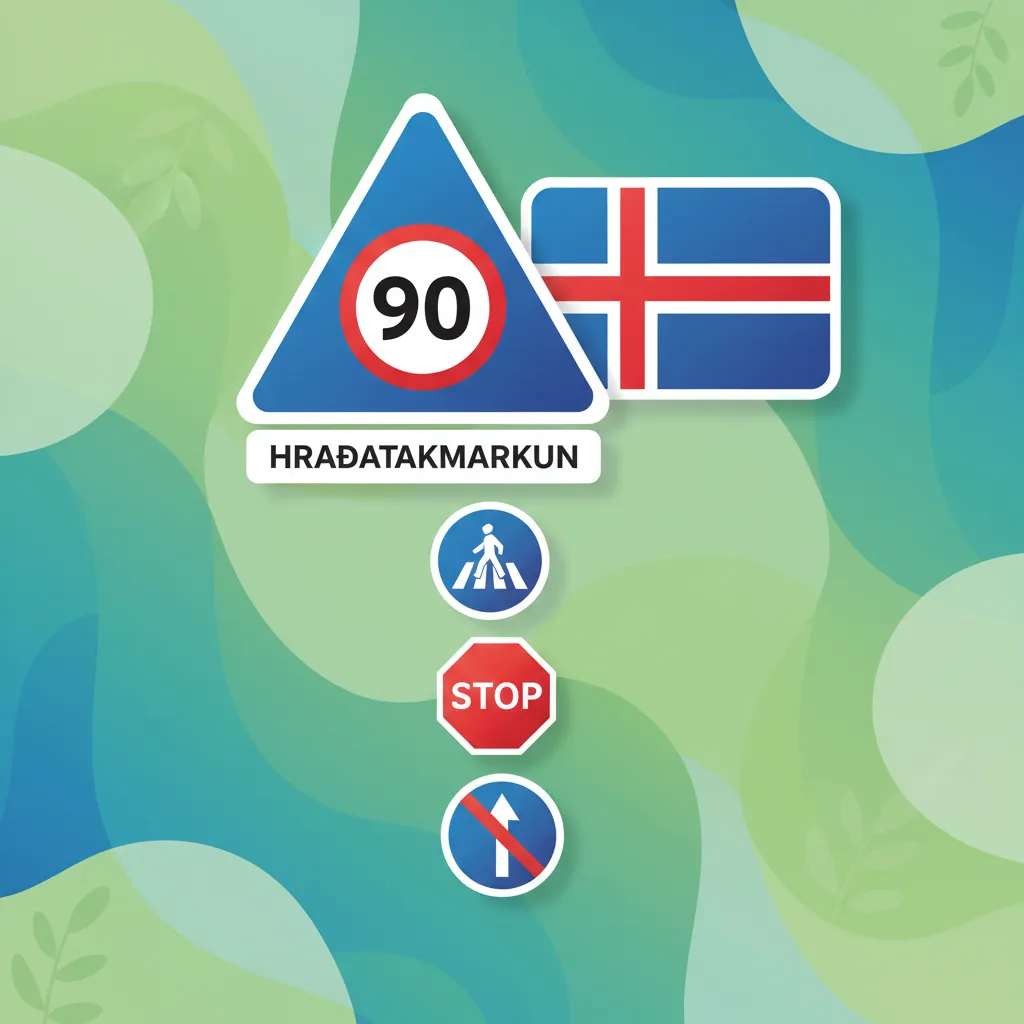
This lesson provides a contextual overview of Iceland's traffic law hierarchy, explaining how national statutes, road codes, and local rules interact. Learners will understand the precedence of national laws and how to interpret regulations in different jurisdictions. This knowledge ensures riders can correctly apply the relevant rules in any driving scenario, ensuring consistent legal compliance.
This lesson focuses on interpreting road surface markings, including solid and broken lines that govern lane changes and positioning. Learners will understand the rules associated with turning arrows, pedestrian crossings, and markings for dedicated lanes. Correctly reading these markings is essential for maintaining proper lane discipline and navigating complex road layouts safely.
This lesson covers the extensive obligations that come with riding a moped, emphasizing the duty of care to other road users. It details specific legal requirements, such as mandatory helmet use, adherence to speed limits, and correct signaling protocols. Understanding these responsibilities helps riders grasp the consequences of non-compliance and fosters a culture of safety on the road.
This lesson examines regulatory signs that impose legal obligations, focusing on those most relevant to moped riders like speed limits and mandatory direction signs. Learners will understand how sign shapes and colors convey specific commands or prohibitions. Attention is given to signs with vehicle-specific restrictions, ensuring riders know when rules apply directly to them.
This lesson details how various weather conditions impact moped stability, traction, and visibility. It provides practical strategies for handling crosswinds, avoiding hydroplaning in rain, and maintaining grip on icy or snowy surfaces. Riders will learn to assess weather-related risks and adapt their speed and control inputs to navigate challenging conditions safely.
This lesson familiarizes learners with signs that warn of upcoming hazards, such as sharp curves, slippery surfaces, or animal crossings. It emphasizes the importance of early hazard recognition and response, which is especially critical for vulnerable moped riders. Understanding these signs allows riders to anticipate road conditions and adjust their riding strategy accordingly for increased safety.
This lesson covers the strict rules governing pedestrian crossings and school zones, where riders have a heightened duty of care. It details the obligation to yield to pedestrians, recognize school zone signage, and reduce speed significantly. Riders learn to be extra vigilant for the unpredictable movements of children and other vulnerable road users in these sensitive areas.
This lesson outlines best practices for positioning a moped on urban roads to maximize visibility and safety. It explains how to choose a lane position that makes you visible to drivers ahead and behind, while avoiding road debris and dooring hazards from parked cars. The content addresses adapting your position based on traffic speed, density, and road conditions.
Learn about frequent errors moped riders make regarding visibility and lighting. Explore practical scenarios to understand how to improve conspicuity and prevent accidents in various Icelandic road and weather conditions.
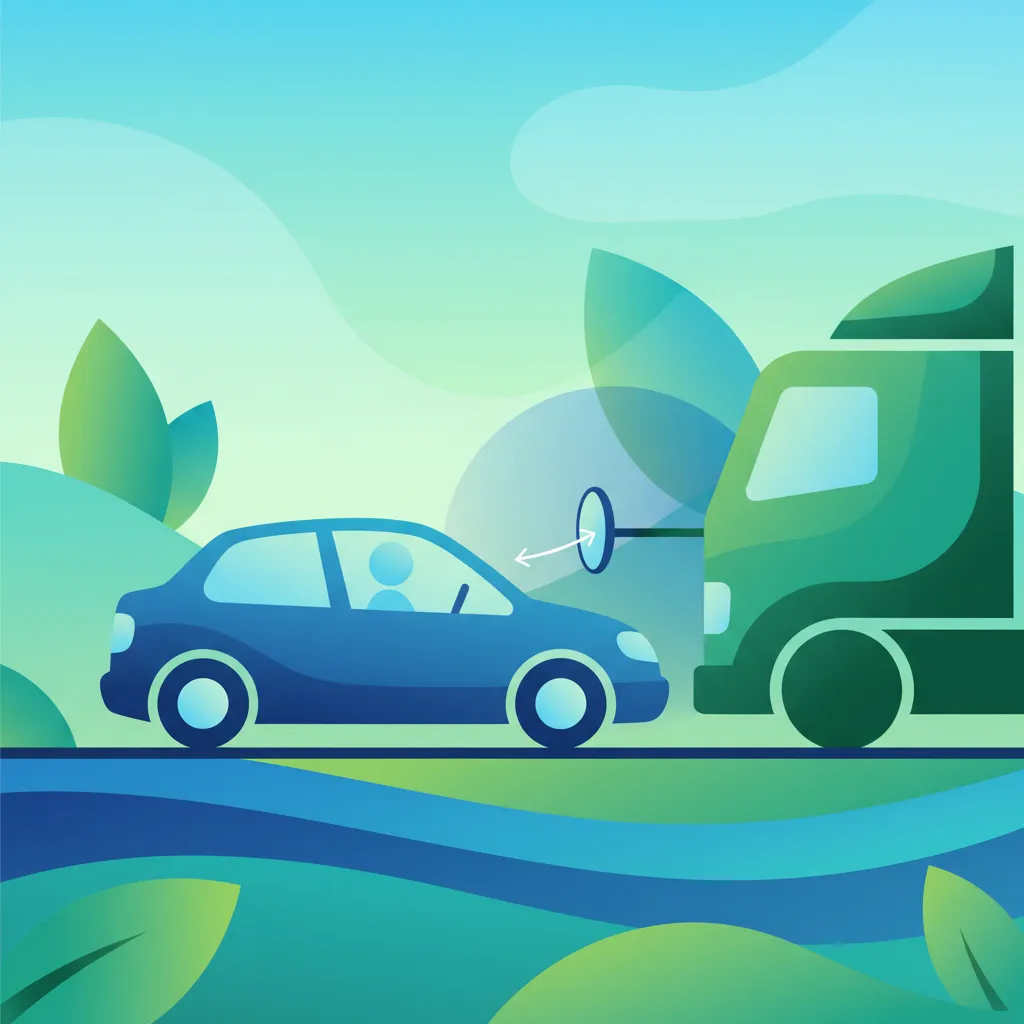
This lesson explores the blind spot zones of cars, trucks, and buses, highlighting the vulnerability of moped riders. It provides effective strategies for positioning your vehicle to remain visible to other drivers at all times. Riders will learn to anticipate lane changes and movements from larger vehicles, significantly reducing the risk of being unseen in traffic.
This lesson addresses the unique challenges of riding at night, including reduced visibility and altered depth perception. It covers the correct use of lighting systems, the critical role of reflective gear, and strategies to maximize conspicuity. Riders will also learn to identify hazards specific to low-light conditions, such as animals or unlit obstacles on the road.
This lesson outlines best practices for positioning a moped on urban roads to maximize visibility and safety. It explains how to choose a lane position that makes you visible to drivers ahead and behind, while avoiding road debris and dooring hazards from parked cars. The content addresses adapting your position based on traffic speed, density, and road conditions.
This lesson details how various weather conditions impact moped stability, traction, and visibility. It provides practical strategies for handling crosswinds, avoiding hydroplaning in rain, and maintaining grip on icy or snowy surfaces. Riders will learn to assess weather-related risks and adapt their speed and control inputs to navigate challenging conditions safely.
This lesson explores the conduct required at uncontrolled crossings where the right-hand rule typically applies. It emphasizes the need to reduce speed, be prepared to stop, and establish clear communication with other road users. Riders will learn to assess the situation carefully and proceed only when it is confirmed to be safe, a critical skill for rural and residential areas.
This lesson examines the psychological factors crucial for safe riding, promoting a defensive mindset and heightened risk awareness. It provides strategies for managing stress, identifying potential hazards early, and making proactive decisions to prevent dangerous situations. Cultivating mental discipline and a safety-conscious attitude is fundamental to long-term rider safety on Icelandic roads.
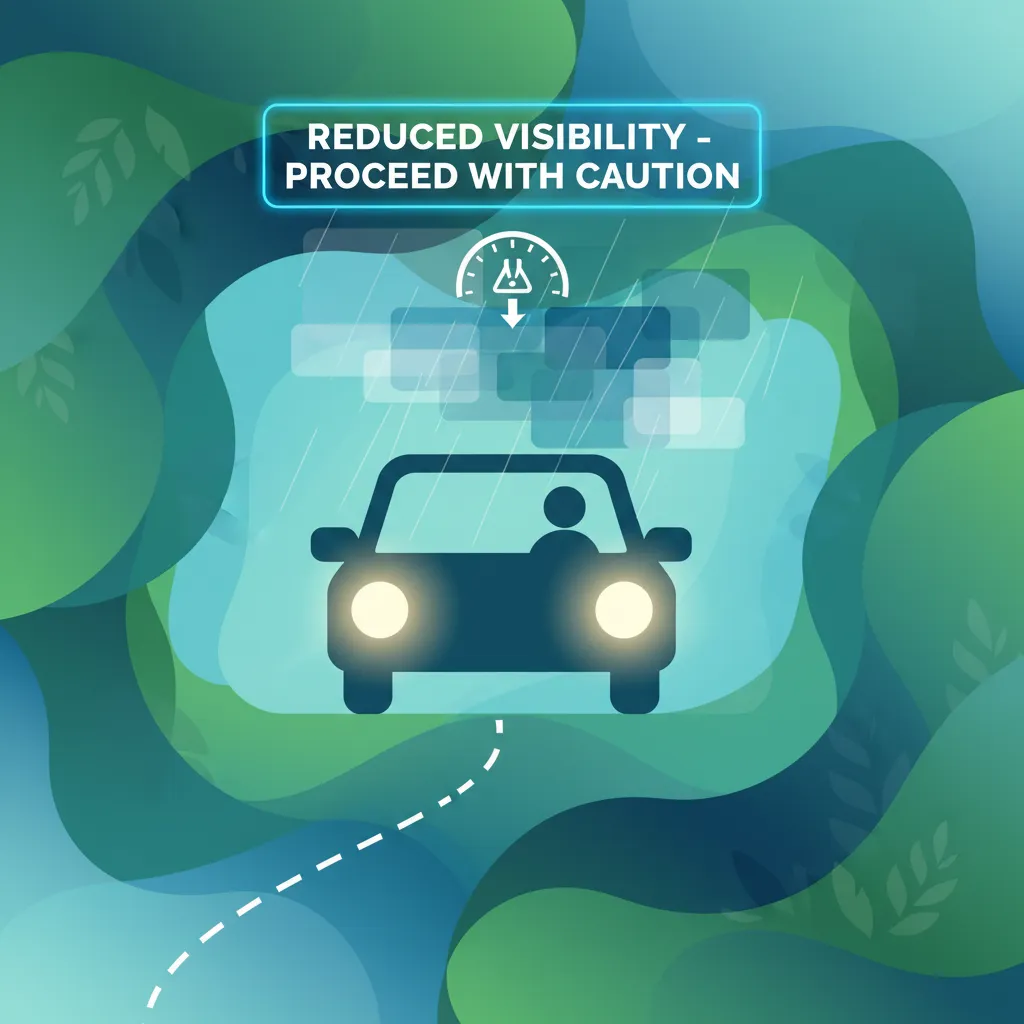
This lesson addresses the challenges of driving in rain and fog, focusing on strategies to maintain visibility and vehicle control. Learners will explore the correct use of windshield wipers, defoggers, and appropriate headlight settings, including when to use fog lights. The content also covers the increased risk of hydroplaning, the importance of adjusting speed in wet conditions, and the need to extend following distances to account for longer stopping distances.
This lesson familiarizes learners with signs that warn of upcoming hazards, such as sharp curves, slippery surfaces, or animal crossings. It emphasizes the importance of early hazard recognition and response, which is especially critical for vulnerable moped riders. Understanding these signs allows riders to anticipate road conditions and adjust their riding strategy accordingly for increased safety.
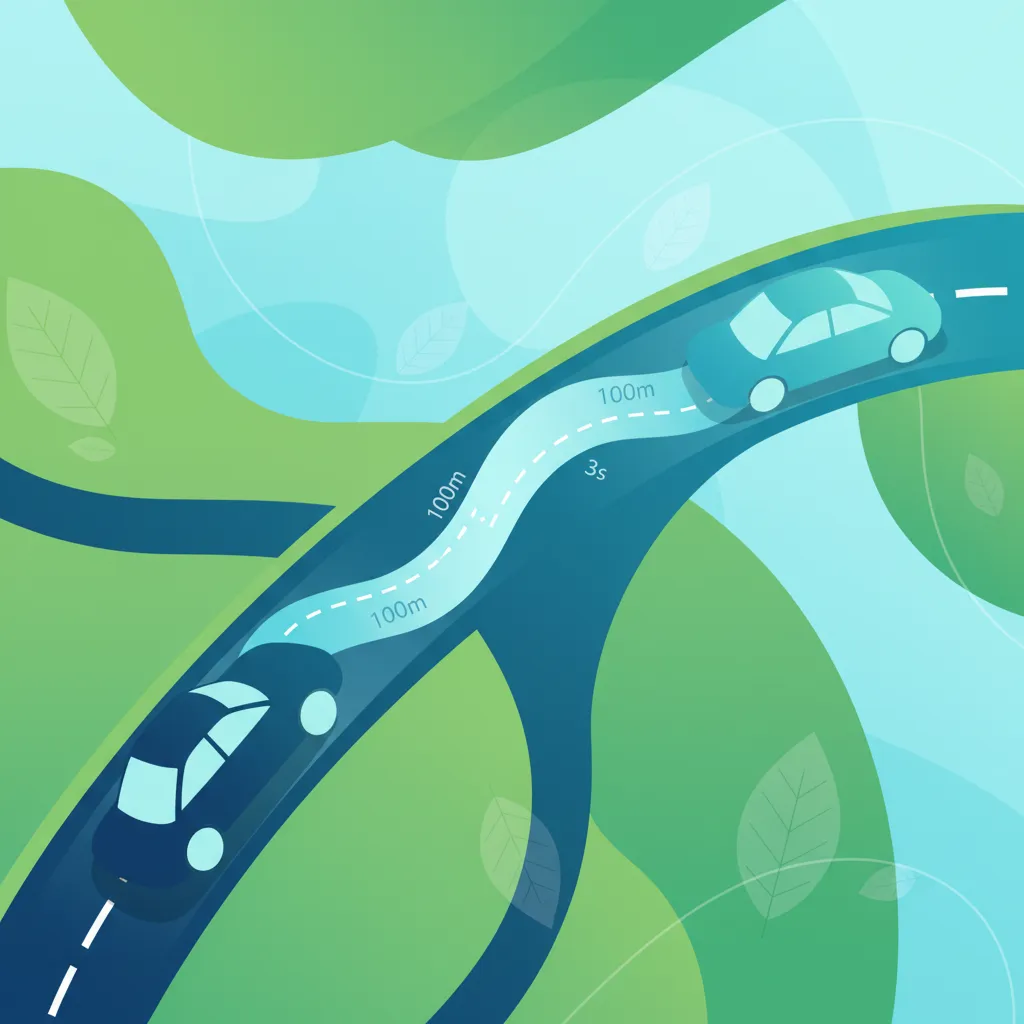
This lesson focuses on the concept of maintaining a safe following distance using the time-gap method. It explains how to create a sufficient buffer zone to react to sudden stops by the vehicle ahead. Riders will learn to adjust this gap based on speed, weather, and visibility to prevent rear-end collisions and ensure adequate reaction time.
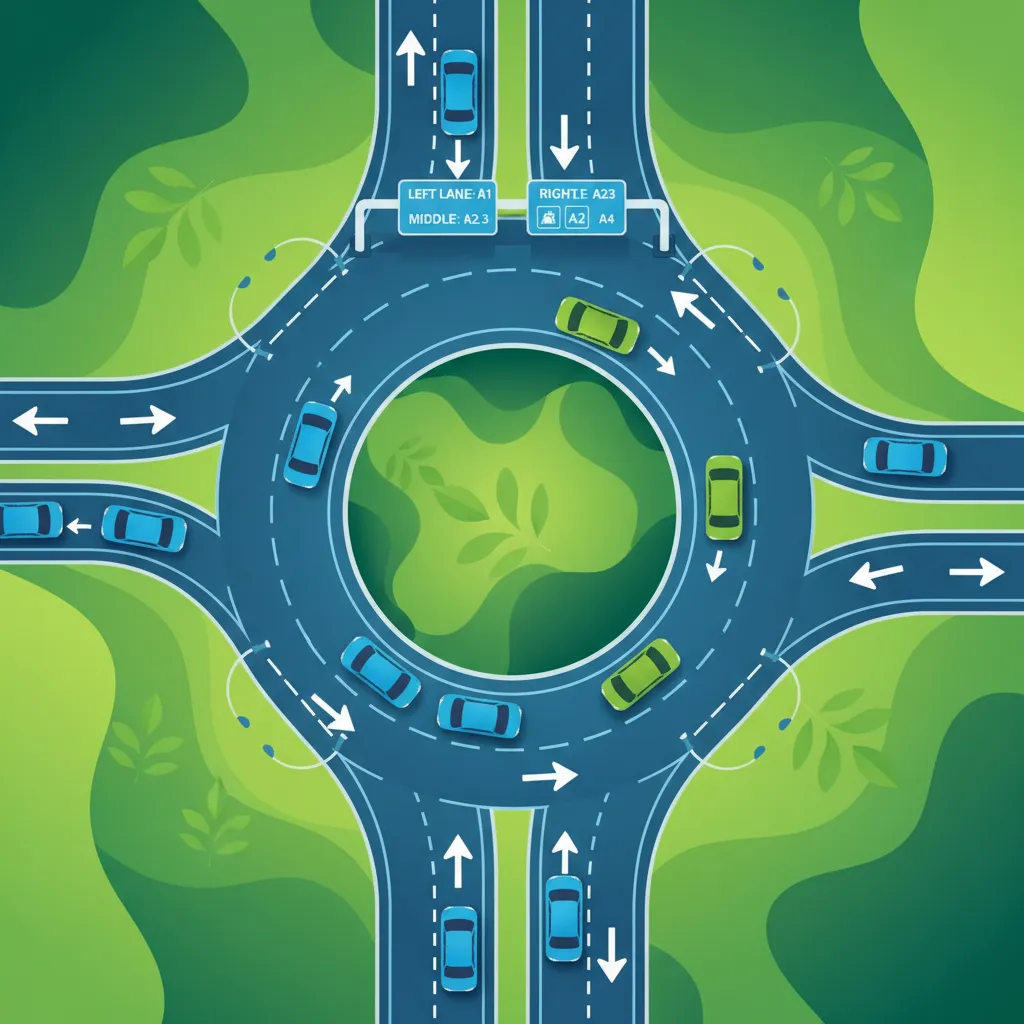
This lesson provides a detailed guide to navigating roundabouts, focusing on the rule to yield to circulating traffic before entering. It covers correct lane positioning for different exits, proper signaling, and maintaining a safe speed within the roundabout. Special guidance is provided for moped riders to enhance their visibility and safety among larger vehicles.
Find clear answers to common questions learners have about Visibility Techniques and Reflective Materials. Learn how the lesson is structured, which driving theory objectives it supports, and how it fits into the overall learning path of units and curriculum progression in Iceland. These explanations help you understand key concepts, lesson flow, and exam focused study goals.
High-visibility clothing significantly increases the distance at which other drivers can see you, especially in Iceland's low-light or poor weather conditions. It is a critical passive safety measure to ensure you are noticed early.
Yes, Icelandic traffic regulations mandate that mopeds must have their lights on at all times when in motion. This makes you more conspicuous to other drivers regardless of the weather.
Always aim to position your moped where you are clearly visible in the mirrors of the vehicle ahead or beside you. If you realize you are in a blind spot, adjust your speed or lane position safely to move out of it immediately.
Reflective materials are most effective in low light, such as dawn, dusk, or heavy fog. In daylight, bright or neon-colored clothing is more effective at drawing attention to your presence.
Utilize our advanced practice set search to pinpoint the exact Icelandic driving theory topics you need to review. Filter by subject, difficulty, or question type to create a highly effective study plan and ensure you are fully prepared for your official driving licence test in Iceland.