
Welcome to the lesson on calculating stopping distances for heavy goods vehicles. Understanding how load and speed affect your stopping distance is crucial for safe driving and is a key topic on the Polish Category C theory exam. This lesson builds on your understanding of basic physics and vehicle dynamics, preparing you for complex driving scenarios.

Lesson content overview
For drivers of Category C heavy goods vehicles (HGVs), accurately understanding and calculating stopping distances is a fundamental skill. Unlike passenger cars, HGVs carry substantial loads, possess different braking characteristics, and require significantly greater distances to come to a complete stop. This lesson provides a comprehensive methodology for determining a heavy vehicle's total stopping distance, considering critical factors like vehicle mass, speed, road gradient, and surface conditions. Mastering these calculations is essential for selecting safe speeds, adhering to legal requirements, and operating large vehicles responsibly on Polish and international routes.
The ability to predict how far your vehicle will travel before stopping allows for proactive hazard avoidance and prevents dangerous situations. It directly impacts your decision-making regarding following distance, speed adjustments, and response to unexpected events. This knowledge is not just theoretical; it underpins every safe driving choice made by a professional truck driver.
The total distance an HGV travels from the moment a hazard is perceived until it comes to a complete standstill is called the Total Stopping Distance (TSD). This distance is divided into two primary components: the Perception-Reaction Distance (PRD) and the Braking Distance (BD). Each component is influenced by a distinct set of factors, which together determine the overall safety margin required.
The Perception-Reaction Distance (PRD) is the distance a vehicle travels during the time it takes for the driver to recognize a hazard, decide to act, and initiate the braking process. During this interval, the vehicle continues to move at its initial speed as if no hazard exists.
The duration of this critical phase is known as the Perception-Reaction Time (PRT). For professional drivers, a baseline PRT of 1.0 second is often used in calculations under ideal conditions. However, several factors can significantly extend this time:
The formula for Perception-Reaction Distance is straightforward:
The distance traveled by a vehicle from the moment a driver perceives a hazard until the brakes are fully engaged.
PRD = Vehicle Speed (V) × Perception-Reaction Time (PRT)
It is crucial to convert speed into metres per second (m/s) for accurate calculations. For example, 80 km/h converts to approximately 22.22 m/s. If a driver is traveling at 80 km/h with a PRT of 1.0 second, the PRD would be 22.22 meters.
The Braking Distance (BD) is the distance covered from the moment the brakes are fully applied until the vehicle comes to a complete halt. This phase is governed by the laws of physics, primarily involving the dissipation of the vehicle's kinetic energy through the braking system and the friction between the tyres and the road surface.
The distance traveled by a vehicle from the point where the brakes are fully applied until the vehicle comes to a complete stop.
The fundamental formula for Braking Distance is:
BD = V² / (2 × Effective Deceleration (a_eff))
Where:
The effective deceleration (a_eff) is a critical variable that aggregates several physical influences:
a = μg, an increase in mass for a fixed braking force implies lower deceleration. More significantly, heavy loads demand more energy to dissipate for the same speed, effectively requiring a greater distance or stronger braking effort.The calculation of effective deceleration (a_eff) on a gradient also incorporates a component of gravity:
a_eff = (μ ⋅ g) ± (g ⋅ sinθ)
+ for uphill gradients, as gravity assists braking.- for downhill gradients, as gravity works against braking.The primary distinction of a Category C vehicle is its capacity to carry heavy loads. This increased mass fundamentally alters its stopping dynamics, primarily affecting the braking distance.
A loaded HGV possesses significantly more kinetic energy (KE) than an empty one, or a passenger car, even at the same speed. Kinetic energy is calculated as:
The energy an object possesses due to its motion, calculated as ½ ⋅ Mass ⋅ Velocity².
KE = ½ ⋅ Mass (M) ⋅ Speed (V)²
This formula highlights that kinetic energy increases linearly with mass but quadratically with speed. Doubling the mass doubles the kinetic energy, while doubling the speed quadruples the kinetic energy. The vehicle's braking system must dissipate all this kinetic energy to bring the vehicle to a stop. With a heavier load, the brakes have more energy to convert into heat, which can lead to longer stopping distances or, in extreme cases, brake fade if the system overheats.
The way cargo is distributed within the HGV also plays a crucial role:
Overloading or improper cargo placement not only increases stopping distances but can also lead to severe legal penalties and significantly compromise vehicle stability and control during emergency braking.
The interaction between the vehicle's tyres and the road surface is paramount to effective braking. Any factor that reduces this interaction will invariably extend the braking distance.
Road gradients significantly influence the effective deceleration:
On steep descents, the combination of gravity and potential brake fade (due to prolonged use) makes careful speed management critical. The Polish Road Traffic Act emphasizes adjusting speed to conditions, especially on such sections.
The Friction Coefficient (μ) is the measure of grip between the tyres and the road. Its value changes dramatically with the condition of the road surface and the tyres themselves.
Always adjust your speed to the prevailing road and weather conditions. A reduced friction coefficient is the leading cause of extended braking distances and loss of control.
Polish traffic law, in alignment with general European safety principles, places a strong emphasis on a driver's responsibility to stop safely.
Article 127 of the Polish Road Traffic Act (Prawo o ruchu drogowym) mandates that a driver must always be able to stop the vehicle within the distance that is visible ahead under the current conditions. This is a fundamental principle ensuring that drivers do not outdrive their visibility, especially relevant for HGVs with their longer stopping distances.
This legal requirement means that if visibility is limited (e.g., due to a blind bend, fog, heavy rain, or darkness), the driver must reduce their speed sufficiently to be able to stop before reaching any unforeseen obstacle within that limited field of vision.
To account for real-world uncertainties – such as slight variations in road conditions, brake performance, or driver reaction – a Safety Margin (SM) is legally mandated and/or prudent to apply to the calculated Total Stopping Distance (TSD).
A multiplicative factor applied to the calculated total stopping distance to account for uncertainties, ensuring that real-world stopping distance stays within safe limits.
For Category C vehicles in Poland, a regulatory safety margin is often applied, typically 1.2. This means the calculated TSD should be multiplied by 1.2, and this final value is the maximum distance within which the vehicle must be able to stop. Fleet operators may even apply a higher operational safety margin (e.g., 1.5) for specific high-risk routes or cargo types.
Required Visibility Distance = Safety Margin (SM) × Total Stopping Distance (TSD)
Drivers must ensure that the actual visible distance ahead is always greater than or equal to this "Required Visibility Distance."
To bring together the concepts, here are the key formulas and a step-by-step procedure:
Convert Speed:
Calculate Perception-Reaction Distance (PRD):
Determine Road Gradient Angle (θ):
Calculate Effective Deceleration (a_eff):
+ for uphill, - for downhill.Calculate Braking Distance (BD):
Calculate Total Stopping Distance (TSD):
Apply Safety Margin (SM):
Here's a practical procedure for Category C drivers:
Identify Current Speed: Note your vehicle's current speed (V) in km/h. Convert to m/s.
Assess Driver Condition & PRT: Determine your Perception-Reaction Time (PRT). Start with 1.0 s, but add extra time for fatigue, distraction, or air-brake lag (e.g., total 1.3-1.5 s).
Evaluate Road Conditions & μ: Identify the road surface (dry, wet, icy, gravel) and estimate the friction coefficient (μ). Consider tyre condition.
Determine Road Gradient: Note if you are on a level road, uphill, or downhill. Estimate the percentage gradient to find the angle (θ).
Calculate Perception-Reaction Distance (PRD): Use the formula PRD = V × PRT.
Calculate Effective Deceleration (a_eff): Use the formula a_eff = (μ ⋅ g) ± (g ⋅ sinθ).
Calculate Braking Distance (BD): Use the formula BD = V² / (2 × a_eff).
Calculate Total Stopping Distance (TSD): Add PRD and BD (TSD = PRD + BD).
Apply Safety Margin (SM): Multiply TSD by your chosen safety margin (e.g., 1.2) to get the Required Visibility Distance.
Compare with Visible Distance: Compare the Required Visibility Distance with the actual visible distance ahead. If visible distance is less, reduce speed immediately.
Despite the importance of accurate calculations, professional drivers sometimes make critical errors:
The principles of stopping distance calculation remain constant, but the input variables (PRT, μ, θ, SM) must be adjusted for different contexts:
| Context | Variation in Principles | Reasoning |
|---|---|---|
| Weather – Rain | μ reduced (approx. 0.5–0.6). Consider increased PRT. Add extra safety margin (SM ≥ 1.3). | Water film significantly lowers tyre-road grip. Reduced visibility can also increase PRT. |
| Weather – Snow/Ice | μ drops dramatically (≤ 0.2). BD may double or triple. Speed limits become much stricter. | Extremely low friction reduces maximum achievable deceleration drastically. |
| Night Driving | PRT may increase to 1.5 s or more due to reduced visibility and slower hazard detection. | Human reaction is generally slower in low-light conditions, and visible distance is limited. |
| Urban Roads | Short visibility distances; lower speeds required. Need larger safety margin for VRUs. | Frequent intersections, pedestrians, and cyclists increase uncertainty and hazards. |
| Motorway (Autostrada) | High speeds mean higher kinetic energy. Ensure ample following distance. | Greater distances available but high speeds demand precise calculations and larger PRD/BD. |
| Downhill Gradient > 5% | BD increases significantly. Mandatory use of engine braking and lower gear. Reduce speed. | Gravity directly opposes braking force, making it harder to slow down. |
| Heavy Load Near GVW Limit | Increased inertia. Possible reduced tyre pressure. Recalculate a_eff with higher mass. | Higher mass demands more work from brakes, potentially leading to brake fade and longer BD. |
| Brake System Malfunction | If ABS or other systems fail, stopping distances on slippery surfaces will be longer. | Modern brake systems enhance control and reduce BD, especially on low-friction surfaces. |
| Vulnerable Road Users (VRUs) | Must allow additional distance (e.g., an extra 5m) beyond legal requirements. | VRUs (pedestrians, cyclists) are unpredictable and require a higher degree of caution. |
| Road with Poor Surface | μ may be lower than ideal asphalt (e.g., gravel, worn tarmac). Treat as wet conditions. | Loose or damaged surfaces reduce tyre contact patch effectiveness and grip. |
The comprehensive understanding of stopping distances for Category C heavy goods vehicles is rooted in fundamental physics and human factors, directly impacting safety and compliance:
By understanding these principles, Category C drivers move beyond simply memorizing rules; they develop a deep appreciation for the complex interplay of factors that dictate safe vehicle operation. This insight empowers them to make informed, safety-conscious decisions in every driving situation.
Mastering the calculation of stopping distances for heavy goods vehicles is non-negotiable for professional drivers. It involves a systematic approach to evaluating driver, vehicle, and environmental factors.
This lesson teaches Category C drivers how to calculate total stopping distance by combining perception-reaction distance (based on driver reaction time and speed) with braking distance (derived from vehicle physics, friction, and road gradient). Key factors include vehicle mass and kinetic energy, friction coefficients that vary dramatically with road conditions (dry asphalt vs. ice), and uphill or downhill gradients that assist or hinder braking. The Polish Road Traffic Act requires drivers to stop within visible distance, necessitating a mandatory safety margin of 1.2 for Category C vehicles. Understanding that braking distance increases quadratically with speed is essential for safe HGV operation and passing the Polish theory exam.
A short set of high-value points that capture the most important learning from this lesson.
Total Stopping Distance (TSD) equals Perception-Reaction Distance (PRD) plus Braking Distance (BD)
Braking distance increases with the square of speed (V²), so a small speed increase causes a disproportionately large increase in stopping distance
Loaded HGVs have significantly more kinetic energy than empty vehicles or cars at the same speed, requiring longer braking distances
The friction coefficient (μ) varies dramatically with conditions: 0.7-0.8 on dry roads, dropping to 0.1-0.2 on ice
Per Polish law (Article 127), drivers must always be able to stop within the visible distance ahead under current conditions
Explore all units and lessons included in this driving theory course.
Always convert speed from km/h to m/s before using it in stopping distance formulas (divide by 3.6)
For Category C vehicles, apply a mandatory safety margin (SM) of 1.2 to the calculated TSD
Effective deceleration (a_eff) depends on friction coefficient, gravity, and road gradient: uphill gradients assist braking while downhill gradients hinder it
Air-brake systems introduce an additional 0.3-0.5 second lag that effectively extends perception-reaction time for HGVs
Kinetic energy increases linearly with mass but quadratically with speed, meaning speed management is more critical than load management for stopping distance
Assuming a constant 1.0-second perception-reaction time even when fatigued, driving at night, or in adverse weather conditions
Neglecting the significant impact of load, assuming a loaded truck stops similarly to an empty vehicle or passenger car
Ignoring downhill gradients, which reduce effective deceleration and substantially increase braking distances
Overestimating the friction coefficient by assuming dry-road grip when the surface is damp, wet, or has debris
Forgetting to apply the safety margin multiplier, which is a critical buffer against real-world unpredictability and often a legal requirement
Lesson content overview
A short set of high-value points that capture the most important learning from this lesson.
Total Stopping Distance (TSD) equals Perception-Reaction Distance (PRD) plus Braking Distance (BD)
Braking distance increases with the square of speed (V²), so a small speed increase causes a disproportionately large increase in stopping distance
Loaded HGVs have significantly more kinetic energy than empty vehicles or cars at the same speed, requiring longer braking distances
The friction coefficient (μ) varies dramatically with conditions: 0.7-0.8 on dry roads, dropping to 0.1-0.2 on ice
Per Polish law (Article 127), drivers must always be able to stop within the visible distance ahead under current conditions
Explore all units and lessons included in this driving theory course.
Always convert speed from km/h to m/s before using it in stopping distance formulas (divide by 3.6)
For Category C vehicles, apply a mandatory safety margin (SM) of 1.2 to the calculated TSD
Effective deceleration (a_eff) depends on friction coefficient, gravity, and road gradient: uphill gradients assist braking while downhill gradients hinder it
Air-brake systems introduce an additional 0.3-0.5 second lag that effectively extends perception-reaction time for HGVs
Kinetic energy increases linearly with mass but quadratically with speed, meaning speed management is more critical than load management for stopping distance
Assuming a constant 1.0-second perception-reaction time even when fatigued, driving at night, or in adverse weather conditions
Neglecting the significant impact of load, assuming a loaded truck stops similarly to an empty vehicle or passenger car
Ignoring downhill gradients, which reduce effective deceleration and substantially increase braking distances
Overestimating the friction coefficient by assuming dry-road grip when the surface is damp, wet, or has debris
Forgetting to apply the safety margin multiplier, which is a critical buffer against real-world unpredictability and often a legal requirement
Explore search topics learners often look for when studying Calculating Stopping Distances Under Load. These topics reflect common questions about road rules, driving situations, safety guidance, and lesson level theory preparation for learners in Poland.
Browse additional driving theory lessons that cover connected traffic rules, road signs, and common driving situations related to this topic. Improve your understanding of how different rules interact across everyday traffic scenarios.
Understand the key factors influencing stopping distances for Category C trucks in Poland. This lesson details how vehicle mass, speed, road surface friction, and gradient impact reaction and braking distances, crucial for safe operation and theory exam preparation.

This lesson explores the dynamic relationship between cargo weight and a vehicle's performance. It explains how increased mass raises kinetic energy, significantly lengthening braking distances and requiring earlier, more gradual brake application. Learners will also analyze how a heavy or poorly distributed load alters the vehicle's handling characteristics, particularly during cornering, and understand the necessity of adjusting speed and driving style to compensate for these effects.

This lesson explains the specialized techniques required for initiating movement and bringing a heavy, loaded truck to a halt. It emphasizes fine clutch and throttle control to overcome inertia without causing driveline stress or cargo shift. Learners will also study methods for smooth, gradual braking that account for the vehicle's significant momentum, ensuring safety, passenger comfort, and the integrity of the cargo while minimizing wear on the braking system.

This lesson breaks down the physics of stopping a vehicle. It defines reaction distance (the distance traveled before applying the brakes) and braking distance (the distance traveled while braking). The content explains how factors like speed, road condition, and tire grip influence the total stopping distance, and introduces proper braking techniques.
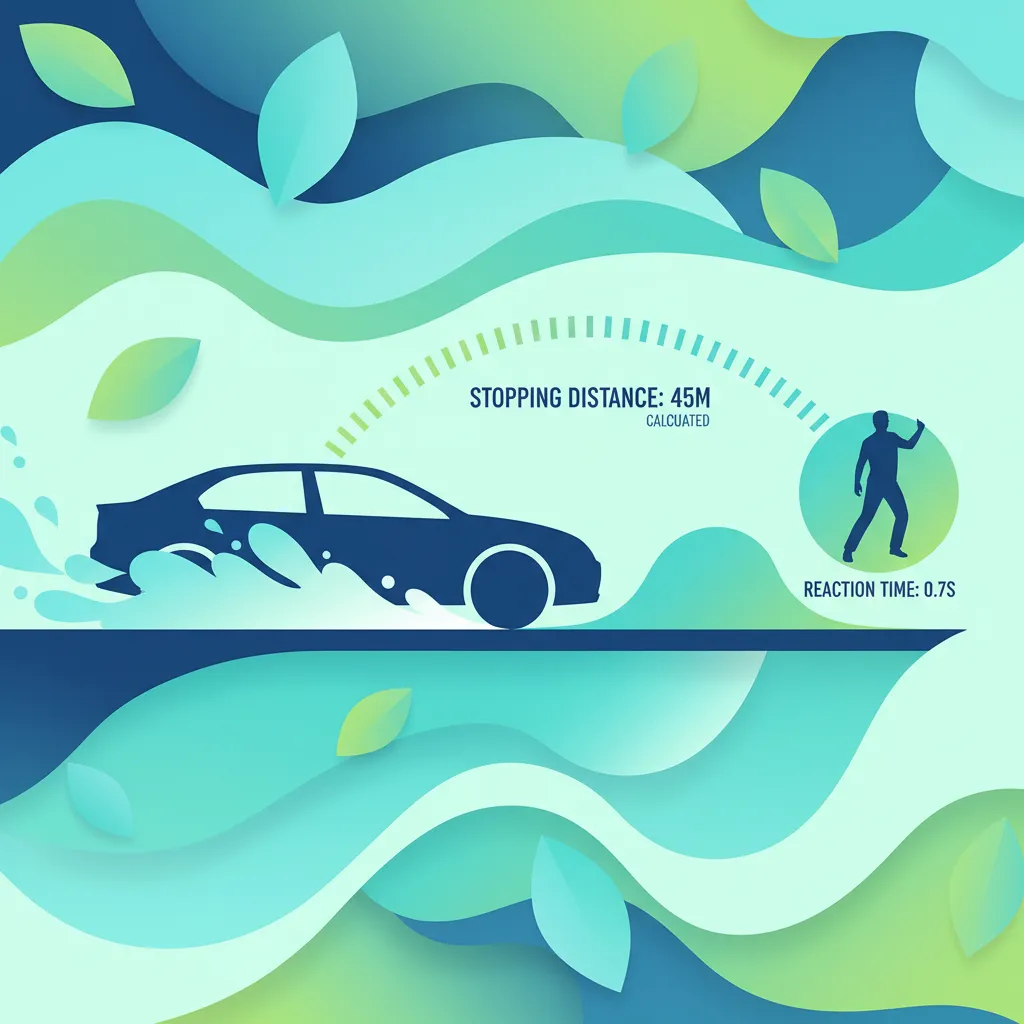
In this lesson, learners study the physics behind stopping distances, breaking it down into perception-reaction time and braking distance components. The content explains how speed, vehicle mass, and road surface friction influence the total stopping distance. Learners will practice calculating stopping distances under different conditions and understand the importance of maintaining a safety margin by improving hazard perception and rider response.

This lesson focuses on the critical procedures for executing an emergency stop with an air-braked vehicle. It explains how to apply firm, steady pressure to the brake pedal to achieve maximum braking force without locking the wheels, which could lead to a loss of control. The content also discusses the response time of air brake systems and how to manage the significant forces of deceleration when the vehicle is fully loaded, ensuring the quickest possible stop in a crisis situation.

This lesson is dedicated to the critical braking systems of heavy goods vehicles. It provides a detailed explanation of the air brake system, including the compressor, air tanks, and brake chambers, and highlights the safety function of the dual-circuit design. Learners will also differentiate between various types of auxiliary braking systems, such as engine brakes and retarders, and understand their role in managing speed and preventing service brake overheating on steep gradients.

This lesson examines the internal factors that can impact a driver's performance. It explains how fatigue, distractions (like mobile phones), and the influence of alcohol or drugs significantly increase reaction time and impair judgment. Understanding these risks is fundamental to making responsible decisions before and during every journey.

This lesson provides essential knowledge for responding to sudden and dangerous vehicle malfunctions. It outlines step-by-step procedures for handling a catastrophic tire blowout, managing a loss of braking power, and reacting to a shift in cargo that destabilizes the vehicle. The focus is on maintaining as much control as possible, bringing the vehicle to a safe stop away from traffic, and activating hazard warnings to protect the scene and other road users.

This lesson teaches drivers how to adapt their speed, following distance, and control inputs to safely navigate adverse conditions. It covers the challenges posed by rain, snow, and ice, explaining the loss of traction and the increased risk of skidding or aquaplaning. The content provides specific strategies for driving in fog, which reduces visibility, and strong crosswinds, which can affect the stability of a high-sided vehicle, promoting a proactive and defensive driving mindset.

This lesson focuses on how different passenger loads alter a vehicle's dynamics. It explains the shift in the center of gravity and its effect on suspension, acceleration, and braking. Learners will study techniques to anticipate and compensate for these handling changes, ensuring speed and cornering are adjusted for passenger comfort and safety.
Learn about legal requirements in Poland regarding stopping distances for HGVs. This lesson explains the 'stop within visible distance' rule and how to apply safety margins to your calculated stopping distance for safe truck operation.

This lesson focuses on the stringent health standards mandated for operating heavy goods vehicles. It details the required medical assessments, including vision, cardiovascular, and neurological checks, that prospective drivers must pass. Learners will understand the process of obtaining a medical certificate, the requirements for periodic renewals to ensure ongoing fitness for duty, and the legal implications of failing to meet these essential health criteria for professional driving.
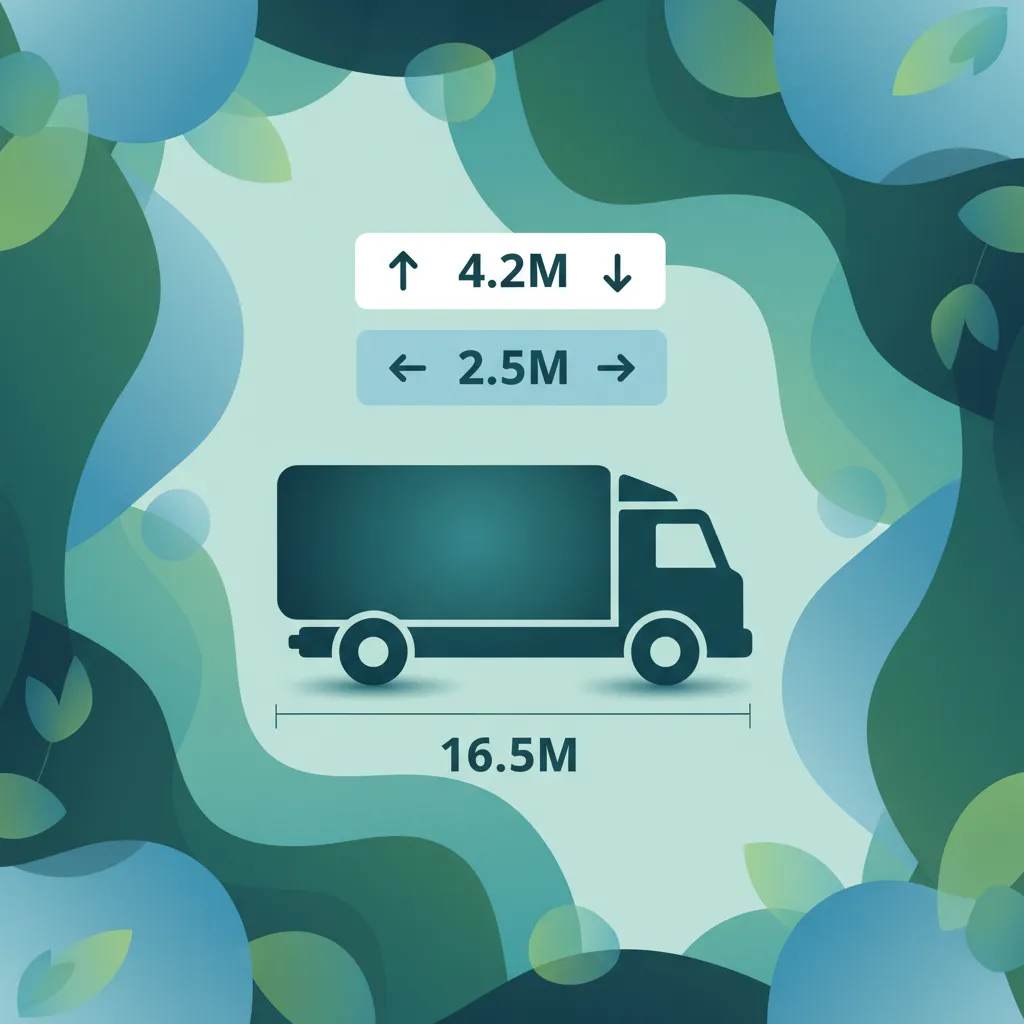
This lesson concentrates on the specific road signs that are of utmost importance to HGV drivers. It details how to interpret signs indicating maximum permissible weight, axle load, vehicle height, and overall length. Understanding these restrictions is crucial for effective route planning to avoid bridges with low clearance, roads with weight limits, or tunnels that cannot accommodate the vehicle's dimensions, thus preventing accidents and infrastructure damage.

This lesson details the specific protocols for overtaking and changing lanes in a heavy goods vehicle. It explains the importance of calculating sufficient space and speed differential before committing to a pass, while constantly being aware of the large blind spots around the truck. The content also covers procedures for safely merging onto highways and maintaining correct lane positioning to facilitate smooth and predictable traffic flow for all road users.
This lesson explains the specialized techniques required for initiating movement and bringing a heavy, loaded truck to a halt. It emphasizes fine clutch and throttle control to overcome inertia without causing driveline stress or cargo shift. Learners will also study methods for smooth, gradual braking that account for the vehicle's significant momentum, ensuring safety, passenger comfort, and the integrity of the cargo while minimizing wear on the braking system.
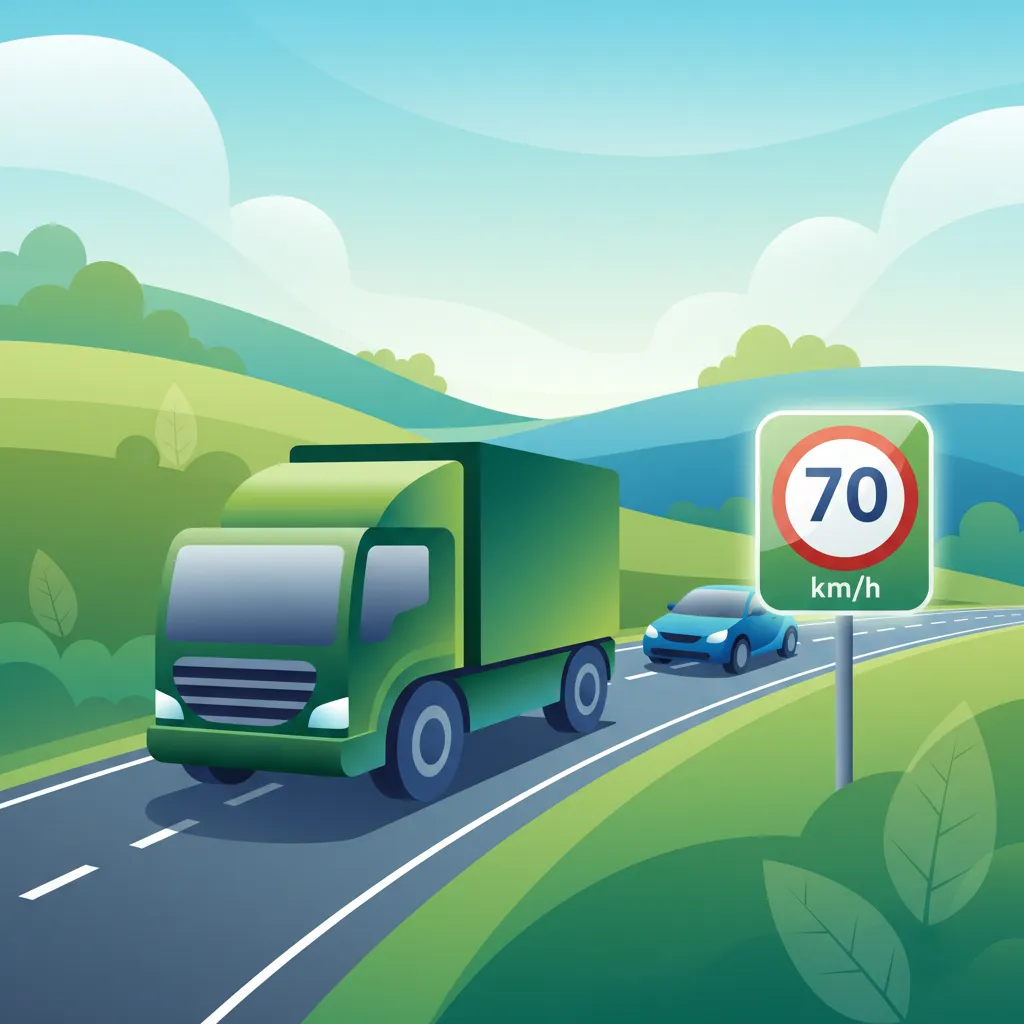
This lesson outlines the statutory speed limits that professional drivers of Category C vehicles must adhere to on Polish roads. It clearly distinguishes the maximum permitted speeds in built-up areas, on single carriageways, and on motorways. The content also explains how to interpret road signs that may indicate temporary or vehicle-specific speed restrictions, ensuring drivers remain compliant with the law and avoid penalties from speed enforcement measures.
This lesson teaches drivers how to adapt their speed, following distance, and control inputs to safely navigate adverse conditions. It covers the challenges posed by rain, snow, and ice, explaining the loss of traction and the increased risk of skidding or aquaplaning. The content provides specific strategies for driving in fog, which reduces visibility, and strong crosswinds, which can affect the stability of a high-sided vehicle, promoting a proactive and defensive driving mindset.
This lesson focuses on the specific challenges HGVs face when navigating roundabouts. It details the correct procedure for approach, including selecting the appropriate lane based on the intended exit and yielding to traffic already circulating. The content emphasizes the need to account for the vehicle's large turning radius and off-tracking to avoid encroaching on adjacent lanes or mounting curbs, ensuring a smooth and safe passage through the roundabout.

This lesson addresses the high-risk maneuver of reversing a large truck. It provides systematic techniques for using mirrors and, if available, cameras to monitor the vehicle's path, while strongly emphasizing the importance of managing extensive blind spots. Learners will study procedures for maneuvering within tight spaces like loading docks and yards, including the proper use of a spotter (banksman) to ensure the area is clear and to provide guidance, minimizing the risk of collisions.
This lesson provides a comprehensive breakdown of the right-of-way rules that govern intersections. It explains the clear directives given by traffic lights, stop signs, and yield signs, and clarifies the procedures at unmarked or uncontrolled intersections, where the 'priority to the right' rule often applies. Learners will understand the legal hierarchy of these rules to make correct, safe, and predictable decisions when navigating through any junction, reducing the risk of conflict with other traffic.

This lesson provides an overview of the key EU regulations that harmonize the road transport industry across member states. It focuses on the standardized rules for drivers' hours and rest periods, which are designed to combat fatigue and enhance safety. The content also explains the principles of cabotage—the transport of goods within one member state by a haulier from another—and the necessary documentation for smooth and legal cross-border operations.
Find clear answers to common questions learners have about Calculating Stopping Distances Under Load. Learn how the lesson is structured, which driving theory objectives it supports, and how it fits into the overall learning path of units and curriculum progression in Poland. These explanations help you understand key concepts, lesson flow, and exam focused study goals.
Reaction distance is the distance your vehicle travels from the moment you perceive a hazard until you apply the brakes. Braking distance is the distance your vehicle travels from the moment you apply the brakes until it comes to a complete stop. Total stopping distance is the sum of these two.
A heavier load significantly increases a truck's braking distance. The increased mass requires more force to decelerate, meaning it will take longer and travel further to stop compared to an unloaded vehicle at the same speed.
The Polish Category C theory exam includes questions designed to test your understanding of how to safely operate a heavy vehicle. Calculating and understanding stopping distances is crucial for safe driving and preventing accidents, so examiners want to ensure you grasp these concepts.
Yes, road gradient has a significant impact. Driving downhill increases stopping distance because gravity adds to the vehicle's momentum. Driving uphill decreases stopping distance as gravity assists in slowing the vehicle down.
Practice and consistent application of the 'two-second rule' (or more in adverse conditions) helps maintain a safe distance, giving you more time and space to react and brake. Understanding the theory behind stopping distances reinforces the importance of this safe driving habit.
Build custom practice sessions tailored precisely to your needs. Focus on areas requiring improvement, review specific Polish road signs, or master complex traffic rules to ensure full preparation for your official driving license exam.