This group of signs, labelled 'G', provides crucial supplementary information for approaching and navigating railway crossings. They work alongside primary warning signs to offer detailed insights into the crossing's proximity, layout, and any special conditions, such as tram lines or high-voltage networks. Understanding these signs is vital for anticipating hazards, adjusting your speed appropriately, and ensuring a safe passage over railway tracks, which is a key area tested in the theory exam.
An explanation of how Additional Railway Crossing Signs (G) road signs apply in real traffic situations in Poland. Learn where these signs are typically placed, what drivers are expected to do when they appear, and how correct reactions help you stay safe, avoid fines, and succeed in your Polish driving theory exam.
You will encounter these additional railway crossing signs as you approach various types of railway crossings, particularly on roads where a standard warning sign might not provide sufficient detail. The striped marker posts (G-1a to G-1f) are positioned on the side of the road to indicate your decreasing distance to the crossing; the more stripes visible, the closer you are, prompting you to increase your vigilance and begin slowing down. St. Andrew's crosses (G-3, G-4) are the definitive markers of the crossing itself, indicating whether it's a single or multi-track line, which influences how long you might need to wait. Signs like the high voltage catenary network warning (G-2) alert you to electrical hazards associated with electrified railway lines, which are common on routes shared with trams or main train lines. You might also see specific signs related to tram traffic (AT-series, BT-series) if the railway crossing is integrated with tram lines, requiring awareness of tram signals and movements. These signs are typically found in both rural and urban settings where railway lines intersect roads.
An overview of the key learning outcomes when studying the Additional Railway Crossing Signs (G) road sign category. Understand the main concepts, sign meanings, and traffic situations covered here so you can recognise patterns, answer theory questions more confidently, and build a solid foundation for safe driving in Poland.
These Polish additional railway crossing signs are crucial for safely navigating high-risk railway intersections. Studying this group helps you interpret sequences of distance markers and understand track layouts, ensuring timely reactions and compliance with traffic rules. Mastering these sign meanings is vital for your driving theory test revision and practical road sign recognition in Poland.

Prepare for Railway Crossings with the G-1a Three-Stripe Marker Post

G-1b: The Two-Stripe Marker Post Warning You're Getting Closer to the Railway Crossing

G-1c: This final marker post warns you're just moments from railway tracks!

Understand the G-1d Three-Stripe Marker Post for Left-Side Railway Crossing Warnings

Recognize the G-1e Sign: The Two-Stripe Marker Post Warning You About Railway Crossings on the Left.

The G-1f sign: your final warning for a railway crossing on the left.
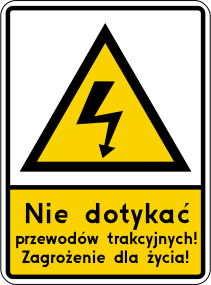
Beware of High Voltage Catenary Lines for Trains and Trams!
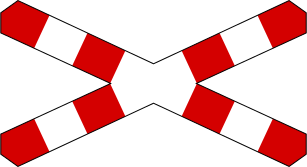
Prepare to stop at the G-3 St. Andrew's Cross sign indicating a single railway track crossing.
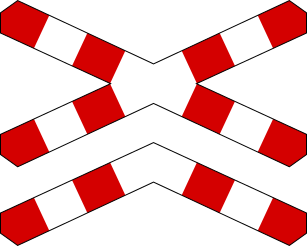
Master the G-4 'St. Andrew's Cross' Sign for Multi-Track Railway Crossings

Prepare for tram signals ahead with the AT-1 warning sign.

Understand the AT-2 Tram-Activated Signal: Know when trams are coming!
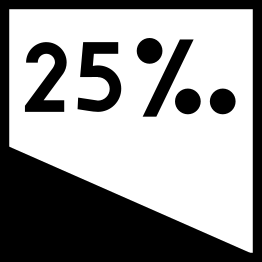
Understand the AT-3 Dangerous Tram Descent warning sign for trams.
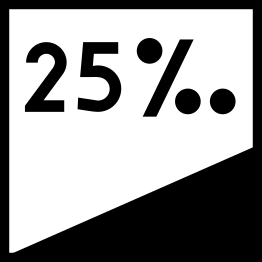
Warning: Steep Tram Ascent Ahead (AT-4)

Understand the AT-5 sign: Tram Collision Movement Warning for Turning Trams
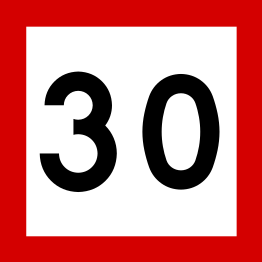
What the BT-1 Tram Speed Limit sign means and how to obey it.
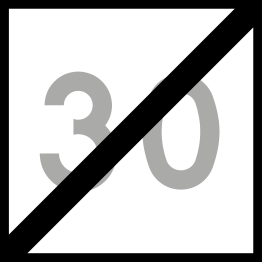
BT-2: Tram Speed Limit Restriction Ends Here

BT-3 Tram Switch Lock: Don't Enter Until Clear!
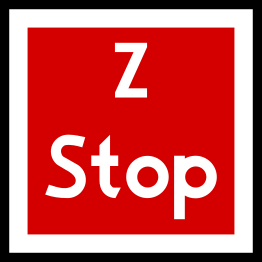
Stop and manually check the tram switch with the BT-4 sign.
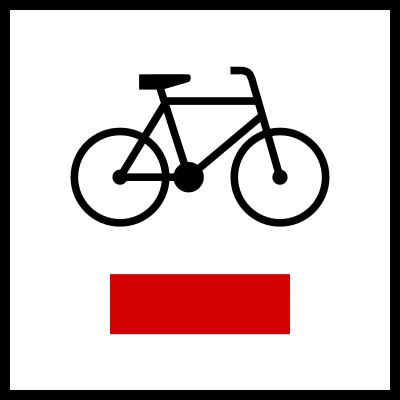
R-1 Local Bicycle Trail Sign: Navigating Designated Cycling Routes
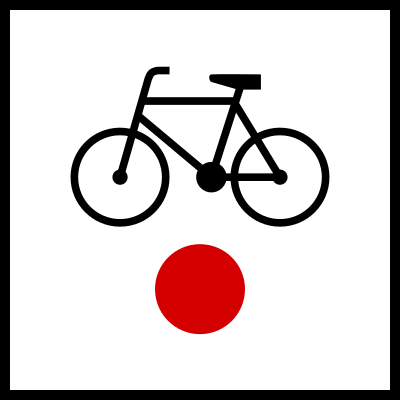
Understand the R-1a sign: The Beginning or End of a Bicycle Trail
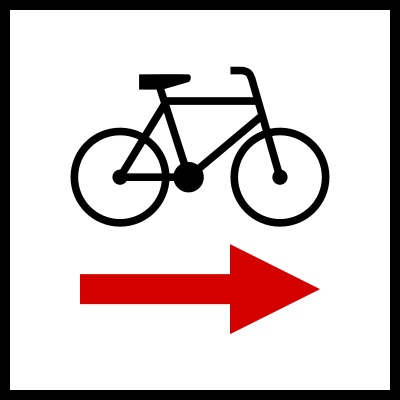
Understand the R-1b Sign: Bicycle Trail Direction Change Ahead
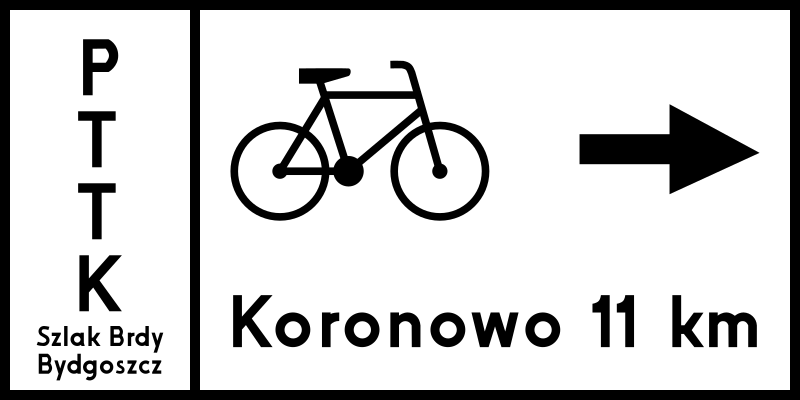
Understand the R-3 Local Bicycle Trail Information Board for Cycle Route Navigation
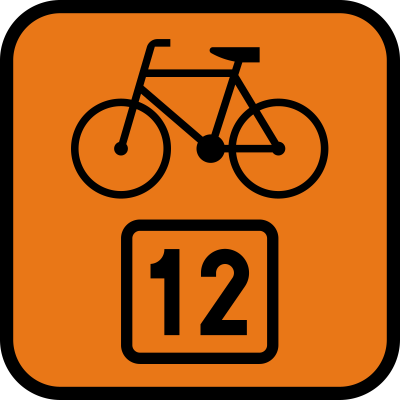
The R-4 Sign: Your Guide to Official Bicycle Routes
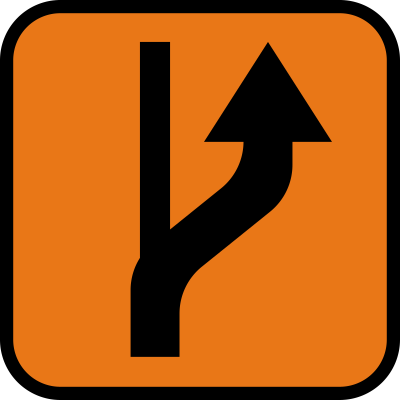
The R-4a sign guides you along the actual course of the bicycle trail.
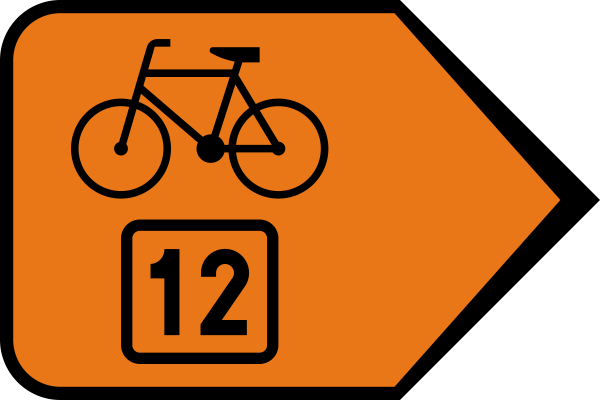
The R-4b sign guides you along major, high-priority cycling routes.
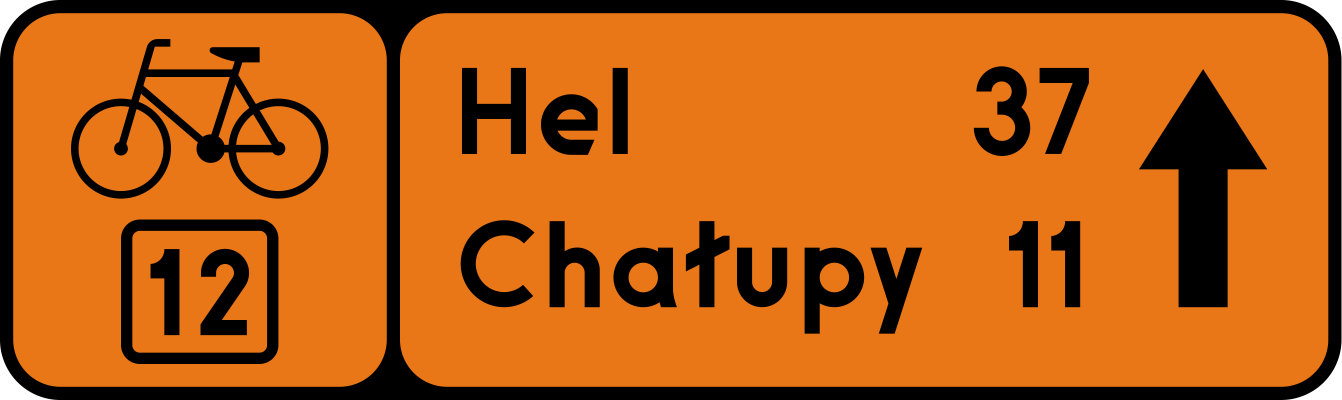
Navigate with the R-4c Directional Board for Bicycle Trails
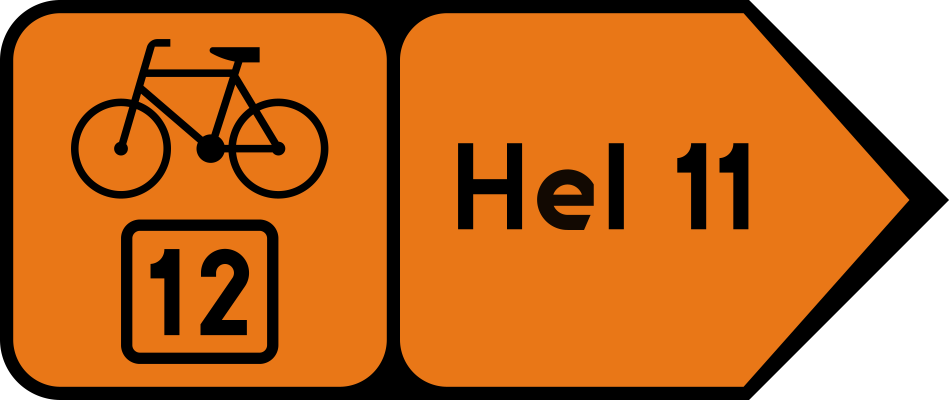
The R-4d sign guides cyclists with an arrow and distance to a destination.
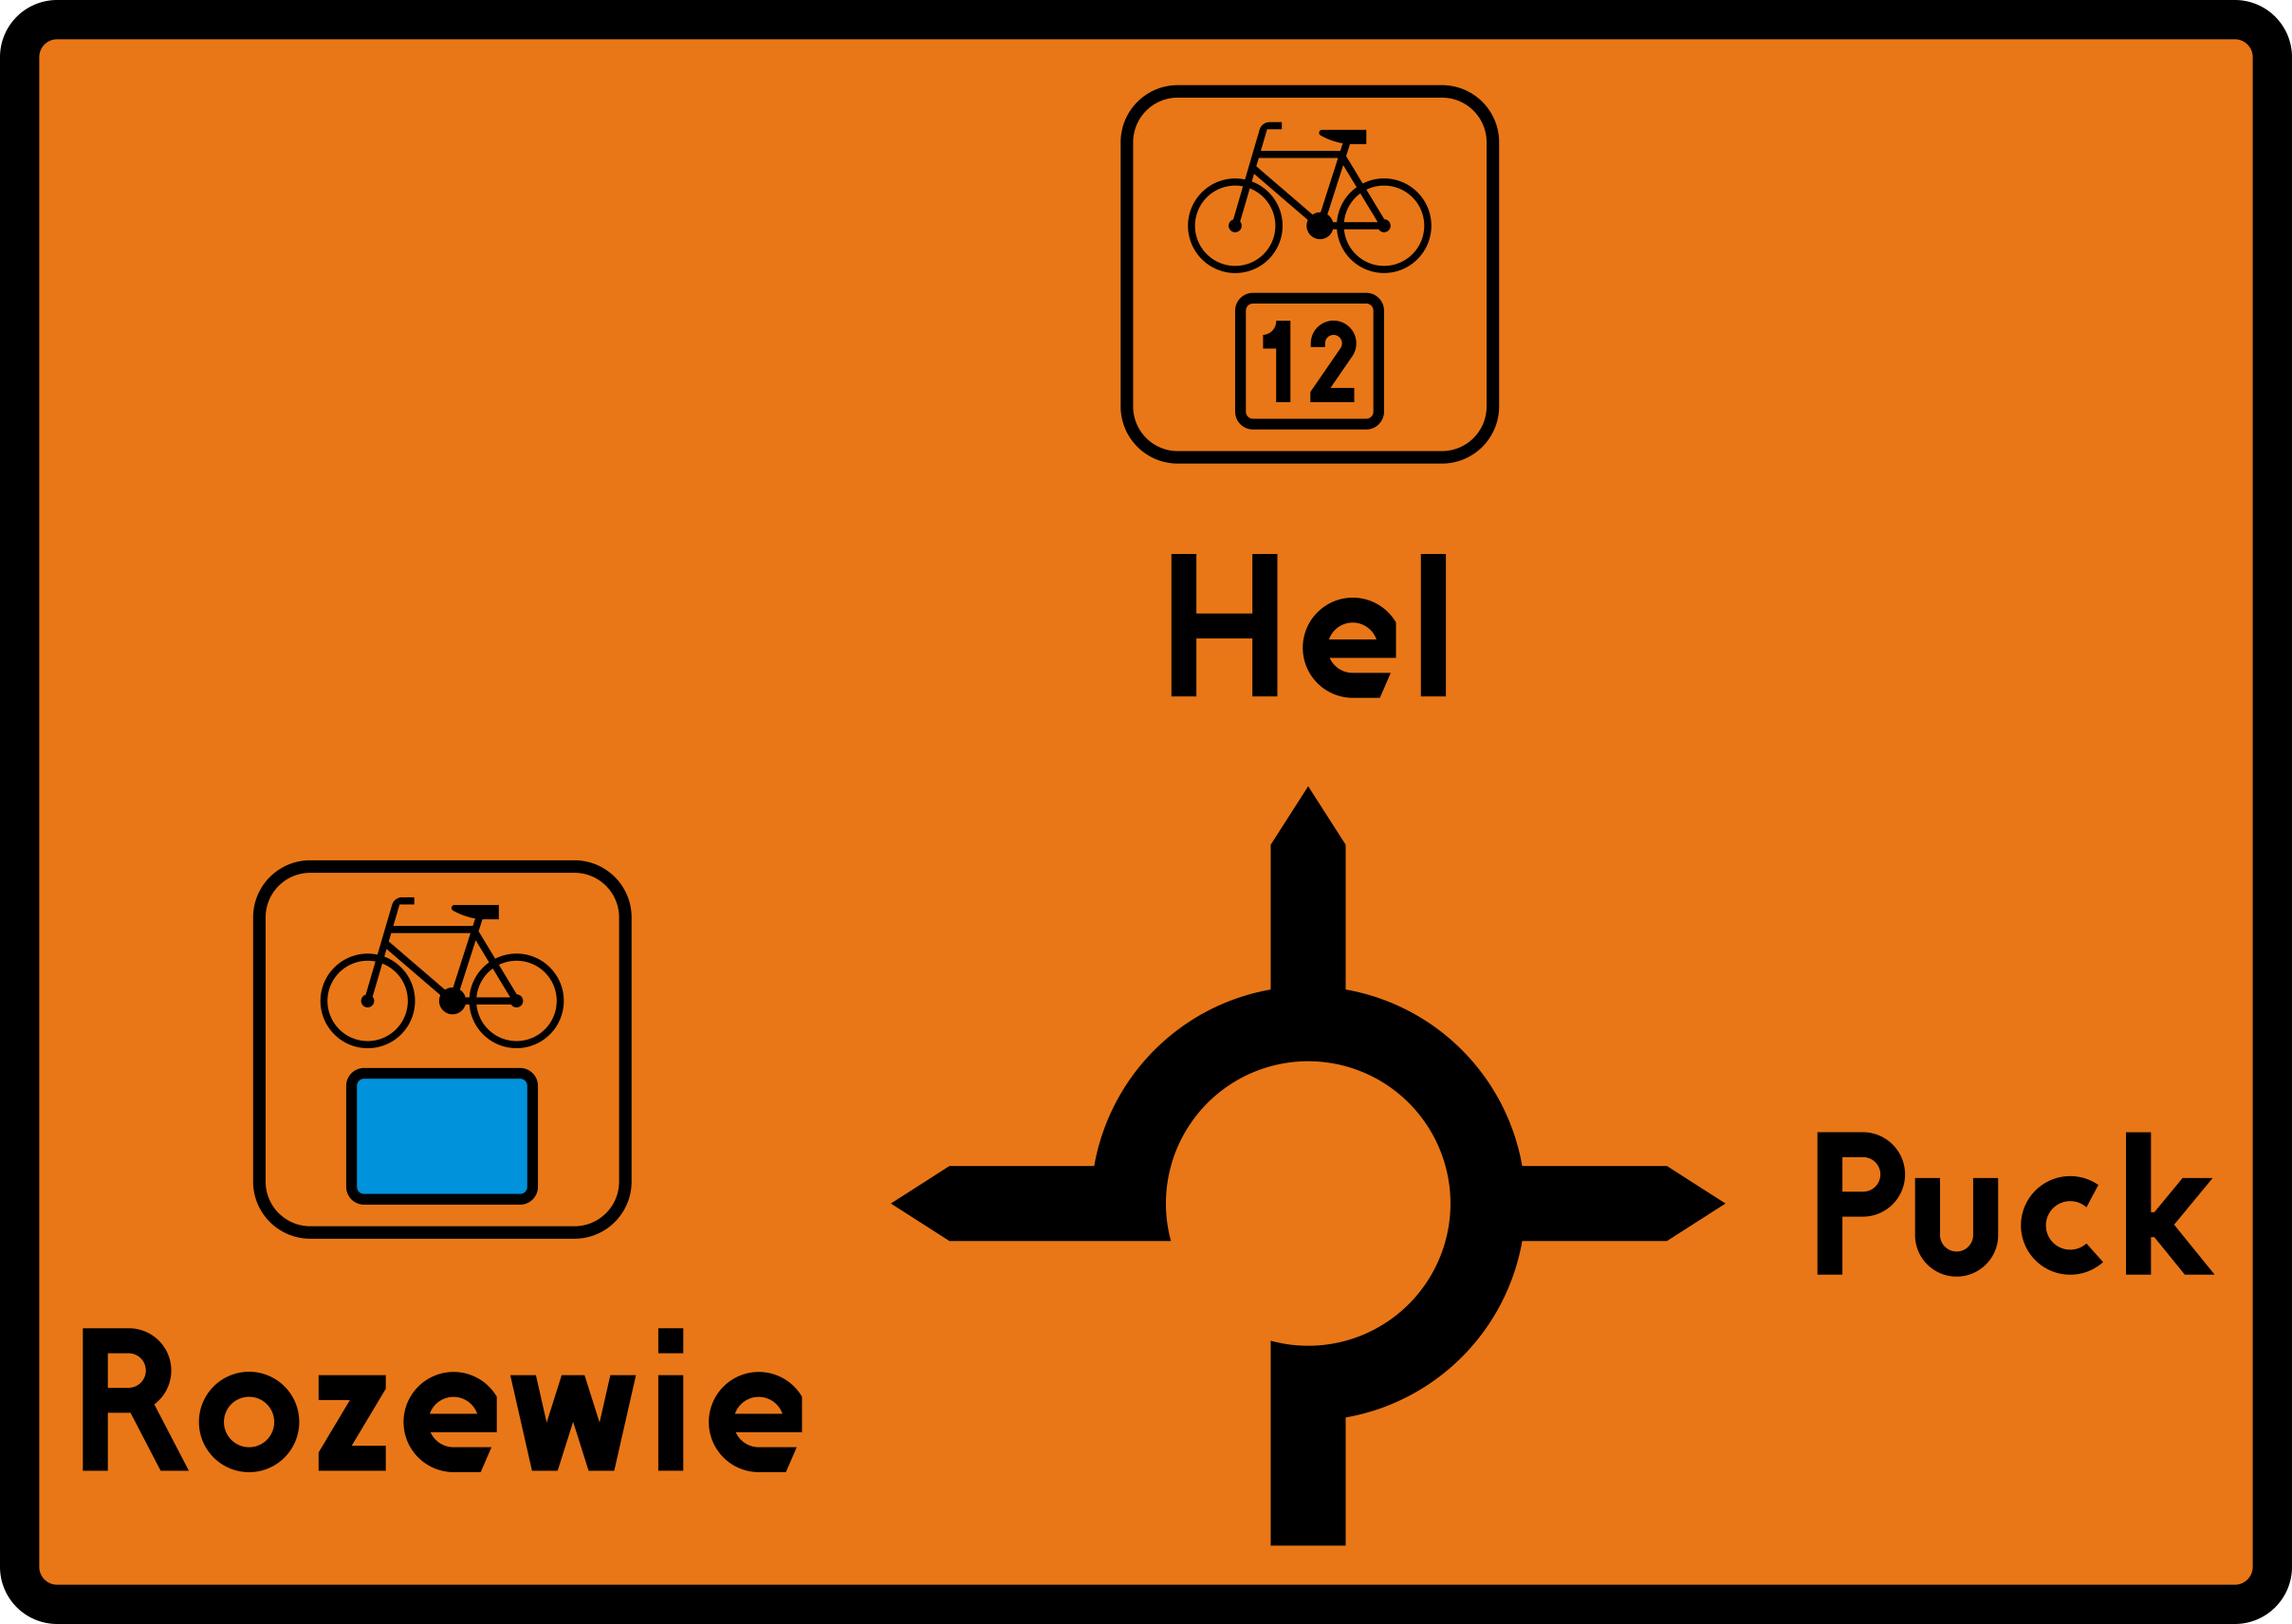
Prepare for junctions with the R-4e Advanced Directional Sign for Bicycle Trails.
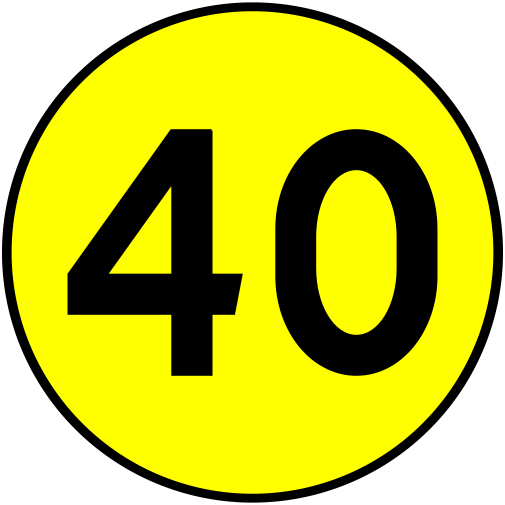
The W-1 sign specifies the maximum military load for a bridge during one-way traffic.
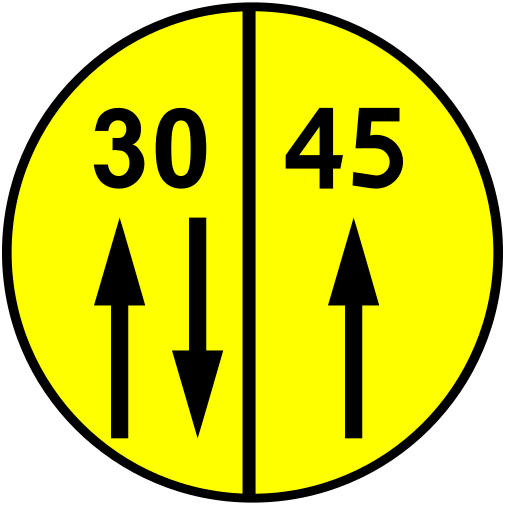
The W-2 Sign: Understanding Bridge Load Limits for Two-Way Military Traffic
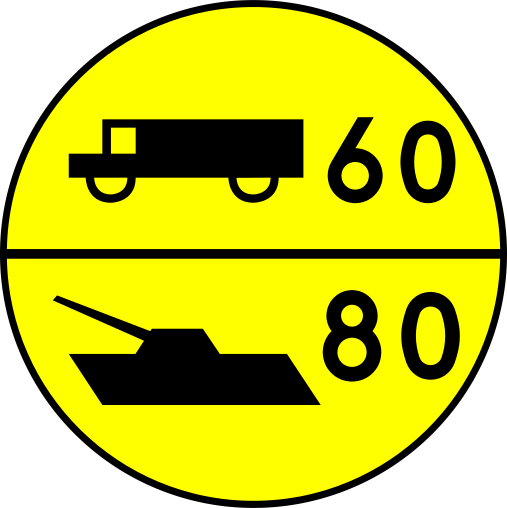
W-3 Sign: Know Your Vehicle's Bridge Weight Limit (Wheeled vs. Tracked)
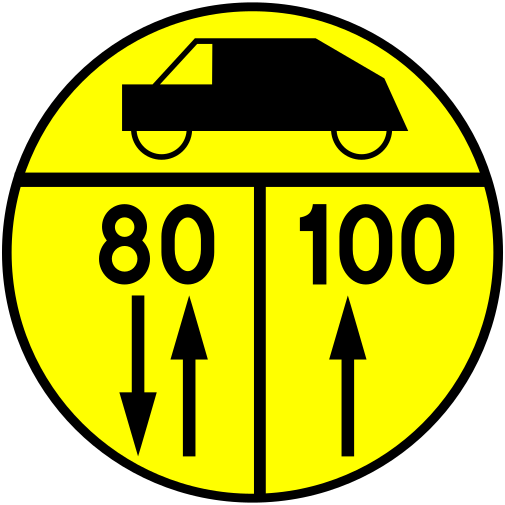
The W-4 Sign: Navigating Military Wheeled Vehicle Bridge Class Limits
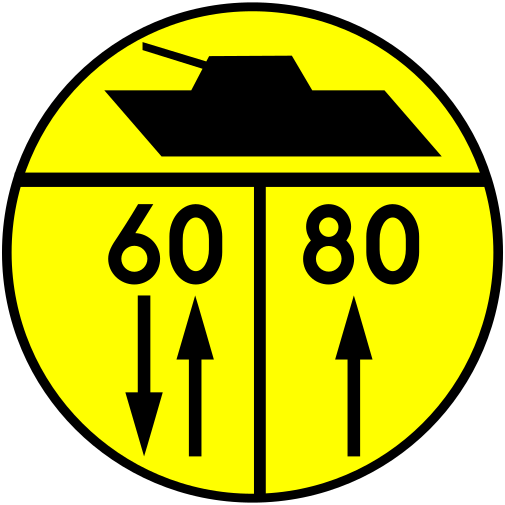
W-5 Sign: Understand Bridge Weight Limits for Tracked Military Vehicles
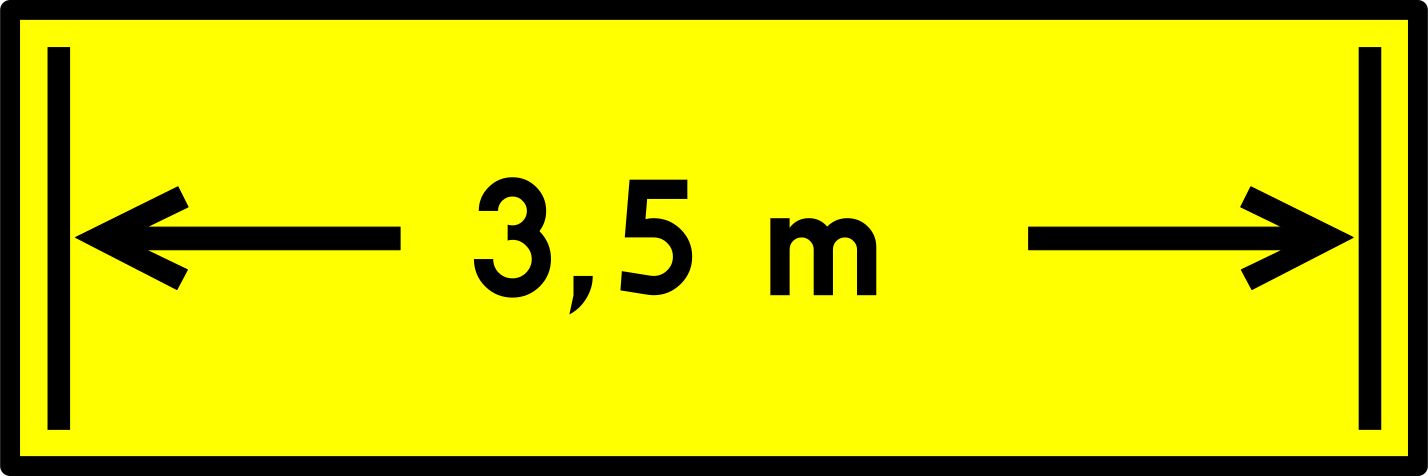
W-6 Bridge Width (Military) Sign: Critical for Wide Military Vehicle Crossings
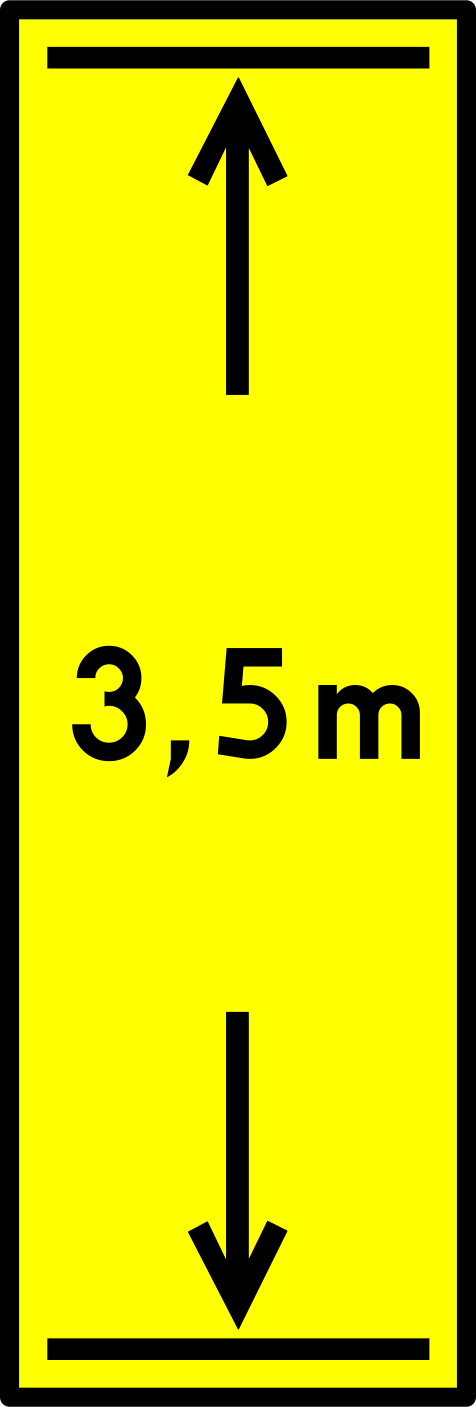
The W-7 Sign: Crucial Height Limit for Military Vehicle Passage
Clear answers to common questions about the Additional Railway Crossing Signs (G) road sign category. Use this FAQ to review tricky rules, understand how these signs appear in exam scenarios, and remove confusion that often leads to mistakes in the Polish driving theory exam in Poland.
The striped marker posts are supplementary warning signs indicating your proximity to a railway crossing. Each stripe represents a specific distance. For example, three stripes mean you are further away, while one stripe means you are very close to the crossing. They serve as visual cues to remind drivers to prepare to slow down and stop if necessary, especially when visibility is poor.
The St. Andrew's cross is the sign that directly marks the railway crossing itself. A single St. Andrew's cross (G-3) indicates a crossing with a single railway track. If you see a double St. Andrew's cross (G-4), it means there are multiple railway tracks, and you must be aware that more than one train could potentially cross.
Yes, this group includes several signs related to tram traffic near railway crossings. Signs like 'Tram Traffic Signals Warning' (AT-1) and 'Tram-Activated Signal' (AT-2) alert you to specific signalling systems that control both road and tram traffic. Other signs may warn of steep tram descents or ascents (AT-3, AT-4), or indicate junction points where trams might move across your path (AT-5). It's crucial to be aware of tram movements and signals as they operate on their own schedule and can be harder to hear than trains.
The 'High Voltage Catenary Network' sign (G-2) warns you that the railway line is electrified and there are overhead power lines. While you won't typically interact directly with these lines as a car driver, it serves as a general alert to the presence of significant electrical infrastructure. It reinforces the need for caution around the railway area and is particularly important for taller vehicles, though for standard cars, the main implication is the enhanced risk associated with the overall railway environment.
The theory test assesses your knowledge of all road signs that contribute to safe driving. Railway crossings are inherently dangerous environments, and these additional signs provide detailed information that helps drivers make informed decisions. Understanding them demonstrates your ability to anticipate hazards, interpret complex situations, and adhere to safety regulations, which are all critical elements tested in the exam.
After reviewing road sign categories, dive into individual traffic sign groups. Each group page offers detailed explanations and practice questions to reinforce learning. This will ensure comprehensive preparation for your Polish driving theory exam.
Polish Road Sign Categories