
Before you can navigate Spain's roads, you need to know how to start your vehicle safely and prepare it for the journey. This lesson covers the crucial ignition sequence and essential pre-drive checks, including fluid levels and mirror adjustments, as mandated by DGT regulations. Mastering these basics is fundamental for both your Category B/BE theory exam and responsible driving.
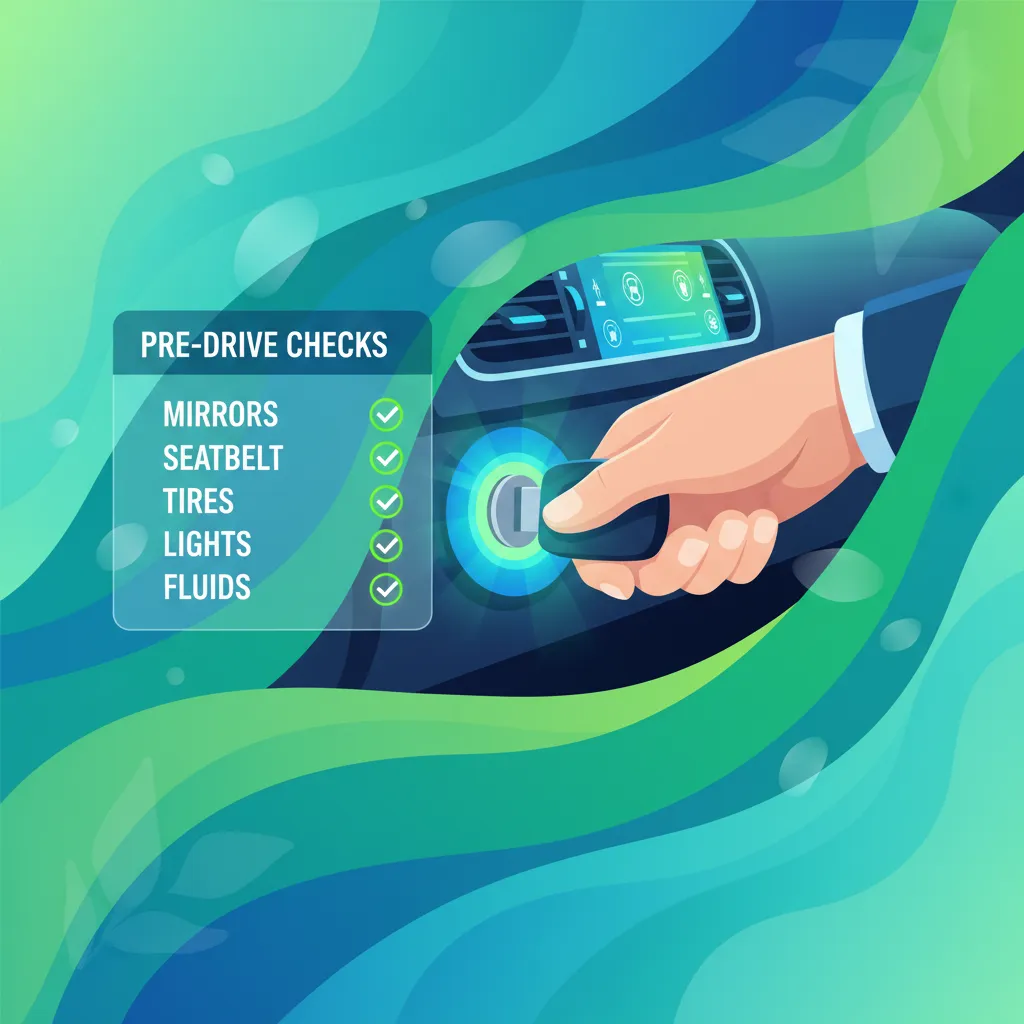
Lesson content overview
Starting a vehicle and preparing it for a journey involves more than just turning a key or pressing a button. It's a systematic process crucial for both driver safety and vehicle longevity. This lesson delves into the detailed ignition sequence and the essential pre-drive checks mandated by traffic authorities like the Dirección General de Tráfico (DGT) in Spain. By mastering these foundational routines, you ensure your vehicle is mechanically sound, ergonomically adjusted for optimal control, and legally compliant before you even put it into motion.
Before embarking on any journey, a driver holds the responsibility to ensure the vehicle is in a safe and operational condition. The ignition sequence, combined with thorough pre-drive checks, forms a critical safety routine. This routine not only prevents potential mechanical failures and reduces the risk of accidents but also ensures the driver has optimal control and visibility. Adhering to these steps is a legal requirement in many jurisdictions, including for obtaining a Spanish driving license for categories B and BE. Ignoring these checks can lead to serious consequences, from unexpected breakdowns to dangerous situations on the road.
The ignition sequence refers to the specific, ordered actions a driver takes to engage the starter motor and bring the vehicle's engine to life. This sequence is designed to ensure proper power delivery, protect the vehicle's electrical systems, and prevent unintended movement.
For vehicles equipped with a traditional key ignition, the process typically involves several stages as you turn the key:
Insert Key and Turn to "Accessory" (ACC) or "ON": This stage provides power to auxiliary systems like the radio or dashboard lights, without engaging the engine.
Depress Clutch Pedal (Manual Transmission): In manual vehicles, the clutch pedal must be fully depressed. This disengages the engine from the transmission, preventing the vehicle from lurching forward if it's accidentally left in gear. For automatic transmission vehicles, ensure the gear selector is in "Park" (P) or "Neutral" (N).
Turn Key to "Start": Hold the key in this position briefly. The starter motor will engage, attempting to crank the engine.
Release Key Once Engine Starts: As soon as the engine catches and begins to run, release the key. It will automatically return to the "ON" position. Holding the key in the "Start" position for too long can damage the starter motor.
Modern vehicles often feature a push-button start system. While the mechanism is different, the underlying principles of safety remain the same:
Ensure Key Fob is Inside Vehicle: The vehicle's electronic system must detect the key fob to allow ignition.
Depress Brake Pedal (Automatic Transmission) or Clutch Pedal (Manual Transmission): Similar to manual ignition, the brake pedal must be fully depressed in automatic cars, and the clutch pedal in manual cars, for the engine to start. This is a crucial safety interlock.
Press Start/Stop Button: Press the button once. The engine will crank and start.
Release Button: The system automatically handles the engagement and disengagement of the starter motor.
Regardless of the ignition type, always confirm the vehicle is in neutral (or park for automatics) and the parking brake is engaged before starting. This prevents unexpected movement and ensures a controlled start. The DGT stipulates that the engine should only be started after the driver is properly seated and has fastened their seat belt.
Never start a manual transmission vehicle without fully depressing the clutch pedal, especially if you are unsure if the vehicle is in neutral. This common mistake can cause the vehicle to lurch forward or backward, leading to a collision or injury.
Immediately after the engine starts, your focus should shift to the dashboard indicators, also known as warning lights or the instrument cluster. These lights provide critical information about the operational status of your vehicle's various systems.
Upon starting, many warning lights will illuminate briefly as part of a system check, then extinguish. This is normal. However, any light that remains persistently illuminated after this brief period, or illuminates while driving, signals a potential malfunction that requires immediate attention.
Other lights provide information rather than warnings, such as seat belt reminders, indicators for headlights, or traction control activation. These typically do not signal a fault, but confirm a system is active or a condition needs addressing (e.g., buckling up).
According to the DGT, drivers are legally obligated to ensure their vehicle is in safe operating condition before and during a journey. This includes paying attention to dashboard warnings. Any persistent critical warning light after engine start must be investigated and addressed before driving. Ignoring a critical warning, such as for oil pressure or brakes, and continuing to drive could be considered negligence and may result in penalties, especially if it contributes to an accident. If a critical warning light illuminates while driving, you are obligated to stop safely and investigate the issue.
Beyond the ignition and dashboard indicators, a thorough inspection of the vehicle's exterior and key components is vital. These pre-drive condition checks are foundational to ensuring your vehicle's safety and reliability.
Maintaining correct fluid levels is crucial for the proper functioning and longevity of your vehicle's engine and safety systems. You should check these regularly, especially before long trips or after refueling.
Engine oil lubricates moving parts, reduces friction, and helps cool the engine.
Park on Level Ground: Ensure the vehicle is on a flat surface and the engine has been off for at least 5-10 minutes (to allow oil to drain back into the sump).
Locate Dipstick: Open the bonnet (hood) and find the engine oil dipstick, usually with a brightly coloured handle (e.g., yellow or orange).
Wipe and Reinsert: Pull the dipstick out, wipe it clean with a cloth, and fully reinsert it.
Check Level: Pull the dipstick out again and observe the oil level. It should be between the "MIN" and "MAX" marks.
Add if Necessary: If the level is below "MIN," add the correct type of engine oil, a small amount at a time, checking the level frequently. Do not overfill.
Coolant (antifreeze) prevents the engine from overheating or freezing.
Brake fluid transmits the pressure from your brake pedal to the brake calipers and drums.
For hydraulic power steering systems, this fluid assists in turning the steering wheel.
Essential for maintaining clear visibility, especially in adverse weather.
Tires are your vehicle's only contact with the road, making their condition paramount for safety, handling, and fuel efficiency.
Correct tire pressure is critical for optimal grip, braking efficiency, and preventing premature tire wear.
Adequate tread depth is essential for dispersing water and maintaining grip on wet surfaces.
Under-inflated tires increase rolling resistance, leading to higher fuel consumption and excessive wear on the outer edges. Over-inflated tires reduce the contact patch, leading to poor grip, harsher ride, and excessive wear in the centre of the tread.
Before moving the vehicle, it is essential to adjust your seating position, steering wheel, and mirrors to ensure optimal control, visibility, and comfort. These adjustments reduce fatigue and improve reaction times.
Your seat should allow you to comfortably reach all controls while maintaining proper posture.
Distance from Pedals: Adjust the seat forward or backward so you can fully depress the clutch pedal (manual) or brake pedal (automatic) with a slight bend in your knee. Your heel should remain on the floor.
Seat Height: Adjust the seat height to provide a clear view of the road ahead and the instrument cluster. Ensure there's adequate headroom.
Backrest Angle: Recline the backrest to a comfortable, upright position that allows you to reach the steering wheel comfortably with a slight bend in your elbows. Your shoulders should remain in contact with the backrest when holding the wheel at "9 and 3" or "10 and 2" positions.
Headrest: Adjust the headrest so its top is level with the top of your head, or as high as possible without discomfort. This protects against whiplash in a rear-end collision.
Many vehicles allow for both tilt (up/down) and telescopic (in/out) adjustment of the steering wheel.
Proper mirror adjustment maximizes your field of view and minimizes dangerous blind spots – areas around your vehicle not visible in your mirrors.
This mirror provides a central view directly behind your vehicle.
These mirrors cover the areas to the sides and rear of your vehicle.
Even with perfectly adjusted mirrors, every vehicle has blind spots. Always perform a shoulder check (a quick glance over your shoulder) before changing lanes or making turns to physically check these areas. This is a critical defensive driving technique.
Two final, crucial steps before moving your vehicle are fastening your seat belt and properly managing the parking brake.
The seat belt is your primary safety restraint system. Its use is mandatory under DGT regulations for all occupants of a vehicle, regardless of the distance of the journey.
Driving without a seat belt is not only extremely dangerous, significantly increasing the risk of severe injury or fatality in a collision, but it also carries legal penalties and fines under Spanish traffic law (Reglamento General de Circulación).
The parking brake (also known as the handbrake or emergency brake) is used to hold a stationary vehicle in place, preventing it from rolling.
The Dirección General de Tráfico (DGT) sets forth specific regulations and recommendations that underscore the importance of these pre-drive checks for all drivers holding a Spanish driving license (categories B and BE).
Even experienced drivers can sometimes overlook critical pre-drive steps. Awareness of these common errors is key to cultivating safe driving habits.
The intensity and focus of your pre-drive checks should adapt to the prevailing conditions.
The routine of ignition and pre-drive checks is not merely a formality; it's a fundamental aspect of proactive safety and vehicle management.
Think of your vehicle as an extension of yourself. Just as you prepare yourself before an important task, preparing your vehicle ensures both of you are ready for the journey ahead.
Let's consider how these pre-drive checks apply in different real-world situations:
Setting: Starting your car for a daily commute through city streets on a wet, rainy morning. Traffic is moderate. Relevant Actions:
Setting: Preparing for a long night drive on an empty rural motorway. Relevant Actions:
Setting: Your vehicle is parked on a steep, winding mountain road, and you need to start the engine and proceed. Relevant Actions:
By systematically following these procedures and understanding their underlying safety rationale, you build a strong foundation for responsible and safe driving, preparing yourself and your vehicle for the diverse challenges of the road.
This lesson covers the systematic procedure for starting a vehicle and performing essential pre-drive safety checks required for Spanish Category B/BE theory exams. It details two ignition methods (manual key and push-button), explaining the step-by-step process including clutch or brake pedal depression and key release timing. Dashboard indicators are categorized as critical (oil pressure, brake system, battery) or informational, with the critical ones requiring immediate attention if persistent. Pre-drive checks include verifying fluid levels, checking cold tire pressure and tread depth (minimum 1.6 mm legally in Spain), and adjusting seat position and mirrors to eliminate blind spots. The lesson emphasizes DGT regulations requiring seat belt use and driver responsibility for vehicle condition, while highlighting common mistakes such as starting in gear, ignoring warning lights, and driving with the parking brake engaged.
A short set of high-value points that capture the most important learning from this lesson.
The ignition sequence differs between manual key systems and push-button starts, but both require the clutch or brake pedal depressed and verification that the vehicle is in neutral or park.
Dashboard warning lights provide critical vehicle health information; persistent red lights after engine start require immediate investigation before driving.
Essential fluid checks under the bonnet include engine oil, coolant, brake fluid, power steering fluid, and windshield washer fluid.
Tire pressure must be checked when tires are cold using a gauge, inflated to manufacturer specifications found in the door jamb or manual.
Proper mirror adjustment minimizes blind spots, but a shoulder check is always required before changing lanes or making turns.
Explore all units and lessons included in this driving theory course.
In Spain, the legal minimum tread depth is 1.6 mm across the central three-quarters of the tire tread pattern.
Seat belt use is mandatory under Article 22 of the Reglamento General de Circulación for all occupants on every journey.
Never open the coolant reservoir cap when the engine is hot due to the risk of pressurized fluid causing severe burns.
The parking brake warning light on the dashboard must be off before driving to avoid brake component damage.
Dashboard warning lights that remain illuminated after the initial system check indicate a fault requiring attention before or during travel.
Starting a manual transmission vehicle without fully depressing the clutch pedal, which can cause unexpected lurching if the vehicle is in gear.
Driving with persistent critical dashboard warning lights active, particularly engine oil pressure or brake system warnings.
Checking tire pressure when tires are warm rather than cold, which gives inaccurate readings due to increased pressure from heat.
Adjusting side mirrors too far inward, showing too much of the vehicle body and reducing visibility of adjacent lanes.
Forgetting to release the parking brake before driving, causing premature wear to brake components and reduced fuel efficiency.
Lesson content overview
A short set of high-value points that capture the most important learning from this lesson.
The ignition sequence differs between manual key systems and push-button starts, but both require the clutch or brake pedal depressed and verification that the vehicle is in neutral or park.
Dashboard warning lights provide critical vehicle health information; persistent red lights after engine start require immediate investigation before driving.
Essential fluid checks under the bonnet include engine oil, coolant, brake fluid, power steering fluid, and windshield washer fluid.
Tire pressure must be checked when tires are cold using a gauge, inflated to manufacturer specifications found in the door jamb or manual.
Proper mirror adjustment minimizes blind spots, but a shoulder check is always required before changing lanes or making turns.
Explore all units and lessons included in this driving theory course.
In Spain, the legal minimum tread depth is 1.6 mm across the central three-quarters of the tire tread pattern.
Seat belt use is mandatory under Article 22 of the Reglamento General de Circulación for all occupants on every journey.
Never open the coolant reservoir cap when the engine is hot due to the risk of pressurized fluid causing severe burns.
The parking brake warning light on the dashboard must be off before driving to avoid brake component damage.
Dashboard warning lights that remain illuminated after the initial system check indicate a fault requiring attention before or during travel.
Starting a manual transmission vehicle without fully depressing the clutch pedal, which can cause unexpected lurching if the vehicle is in gear.
Driving with persistent critical dashboard warning lights active, particularly engine oil pressure or brake system warnings.
Checking tire pressure when tires are warm rather than cold, which gives inaccurate readings due to increased pressure from heat.
Adjusting side mirrors too far inward, showing too much of the vehicle body and reducing visibility of adjacent lanes.
Forgetting to release the parking brake before driving, causing premature wear to brake components and reduced fuel efficiency.
Explore search topics learners often look for when studying Ignition Sequence and Pre‑Drive Checks. These topics reflect common questions about road rules, driving situations, safety guidance, and lesson level theory preparation for learners in Spain.
Browse additional driving theory lessons that cover connected traffic rules, road signs, and common driving situations related to this topic. Improve your understanding of how different rules interact across everyday traffic scenarios.
Learn the official DGT procedures for starting your vehicle correctly and performing vital pre-drive safety checks. Understand dashboard indicators, fluid levels, tire conditions, and ergonomic adjustments for safe driving in Spain.

This lesson presents a systematic pre-ride safety checklist covering tire pressure, brake fluid levels, lighting operation, and chain tension to ensure the motorcycle is road-ready. It also emphasizes personal checks such as helmet strap security and appropriate gear for weather conditions. Integrating DGT-recommended inspection procedures helps minimize equipment-related failures.

This lesson focuses on essential safety equipment and routine maintenance tasks required for legal road operation. It explains the correct use of seat belts, airbags, and child restraints, as well as the importance of maintaining proper tire pressure and brake condition. Additionally, it clarifies the legal vehicle inspection (ITV) process mandated by the DGT to ensure roadworthiness.
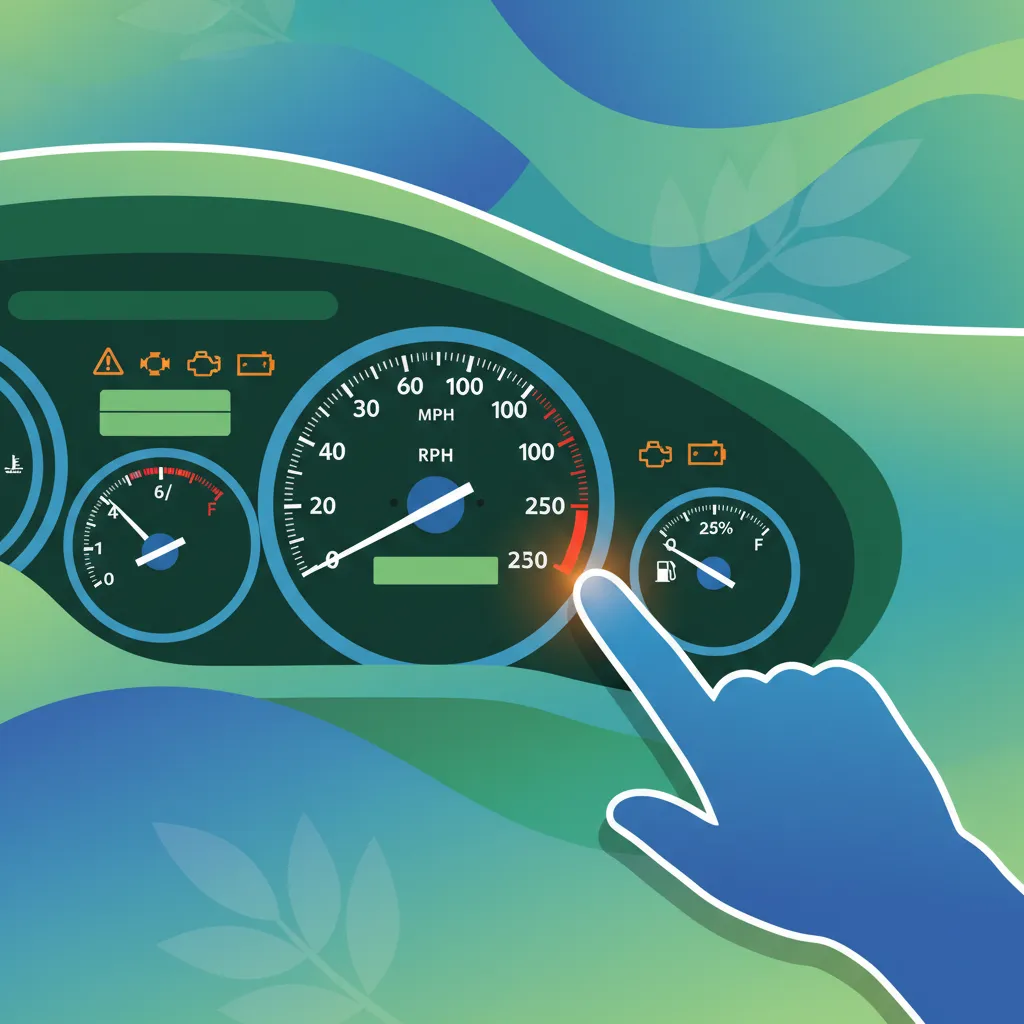
This lesson focuses on the primary components displayed on a vehicle's dashboard and their functional significance. Learners will identify instruments like the speedometer and fuel gauge and understand the meaning of key warning lights, including ABS, oil pressure, and check engine. The lesson explains how to interpret these signals while driving and the immediate actions required upon their illumination.

This lesson outlines the proper use and legal requirements of vehicle lighting and mirror systems. It covers headlamps, fog lights, turn signals, and brake lights, clarifying when each must be used according to DGT regulations. The lesson also explains the correct adjustment of rearview and side mirrors and strategies for effective blind-spot monitoring.
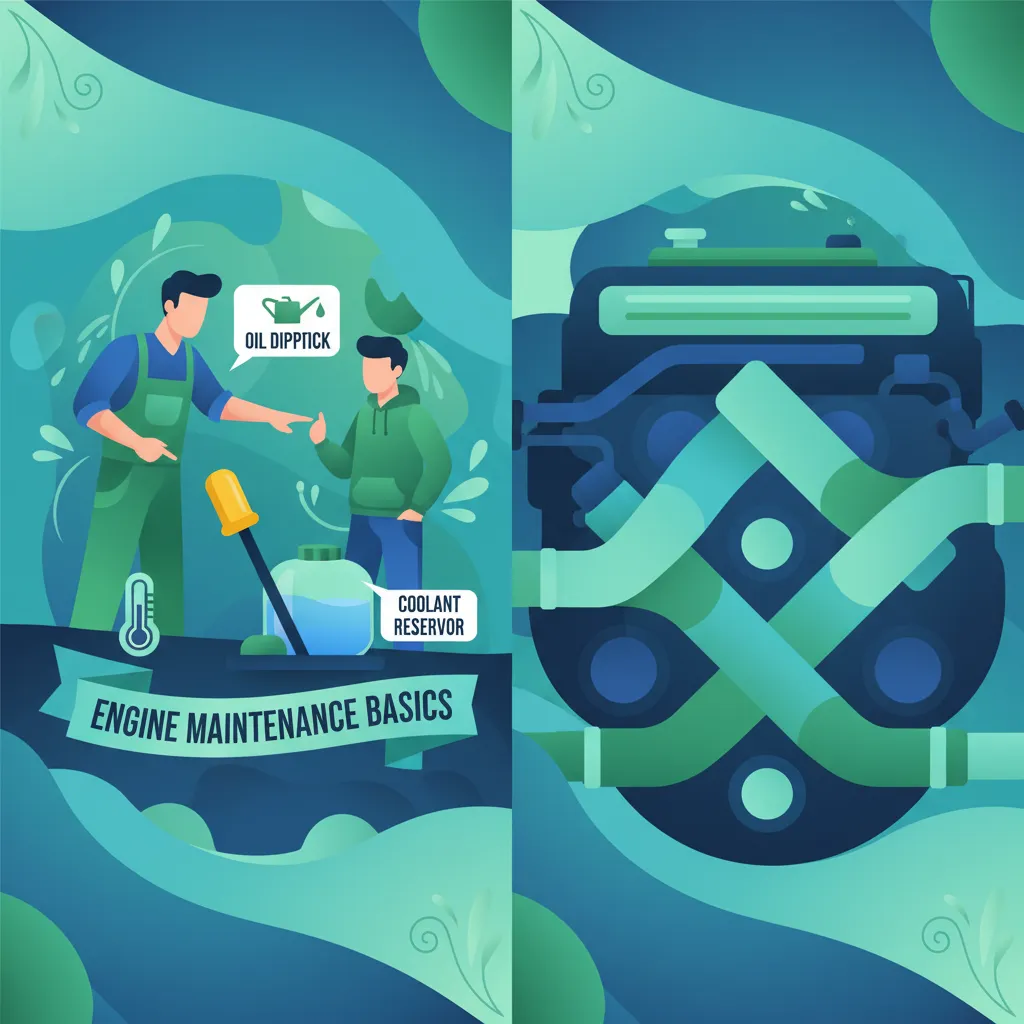
This lesson introduces essential mechanical checks to ensure motorcycle reliability and safety. Topics include monitoring engine oil and coolant levels, chain lubrication procedures, and tire pressure verification. By establishing a routine maintenance schedule, riders can proactively address issues and comply with DGT guidelines.

In this lesson, drivers learn the correct actions to take during a vehicle breakdown. It outlines steps for safely stopping on the hard shoulder, activating hazard lights, and deploying warning devices like the triangle or V16 light. The lesson covers DGT procedures for roadside emergencies, including wearing a high-visibility vest and contacting assistance safely.

This lesson focuses on the comprehensive understanding of traffic light signals and their timing sequences. It defines the meanings of steady red, amber, and green lights, as well as flashing amber and arrow signals. The content also covers pedestrian and cyclist phases, describing the actions drivers must take during each signal change to maintain safety and compliance.
Master the interpretation of critical and informational dashboard indicators on your vehicle. Learn what each light signifies according to Spanish DGT regulations and how to respond to ensure road safety.
This lesson focuses on the primary components displayed on a vehicle's dashboard and their functional significance. Learners will identify instruments like the speedometer and fuel gauge and understand the meaning of key warning lights, including ABS, oil pressure, and check engine. The lesson explains how to interpret these signals while driving and the immediate actions required upon their illumination.
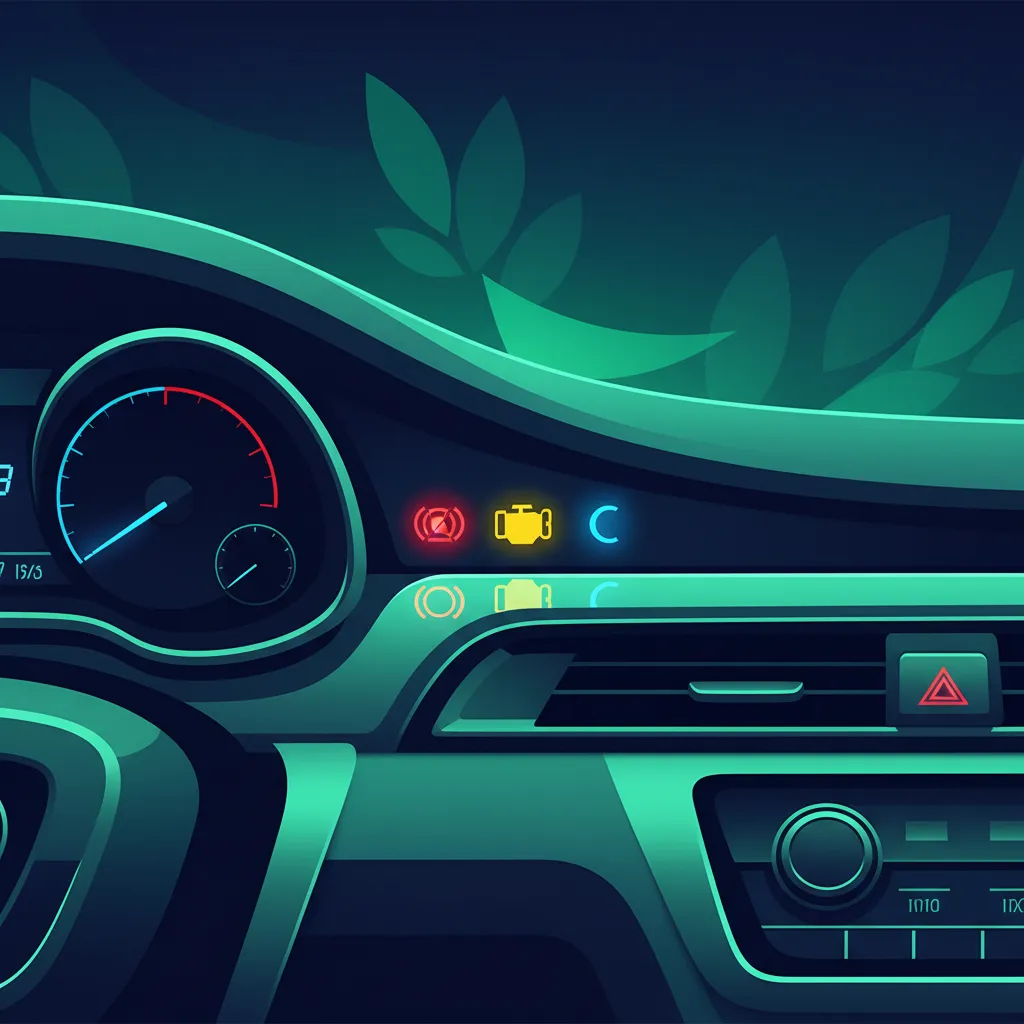
This lesson teaches drivers how to correctly interpret the various indicator lights and warning messages on a truck's dashboard. It covers common alerts related to the engine, braking system (ABS), and electronic stability control (ESC). Understanding these warnings is crucial for early fault detection, enabling drivers to take appropriate action and ensure the vehicle remains safe to operate.
This lesson outlines the proper use and legal requirements of vehicle lighting and mirror systems. It covers headlamps, fog lights, turn signals, and brake lights, clarifying when each must be used according to DGT regulations. The lesson also explains the correct adjustment of rearview and side mirrors and strategies for effective blind-spot monitoring.
This lesson covers how environmental conditions such as rain, fog, and darkness affect driving safety. It instructs drivers on adjusting speed, using appropriate lighting, and increasing following distance to compensate for reduced visibility and traction. The lesson incorporates DGT safety recommendations for handling adverse weather to mitigate risk and maintain control.
This lesson focuses on the comprehensive understanding of traffic light signals and their timing sequences. It defines the meanings of steady red, amber, and green lights, as well as flashing amber and arrow signals. The content also covers pedestrian and cyclist phases, describing the actions drivers must take during each signal change to maintain safety and compliance.
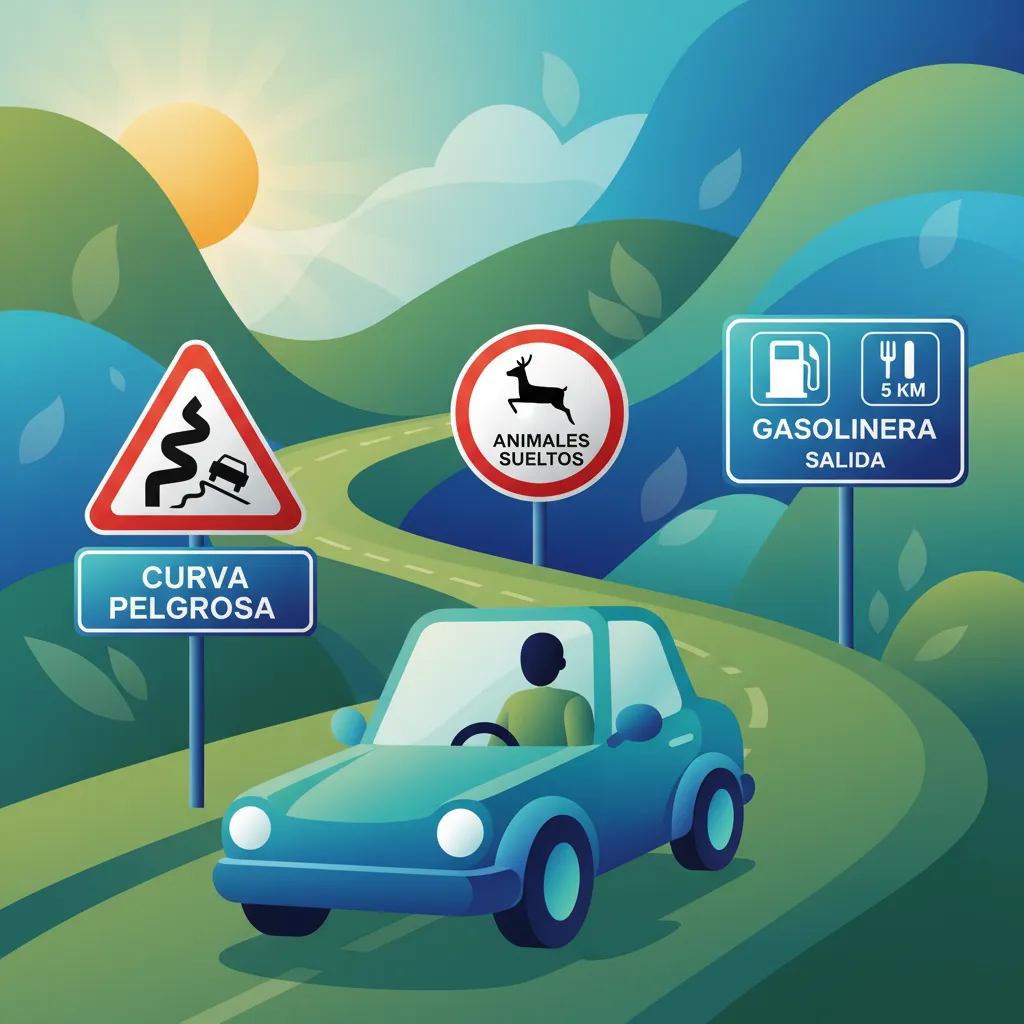
This lesson covers warning and informational signs, which are crucial for anticipating road conditions. It explains how triangular warning signs alert riders to upcoming hazards like sharp curves, slippery surfaces, or pedestrian crossings. The content also describes rectangular informational signs that provide directions, distances, and other useful guidance, helping riders to plan their route and adjust their driving in advance.
In this lesson, drivers learn how to identify risk zones where potential hazards are likely to develop. The content explains the use of proactive observation and scanning techniques to detect evolving dangers in the driving environment. Learners will practice anticipating the actions of other road users based on traffic patterns and context, adjusting their speed and position accordingly.
Find clear answers to common questions learners have about Ignition Sequence and Pre‑Drive Checks. Learn how the lesson is structured, which driving theory objectives it supports, and how it fits into the overall learning path of units and curriculum progression in Spain. These explanations help you understand key concepts, lesson flow, and exam focused study goals.
Before starting the engine, you should check for any warning lights that indicate a system fault, such as the brake system warning light, oil pressure light, or battery charge warning light. Ensure these are off or not illuminated. The DGT exam often tests your awareness of these critical indicators and what they signify for immediate road safety.
Checking fluid levels like engine oil, coolant, and brake fluid is crucial for vehicle operation and safety. Low levels can lead to serious mechanical damage or brake failure. The DGT includes questions on these checks to ensure drivers understand their responsibility in maintaining the vehicle and preventing accidents.
Proper mirror adjustment is vital for visibility. The interior rear-view mirror should provide a clear view of the rear window, and the exterior mirrors should be adjusted to minimize blind spots, showing a small sliver of your own vehicle. The DGT exam emphasizes these checks as part of safe driving practices.
Checking tire pressure isn't part of the ignition sequence itself, but it is a critical pre-drive check. You should ensure your tires are properly inflated before starting your journey. The Spanish theory test may include questions about tire condition and its impact on safety and braking.
For a manual car in Spain, the sequence is typically: insert key, turn to accessory position (check dashboard lights), turn to start the engine (ensuring the clutch pedal is fully depressed), and then release the key once the engine is running. Always ensure the handbrake is engaged and the gear is in neutral before starting.
Use our powerful search functionality to pinpoint specific Spanish DGT driving theory practice sets. Filter by road sign categories, traffic law topics, or question difficulty to build custom study sessions and reinforce your knowledge precisely where it matters for your official exam.